EN
© 2016 DJI All Rights Reserved.
5
Always ensure that the DJI Gimbal Connector 2.0 on the Inspire 2 is in the right
position when mounting, otherwise the camera will not mount.
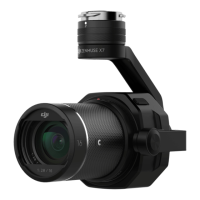
Remove the lens cap when the Zenmuse X5S is in use.
Always power o the aircraft before removing the gimbal camera.
Attach the camera body cap to the Lens Mount, and the lens cap and rear cap to
the lens for protection after removing the camera lens.
2
3
4
11
A
B
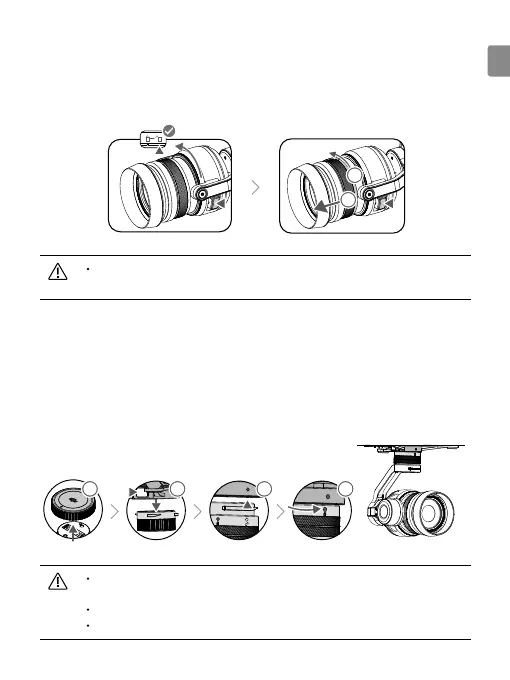
Removing the Camera Lens
To remove the camera lens
:
1. While holding down the Lens Release Button, rotate the Lens Lock clockwise to unlock it.
2. While still holding down the Lens Release Button, rotate the camera lens counterclockwise to
detach it.
Mounting the Zenmuse X5S to the Inspire 2
1. Remove the Gimbal Cap from the Zenmuse X5S.
2. Press the gimbal and camera release button on the Inspire 2. Rotate to remove the Gimbal
Cap from the Inspire 2.
3. Align the white dot on the gimbal to the red dot on Inspire 2 and insert the gimbal.
4. Rotate the Gimbal Lock to the locked position by aligning the red dots.
 Loading...