Do you have a question about the DOM FAMILY 642 and is the answer not in the manual?
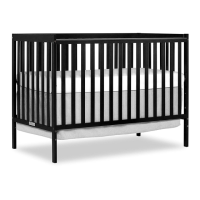
Insert stopper into bottom rail and connect slat to middle rail.
Connect left and right legs to top, middle, and bottom rails.
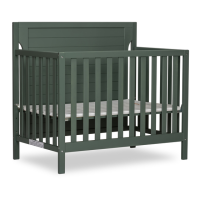
Insert stopper into bottom rail and connect slat to middle rail.
Connect left and right legs to top, middle, and bottom rails.
Connect side bars using wood dowels.
Connect side bars using metal plates and screws.
Insert cross bars and attach split legs to the middle cross bar.
Insert cross bars and attach split legs to the middle cross bar.
Connect headboard legs to side bars using bolts and nuts.
Connect footboard legs to side bars using bolts and nuts.
Connect bed rails to side bars and headboard legs.
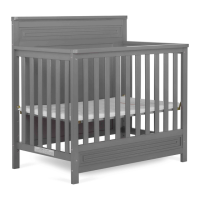
| Product Type | Crib |
|---|---|
| Model | 642 |
| Material | Wood |
| Color | White |
| Convertible | Yes |