7
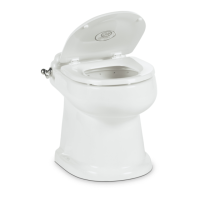
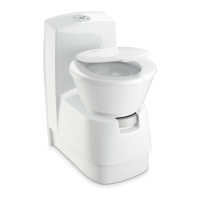
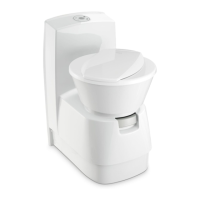
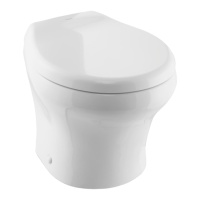
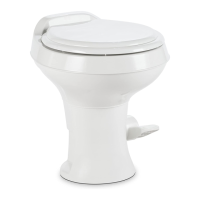
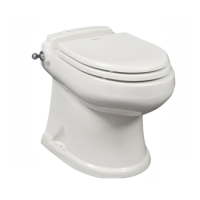
Technical toilet base service Dometic 4300/4400 Series Toilets
REPLACING THE FLUSH BALL
1. Turn off water and electrical power to toilet.
2. Open the ush ball with the manual ush lever.
3. Remove toilet from oor and turn it upside down.
MAKE SURE POWER WIRES AND WATER LINE
REMAIN SECURE.
4. Disconnect the water line, input power wires (pins
5 and 8), and ush switch wires (pins 1, 2, 3).
5. Pull the vacuum breaker out of the sealing
grommet that’s located in rear of toilet bowl.
6. Remove the three nuts and at washers securing
the base assembly to the ceramic toilet bowl using
a1/4-inchdriveratchetwrench,7/16-inchdeep-
wellsocketandextension.
7. Liftthebaseassemblyfromthetoilet.
8. Remove the bowl seal, ush ball seal, and retainer
platetoexposetheushball.
9. Disconnect the drive linkage from the manual ush
lever using a phillips-head screwdriver.
Remove one end of the ush spring.
10.Rotatetheushballtoexposetheushballscrew
head. Remove the screw, rotate the ball to the
closed position, and remove the ush ball from the
rotor shaft. Lift the ush ball out of the base.
11. Remember to keep the rotor shaft in the closed
position when installing the new ush valve.
12. The cam switch will require readjustment after
ush ball installation. See “Adjusting Cam Switch”
on page 11.
13. Remember to tighten new mounting bolts to
20-25 in.-lbs. of torque.
REPLACING THE ROTOR SHAFT OR ROTOR
SHAFT CAM
1. Follow disassembly steps under “Replacing the
Flush Ball.”
2. Loosen the set screw in the rotor shaft cam using
a1/8-inchhextool.
3. Pull or pry the rotor shaft out from the inside of the
base.
4. Align the at section on the rotor shaft with the at
section in the cam during reassembly.
5. Reverse the disassembly procedure.
REPLACING THE DRIVE LINKAGE
1. Follow disassembly steps under “Replacing the
Rotor Shaft or Rotor Shaft Cam.”
2. Remove the linkage pin clip and pin.
3. Insert the new linkage.
4. Reverse the disassembly procedure.
REPLACING THE MOTOR DRIVE ARM
1. Follow disassembly steps 1-3 under “Replacing
the Flush Ball.”
2. Remove one end of ush spring.
3. Remove one end of manual ush lever spring and
pushmanualleveruntildrivearmisexposed.
4. Replacedrivearmusinga3/32-inchhextool.
5. Reverse the disassembly procedure.
 Loading...