4445103455 13
5. Set up the product with the doors facing away
from the wind.
Setting up the tent extension
!
A
I
Keep the following tips in mind while setting up the
tent extension:
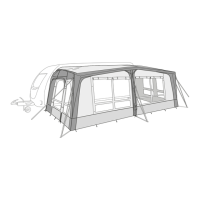
• The illustrations provide a general overview of
the set-up. The actual set-up will vary slightly
based on the model of canopy.
• Get help. The set-up is easier with more people.
• Peg the guy lines so that the canopy is under ten-
sion without distorting the shape.
• Check the guy lines from time to time to ensure
adequate tension, if necessary use the runners to
adjust.
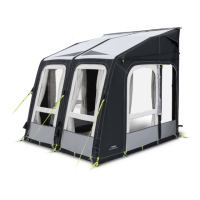
Setting up the annexe
I
➤Proceed as shown: fig. 2, page 4 to fig. 9,
page 6.
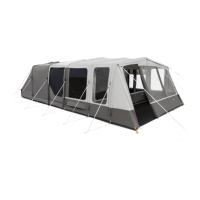
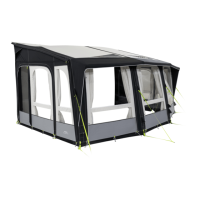
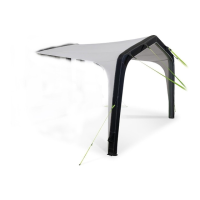
Setting up the canopy
For extra security the main tent is supplied with a
Storm Tie Down Kit. The front two ties can be taken
from the main tent and attached to the canopy
instead.
1. Proceed as shown: fig. 0, page 6 to fig. d,
page 7.
2. Attach the storm straps to the corners of the
canopy.
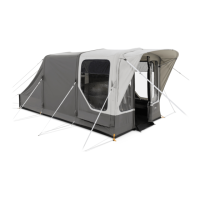
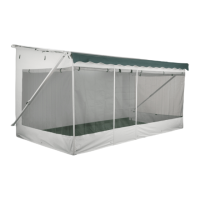
Setting up the vestibule
➤Proceed as shown: fig. e, page 8 to fig. i,
page 9.
Dismantling the tent extension
A
Keep the following tips in mind while setting up the
tent extension:
• The illustrations provide a general overview of
the set-up. The actual set-up will vary slightly
based on the model of canopy.
• Remove any dirt on the outside.
• Close all window blinds or remove curtains.
• Close all doors and openings.
• Ensure that all parts are clean before packing the
into the carry bag.
• If the tent extension is wet or damp, dry fully as
soon as possible.
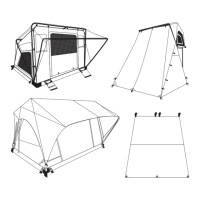
Dismantling the annexe
1. Remove the groundsheet.
2. Loosen the webbing straps at the base of the
aluminum pole.
3. Remove the plastic clips from the aluminum
pole.
4. Remove all pegs.
5. Unzip the annexe from the tent.
6. Fold/roll the annexe to fit in the carry bag.
Dismantling the canopy
1. Remove the groundsheet.
CAUTION! Risk of injury and
material damage
• Do not use any type of compressor
designed to inflate car tires.
• Only inflate the air poles into the green
zone of the pressure gauge of the
hand pump (9 psi/0.62 bar). Hand
pump is supplied with the main awn-
ing tent.
NOTICE! Material damage
Use graphite to lubricate the zipper
when it is stuck.
NOTE
• The canopy comes with heavy duty
pegs. These will be suitable for many
sites but for some types of ground
special pegs will be needed. Ask your
dealer.
• Drive the pegs at a 45° angle away
from the canopy into the ground.
• Peg the guy lines in line with the seam
they start from.
NOTE
• The annexe can only be fitted to the left
side of the tent.
• When zipping the annexe to the tent
make sure the annexe is not inside out.
NOTICE! Material damage
Do not use force when dismantling the
tent. Otherwise you might damage any
material.
DometicFTX-FTT-FTC-TentExtensions_OPM_4445103455_EMEA16_202x-xx-xx.book Seite 13 Mittwoch, 30. Juni 2021 10:49 22