17
DO8147
www.domo-elektro.be
EN
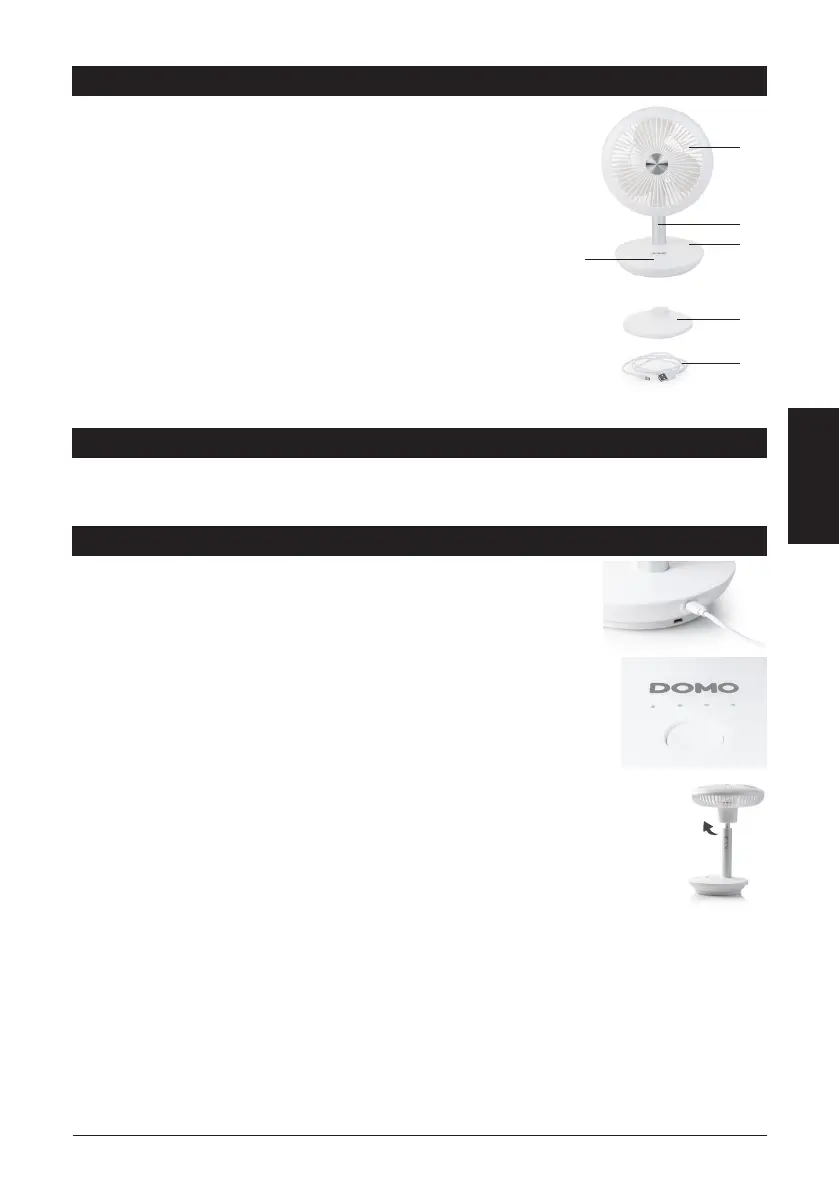
PARTS
1. Grill with fan blades
2. Metal tube
3. Base
4. On/o button with indicator lights
5. Charging station
6. Charging cable
BEFORE THE FIRST USE
· Carefully remove the device from the packaging. Remove any promotional stickers.
· Clean the outside of the device with a soft damp cloth.
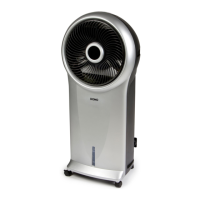
USE
Make sure the device is fully charged. Charge the device by connecting the
fan itself or via the charging station. This is possible with the charging cable
included.
Press the power button to turn on the device. The fan will start at its lowest
speed (1). Each press of the button will increase the speed to a maximum of 4. The
selected speed setting can be seen by the number (1-4) of lit indicator lights. Press
the button again to switch o the device.
Note: Hold the on/o button to switch the device o without having to go through
all the speed settings.
Fan direction
To adjust the direction of ventilation up or down, push the fan head up or down.
Charging
1. The rst indicator light will ash if the battery is low. The fan will then stop. This is to
let you know that the device must be charged.
2. Plug the charging cable into the device or the charging station. Note: if you want to charge the
device via the charging station, you must place the fan on the charging station.
3. The red indicator light will illuminate to indicate that the device is charging.
4. If the rst indicator light stays on, the fan is charged and ready for use.
Note: you can still use the fan while it is charging. If the fan is at speed one, the rst indicator light will
still ash on and o. If you choose a higher speed, the corresponding indicator light will light up. The rst
indicator light will continue to ash.
1
2
3
4
5
6