♦ From cigarette lighter: insert one end
of the cigarette lighter cable into the
lighter socket in vehicle and connect
the other end to the power connector of
DFPV Diag. main cable.
♦ From battery: clamp the two clips of
battery cable on the positive and
negative poles of battery and insert
another end of the cable into the power
connector of DFPV Diag. main cable.
♦ From power adapter: connect the
power adapter to the 100-240V AC
outlet with power cord. Insert the 12V
DC plug of power adapter into the
power connector of DFPV Diag. main
cable
Operation
Entering Function Menu
After connection, press [POWER] key to start
DFPV Diag..
After starting the main unit, press [HOTKEY]
(or click [Start] button on the main menu, and
select [GAG]→[GD Scan] on the pop-up menu),
the screen will display the home page of
vehicle diagnosis as shown in Figure 2-02.
Figure 2-02
Button descriptions:
♦ [QUIT]: to exit the diagnostic program.
♦ [BOX INFO.]: to display hardware and
software version of SMARTBOX.
♦ [HELP]: to display help information.
♦ [START]: to start the diagnosis.
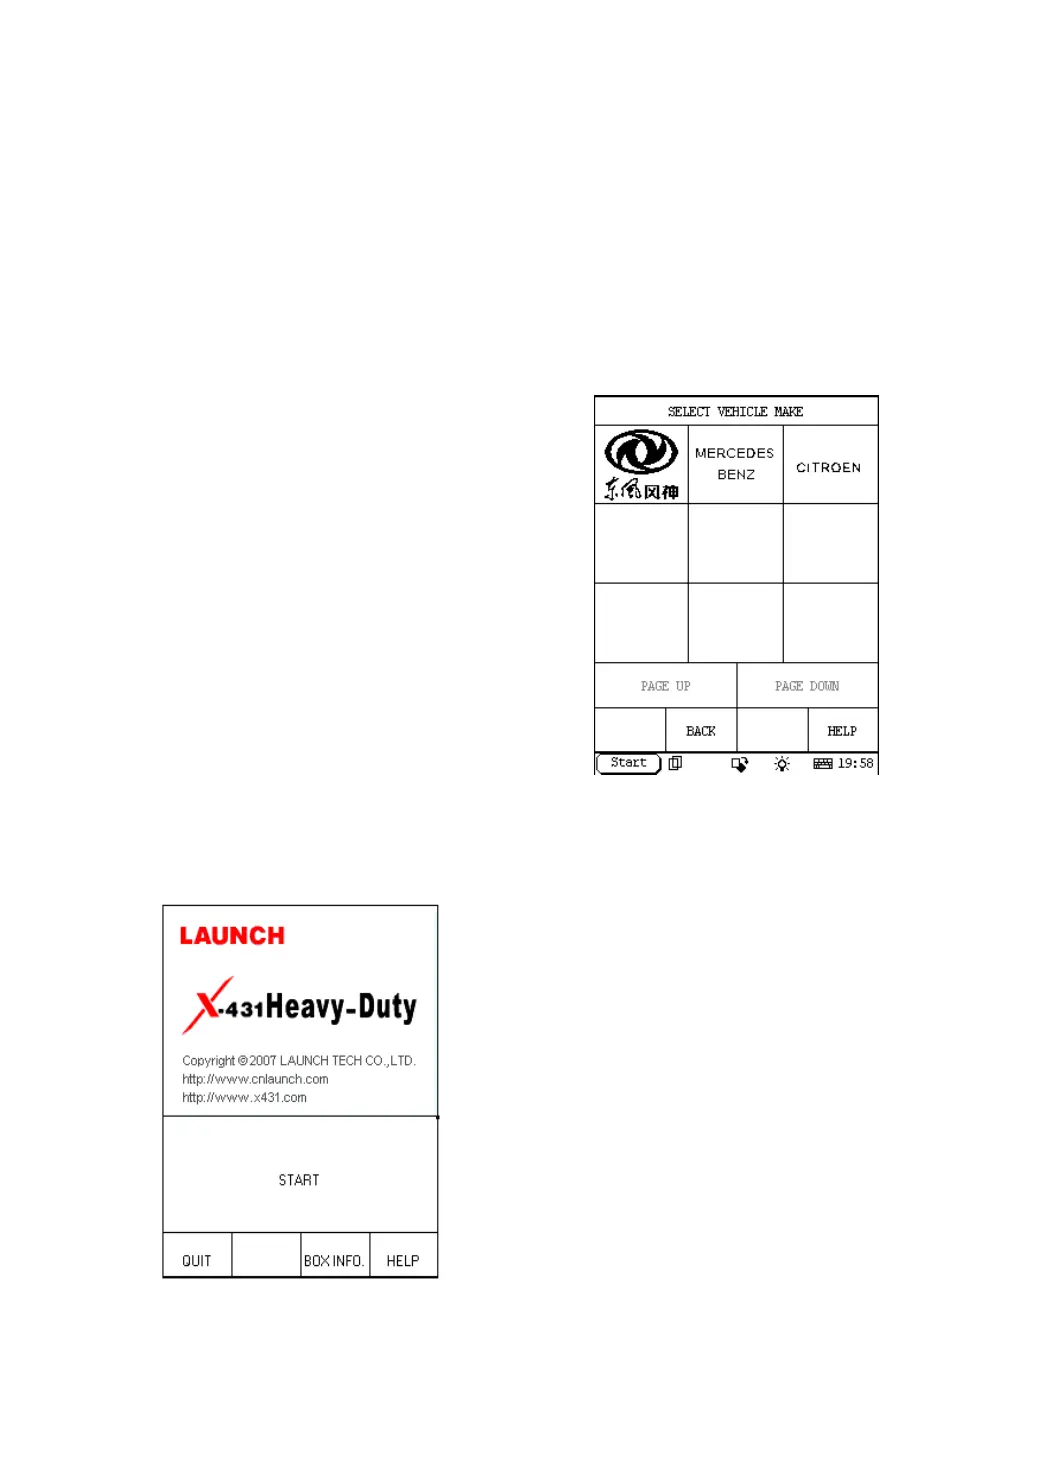
Click [START] button, the screen will display
the vehicle make menu as shown in Figure
2-03.
Figure 2-03
Button descriptions:
♦ [BACK]: to return to the previous
interface.
♦ [PAGE UP]: to display the previous
page, it is inactive if the current page is
the first page.
♦ [PAGE DOWN]: to display the next page,
it is inactive if the current page is the
last page.
♦ [HELP]: to display the help information.
Click the icon of DFBF on the vehicle make
menu. The screen will be displayed as shown
in Figure 2-04.
 Loading...