Page 6 / 27
- USB-C Port: The USB-C port is the topmost port located on the left side of the Dot Mini. It is
used to share data or charge the Dot Mini using PC and USB cables.
- USB-A port: The USB-A port is the second port, located directly under the USB-C port. It is used
to connect the QWERTY keyboard, etc.
- Micro HDMI port: The Micro HDMI port is the bottommost port, located directly under the USB-
A port. This port is only used for A/S purposes, so it is not supported for the user.
- SD Card Socket: The SD card socket is located on the bottom right side of the Dot Mini. You
can insert your SD card here.
- Earphone jack: The earphone jack is located above the volume keys, and allows you to connect
the Dot Mini to various types of earphones or speakers, such as open type and kernel type, so
that you can listen to the output sound.
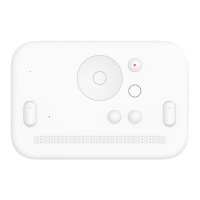
9) Mic: The microphone hole is located above the second and third braille cells, and is used to
record sound.
10) Speaker: The speaker is located to the right of the direction keys, between the back key and
the control key. It is where the Dot Mini’s audio output is produced.
Ⅱ. Power on/off and Battery
1. Powering on and off
1) Powering on
Press and hold the power key for 3 seconds to power the Dot Mini on. A vibration will occur.
After 35 seconds, booting will be complete and an alarm will ring along with a vibration. At this
point, the braille cells will display [Dot Book]. You can begin using the device once you see [Dot
Book] displayed.
 Loading...