CONTACT US AT www.DRpower.com 9
Assembling the DR WALK-BEHIND LEAF AND LAWN VACUUM
Note: Assembly should be done on a clean, level surface.
Tools Needed:
• 1/2" Wrench
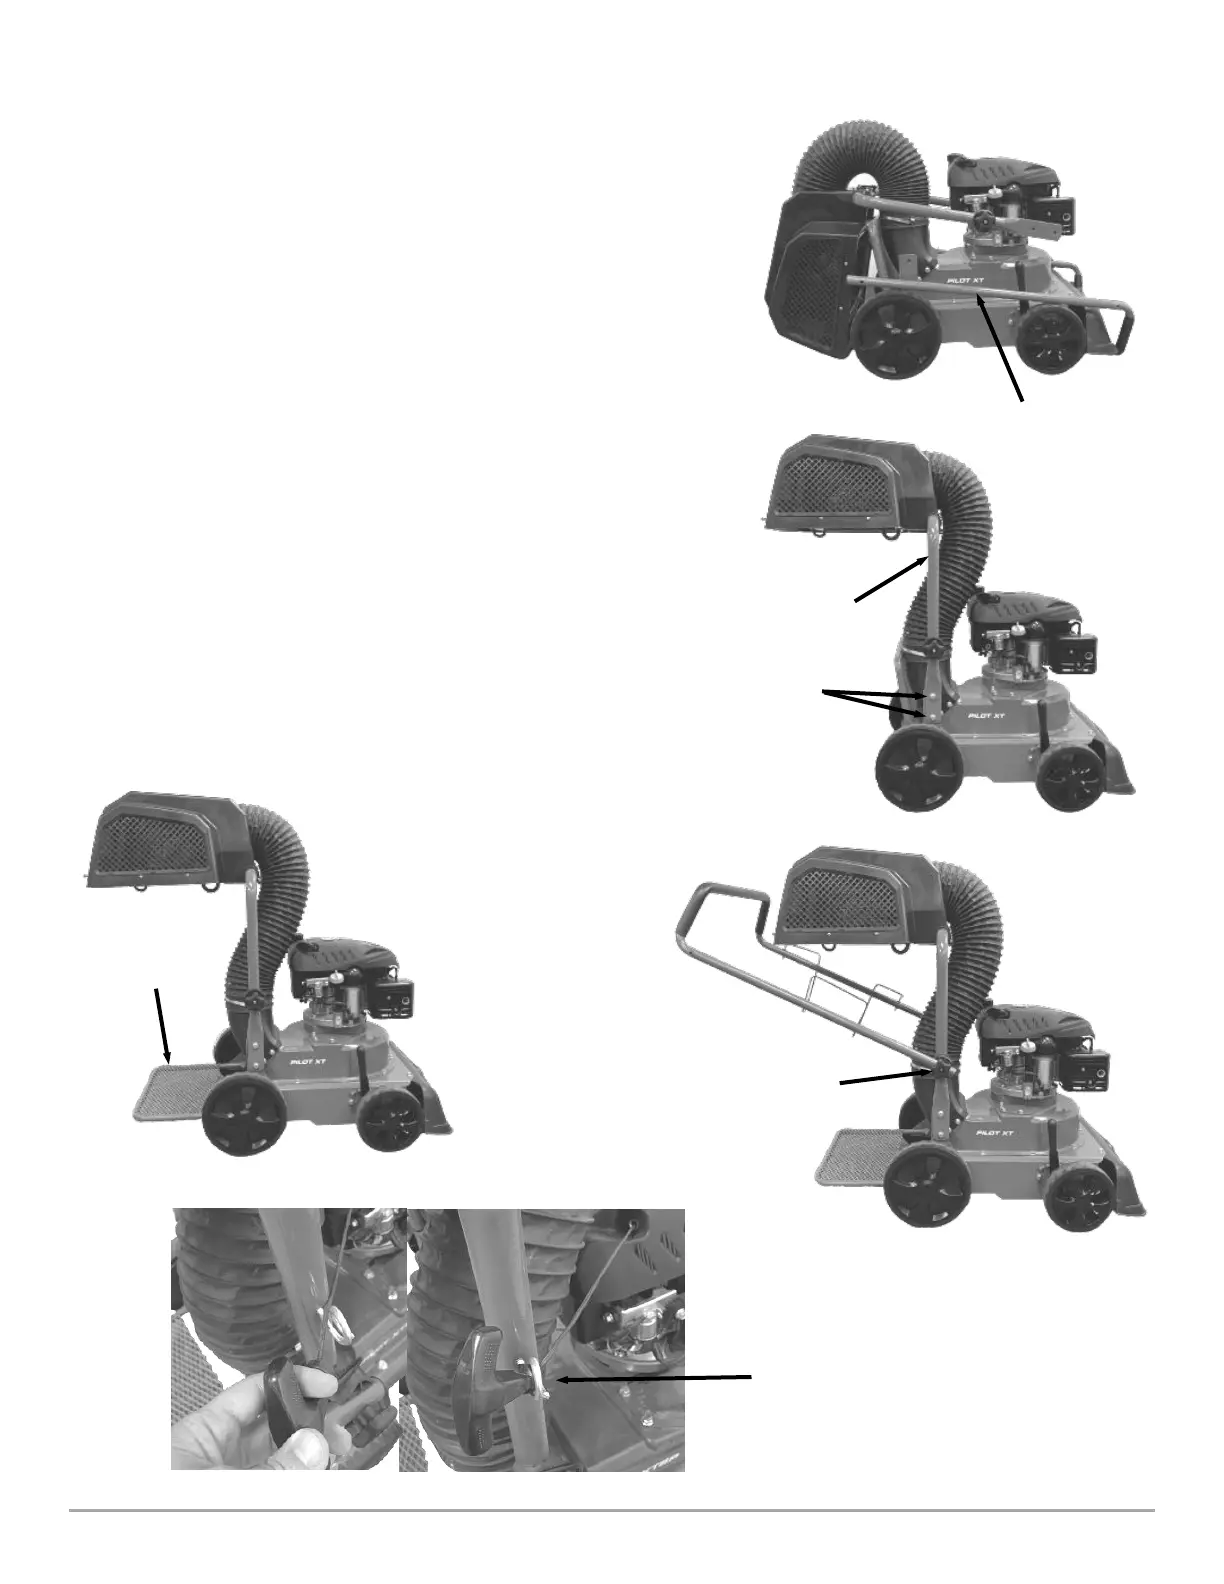
1. Remove the machine from the pallet and place it on a clean, level surface for
assembly (Figure 4).
2. For the Pilot XT: Remove the Upper Handlebar and place it to the side.
For the Pilot XTSP: Rotate the Upper Handlebar and set it on the ground
behind the machine (Note: The Drive Cable comes attached to the Upper
Handlebar)
3. Rotate the Lower Handlebar upright, align the mounting holes, and install
the four 5/16-18 X 1/2″ Bolts by hand (Figure 5).
4. Tighten the four Lower Handlebar Bolts using a 1/2″ Wrench
5. Rotate the Bag Support Platform down (Figure 6).
6. Remove the knobs from each side of the Lower Handlebar.
7. Install the Upper Handlebar onto the Lower Handlebar, and loosely reattach
the Knobs to retain the Upper Handlebar.
8. Adjust the Upper Handlebar to the preferred working height, then tighten
down the Knobs to lock the Upper Handlebar in place. (Figure 7).
9. Slowly pull the pull start cord out, lace the cord through the Wire Recoil
Holder, then slowly release the pull start cord (Figure 8).
 Loading...