CONTACT US AT www.DRpower.com 13
Before performing any adjustment, maintenance procedure or inspection, stop
the engine, wait five (5) minutes to allow parts to cool and disconnect the
spark plug wire, keeping it away from the spark plug.
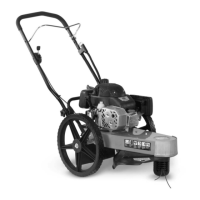
Engaging the Self Propel Wheel Drive
1. Bring the Wheel Drive Engage Bar toward you and the Handlebar (Figure
15). The closer to the Handlebar you move the Bar the faster the machine
will travel. The machine will continue to move forward until you release the
Bar.
2. Push the Trimmer forward a little after releasing the Wheel Drive Engage
Bar. This unlocks the Wheel Transmission Clutches so you can pull the
Trimmer back easily.
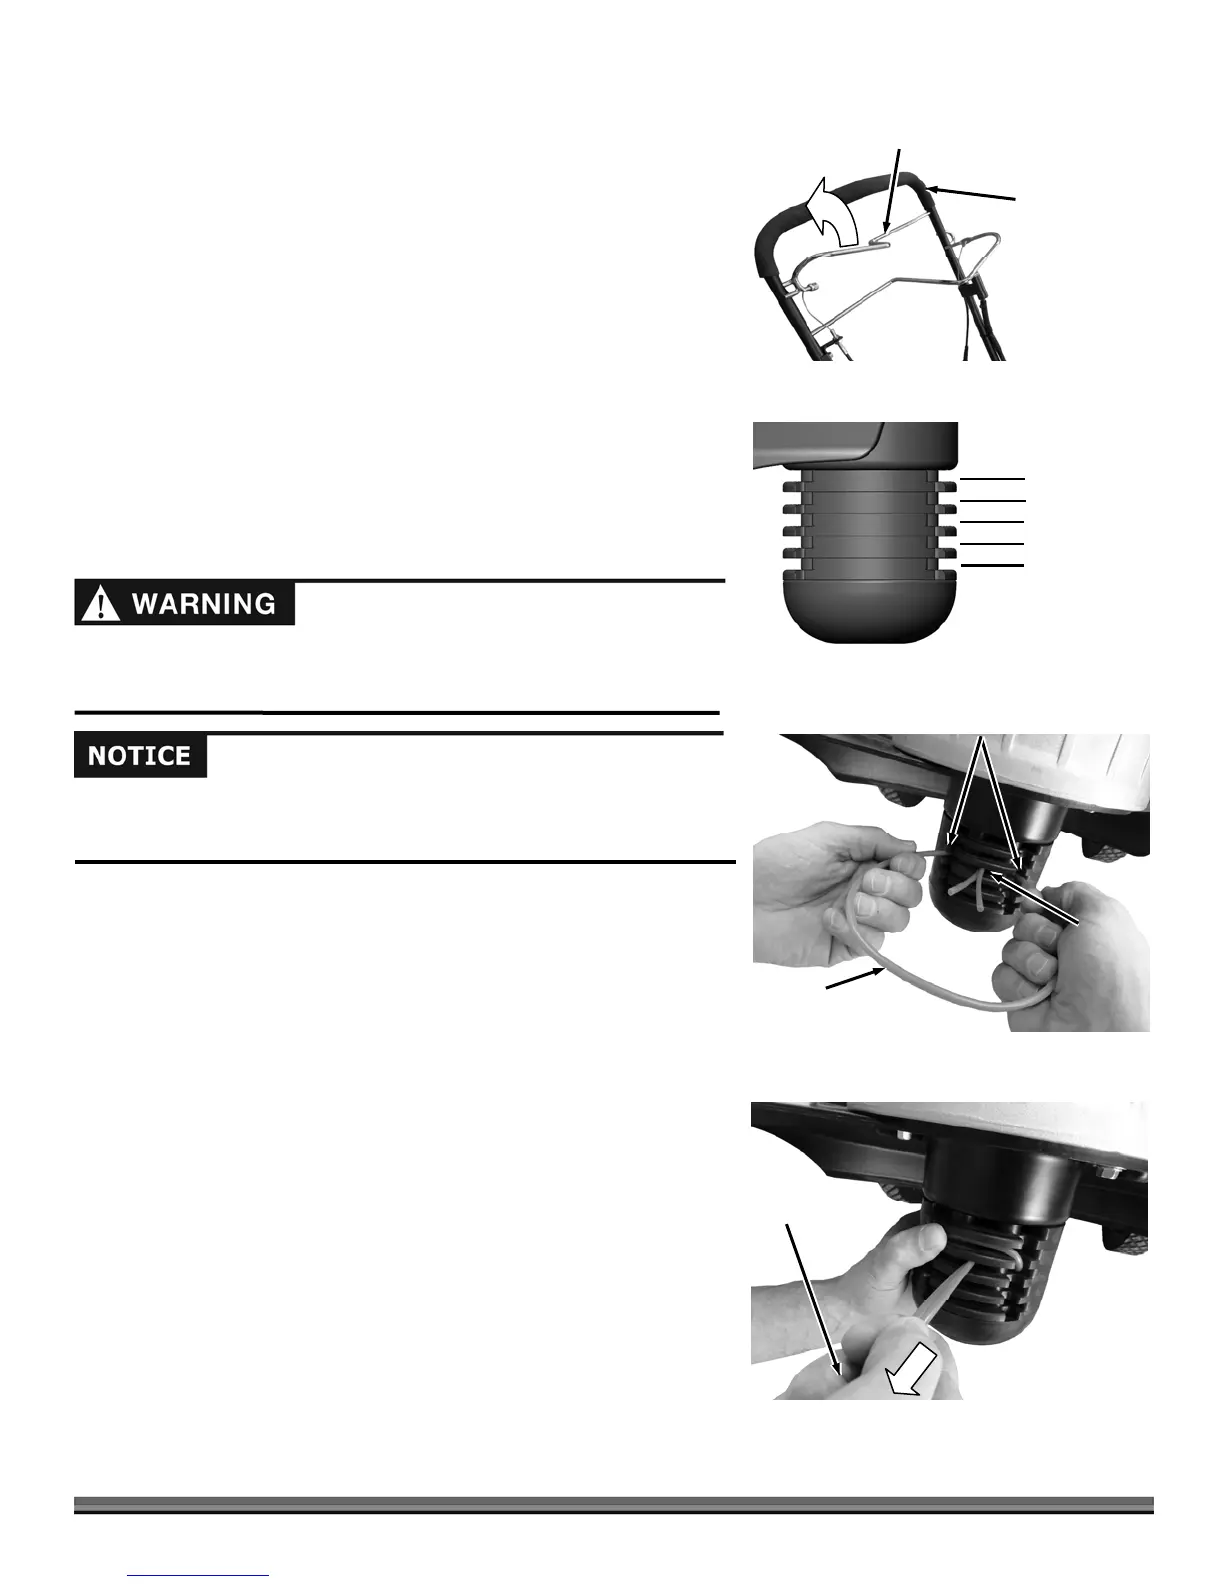
Setting the Cutting Height
Setting the Cutting Height is easy. Cutting heights range in 1/2-inch
increments from 1-1/2 inches (minimum) when using the bottom Line Plate, to
approximately 3-1/2 inches when using the top Line Plate (Figure 16).
Install the Cutting Cords in the Line Plate that gives you the desired cutting
height.
Installing the Cutting Cords
For more detailed information refer to “Installing The Cutting Cords” section in
Chapter 2.
Note: After you install the Cords, and before trimming, engage the Cutting Head
with the Engine running to spin the new Cords for a few seconds so they pull
tight and are set.
1. Insert the ends of the Cord into the side openings in the Line Plate (Figure
17).
2. Push the Cord through until the ends come out the center opening in the
Line Plate. Adjust the ends so the tips are even.
3. Pull the ends of the Cord under the loop and push the loop up into the Line
Plate groove above them (Figure 18) and then pull the ends tight.
1-1/2"
Figure 16
2"
2-1/2"
3"
3-1/2"
Figure 15
Handlebar
Wheel Drive Engage Bar
Cord End
Figure 18
Side
Openings
Center
Opening
Figure 17
Cord
Running the trimmer with only one cord installed, cords of unequal length or
cords installed at other than 180 degrees apart can cause excessive vibration and
may damage the machine.
 Loading...