20
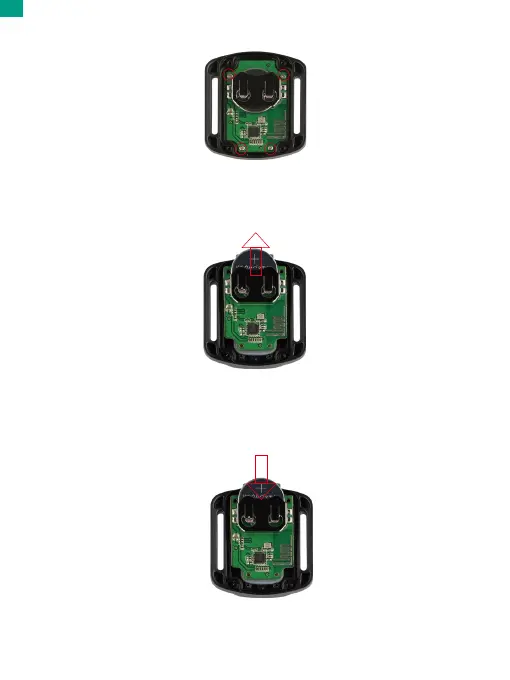
2. Remove another 4 screws on the remote's circuit board.
6. Install all the 4 screws back into the cover.
3. Lift the circuit board and slide out the battery, as shown below.
Note: Avoid rotating the circuit board to prevent reversing the remote control buttons.
4. Install the new battery, keeping the “+” pole facing up.
5. Install all the 4 screws back onto the circuit board.
EN