- 3 -
CONNECTING YOUR MACHINE TO THE POWER SUPPLY: (240V)
To eliminate the possibility of an electric shock your machine has been fitted with a BS
approved, non rewireable moulded plug and cable which incorporates a fuse, the value
of which is indicated on the pin face of the plug. Should the fuse need to be replaced an
approved BS1362 fuse must be used of the same rating, marked thus .
The fuse cover is detachable, never use the plug with the cover omitted. If a replacement
fuse cover is required, ensure it is of the same colour as that visible on the pin face of the
plug (i.e. red). Fuse covers are available from your Draper Tools stockist.
If the fitted plug is not suitable, it should be cut off and destroyed. *The end of the cable
should now be suitably prepared and the correct type of plug fitted. See below.
*WARNING:
A plug with bare flexible wires exposed is hazardous if engaged in a live power socket
outlet.
WARNING:THIS APPLIANCE IS DOUBLE INSULATED.
Blue – Neutral, Brown – Live.
As these colours may not correspond with the coloured markings identifying the
terminals in your plug, proceed as follows:
The wire which is coloured blue must be connected to the terminal which is marked with
the letter ‘N’ or coloured black or blue.
The wire which is coloured brown must be connected to the terminal which is marked
with the letter ‘L’ or coloured red or brown.
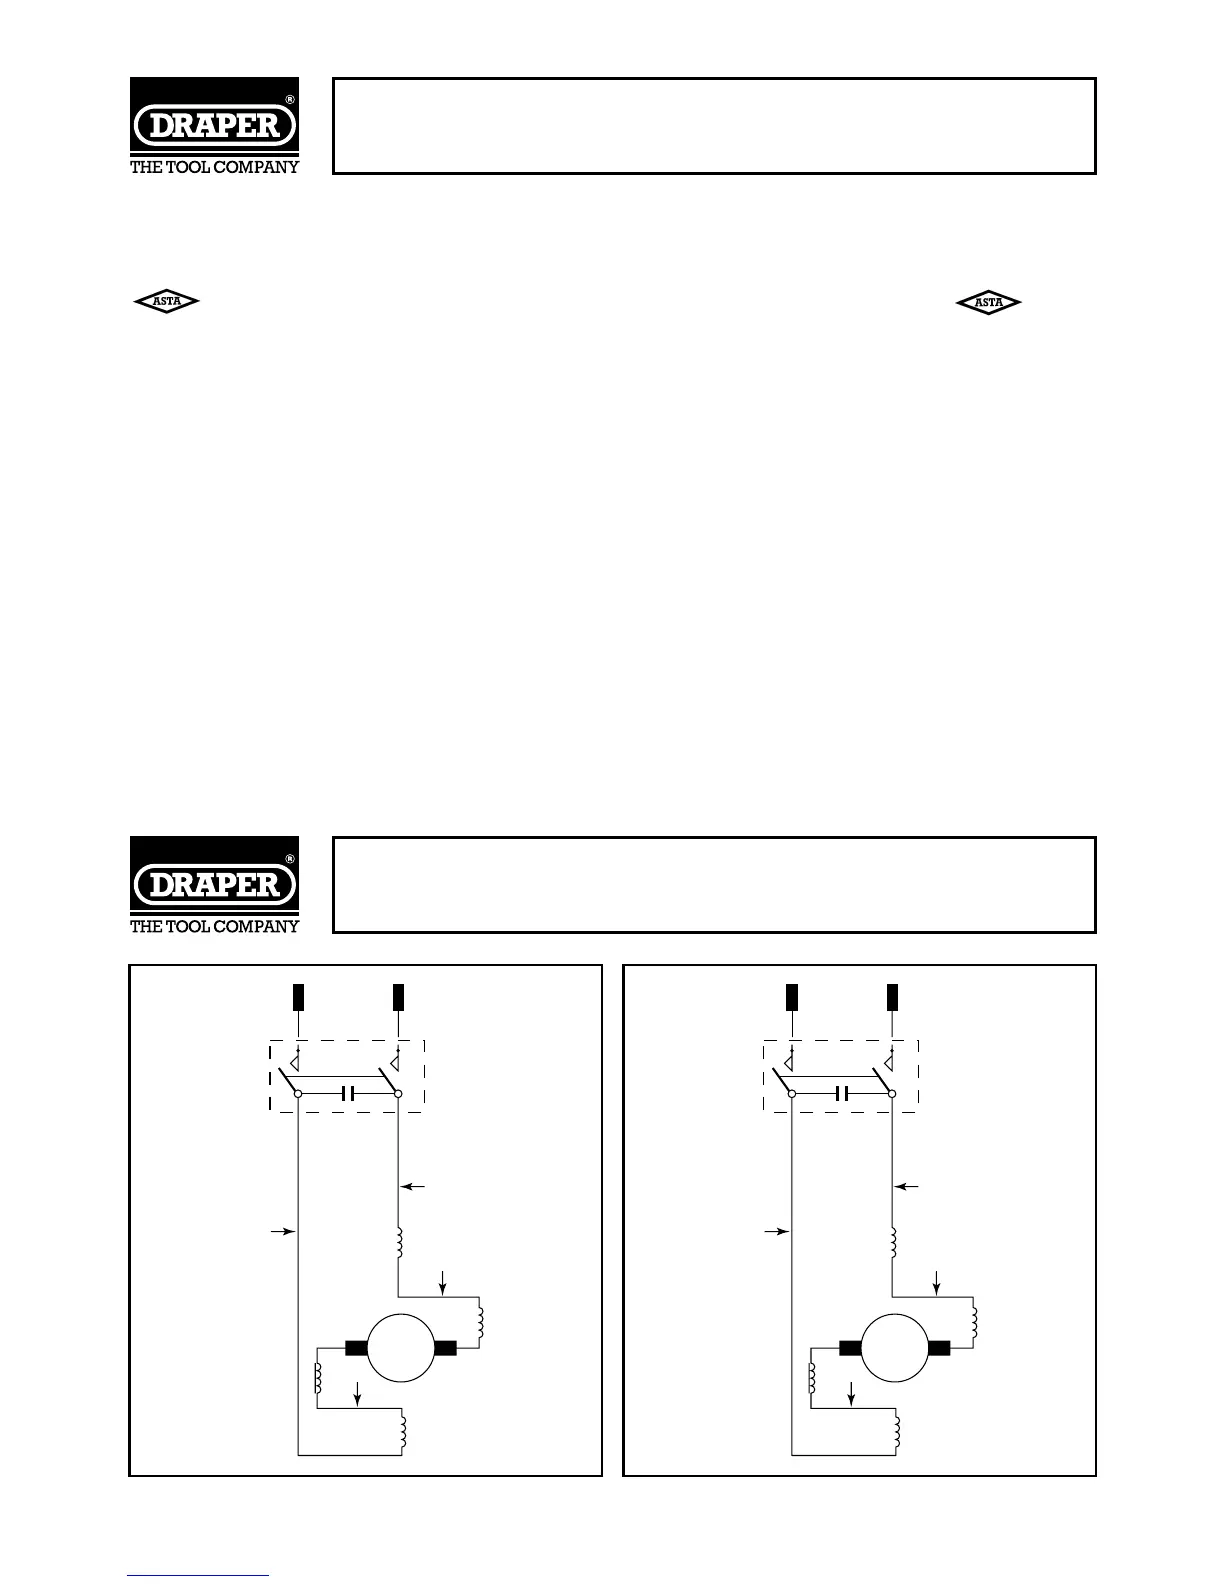
POWER SUPPLY
WIRING DIAGRAM