22
ASSEMBLY
Assembling the Chair, continued...
STEP 6
Install the left arm.
Note: This step requires two people.
Follow Step 5B–F.
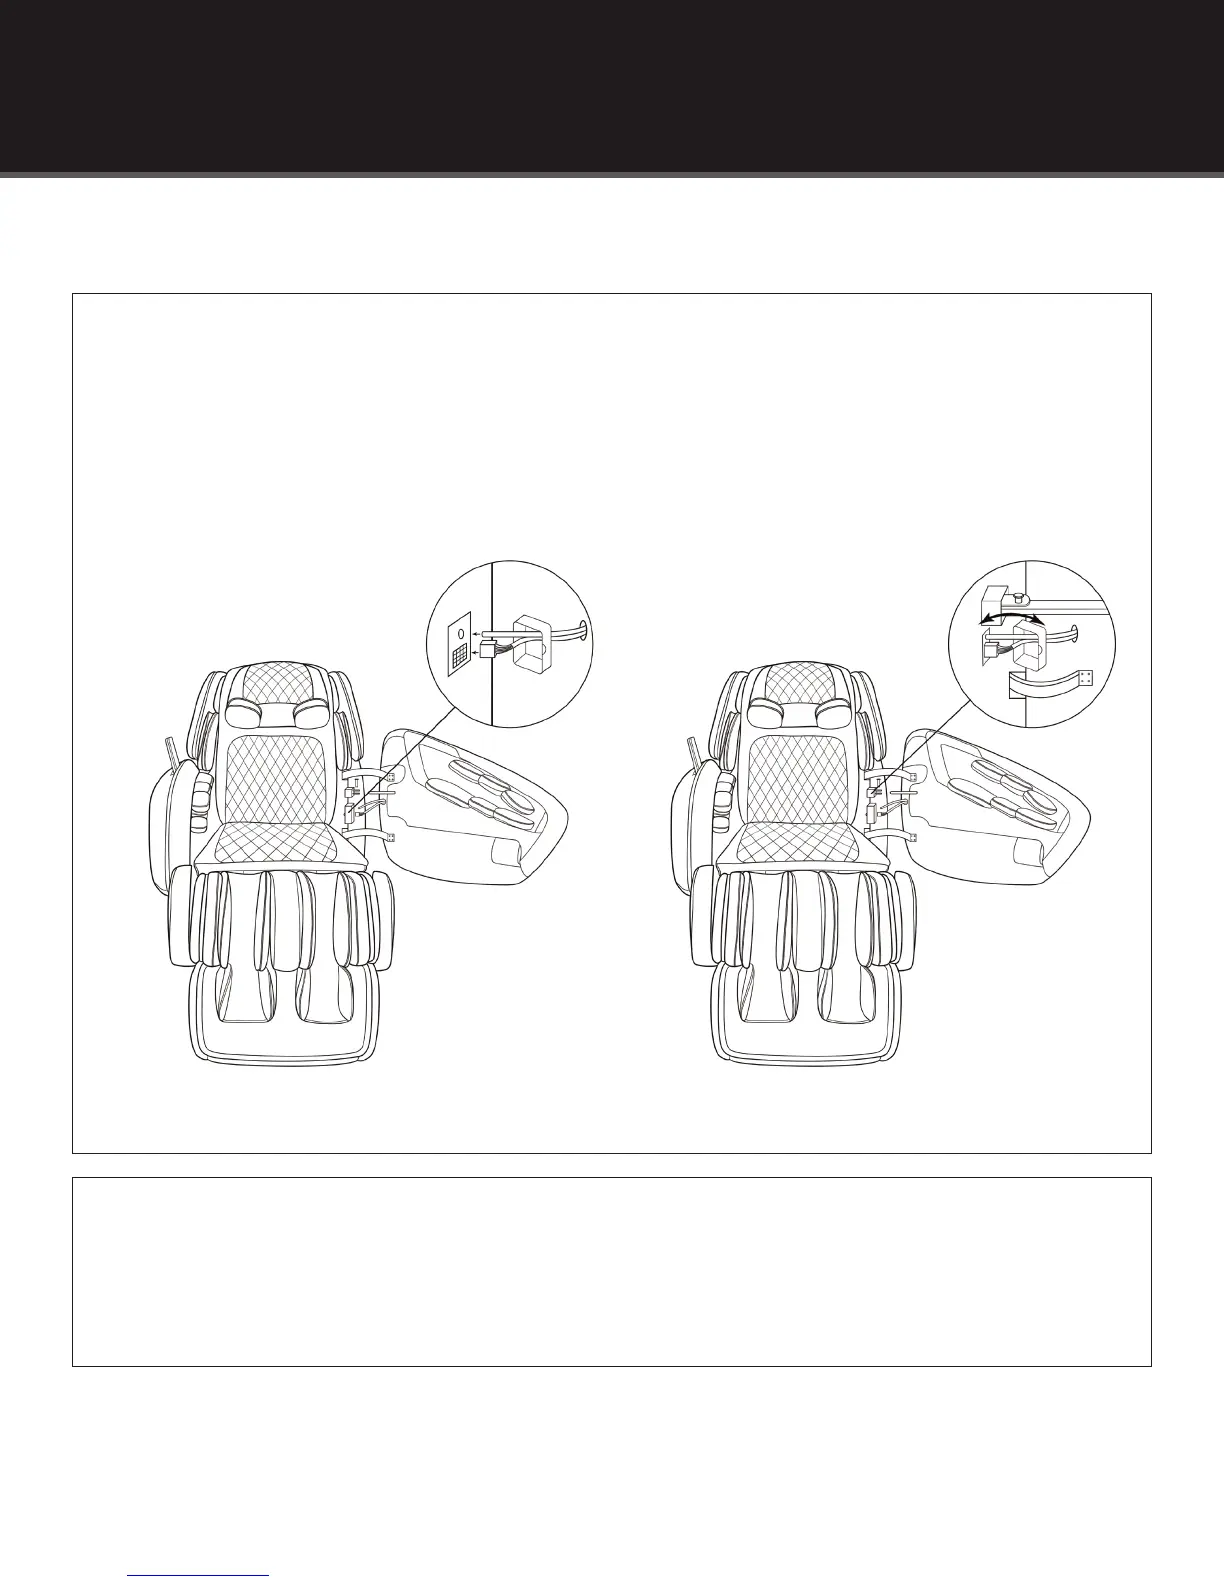
Figure 5E Figure 5F
STEP 5, continued...
E. Remove the protective cap on the base of the chair, then feed the electrical connector and air line through
the center of the protective cap. (See Figure 5E.)
F. Connect the one electrical connector and the one airline from the arm to the base of the chair. Ensure that
the electrical connector’s tab faces toward the front of the chair is fully snapped in, and the airline is pushed
on as far as it will go. Carefully reinstall the protective cover ensuring that electrical lines are not kinked.
(See Figure 5F.)