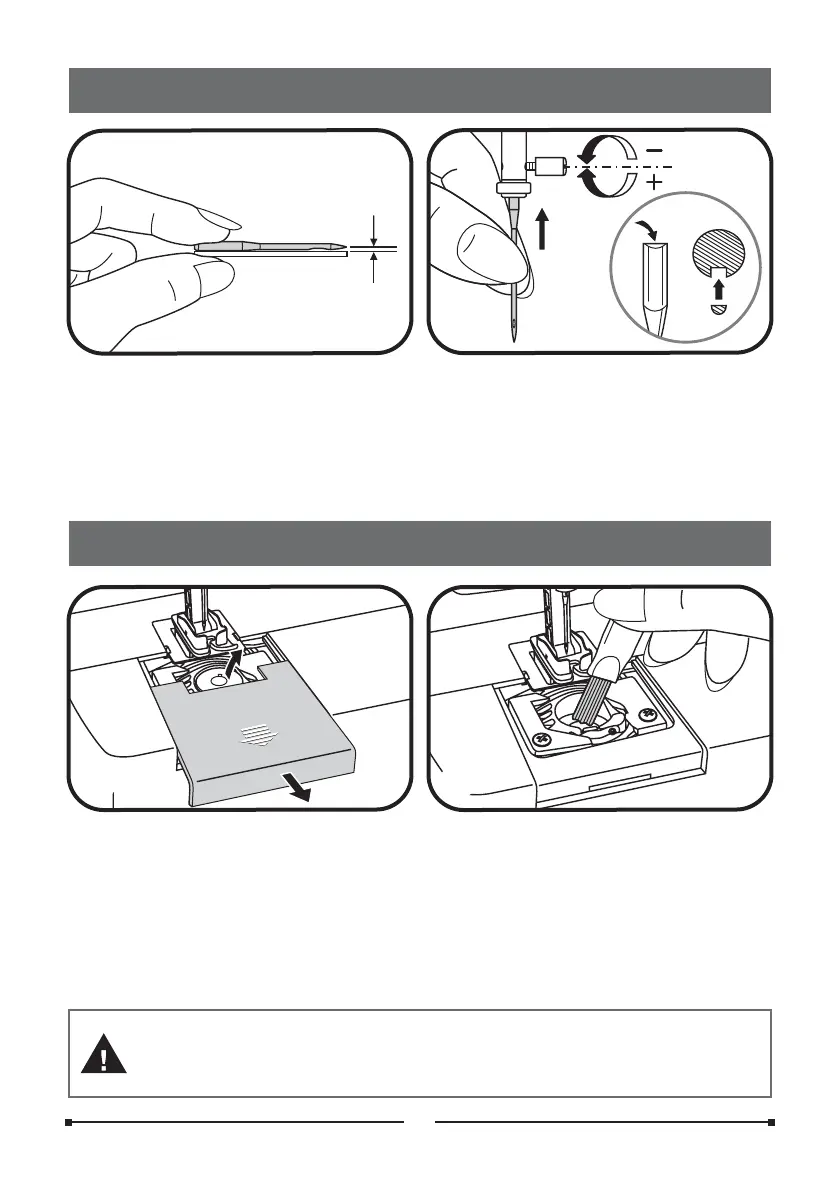
Inserting and changing needle
If lint and bits of thread accumulate in the hook, this will interfere with the
smooth operation of the machine. Check regularly and clean the stitching
mechanism when necessary.
1. Remove the bobbin cover plate and bobbin.
2. Clean the bobbin holder with a brush.
Disconnect the machine from the wall outlet before carrying out any
maintenance or changing the sewing needle.
Attention:
Maintenance
Needles must be in perfect condition. Change the needle regularly, especially if
it is showing signs of wear and causing problems.
Insert the needle following the illustrated instructions. Loosen the needle clamp
screw and tighten again after inserting the new needle. The flat side of the
shaft should be towards the back. Insert the needle as far up as it will go.
1
2
10
 Loading...