07-00407 E 08/2006 Copyright 2006 Dri-Eaz Products, Inc.
9
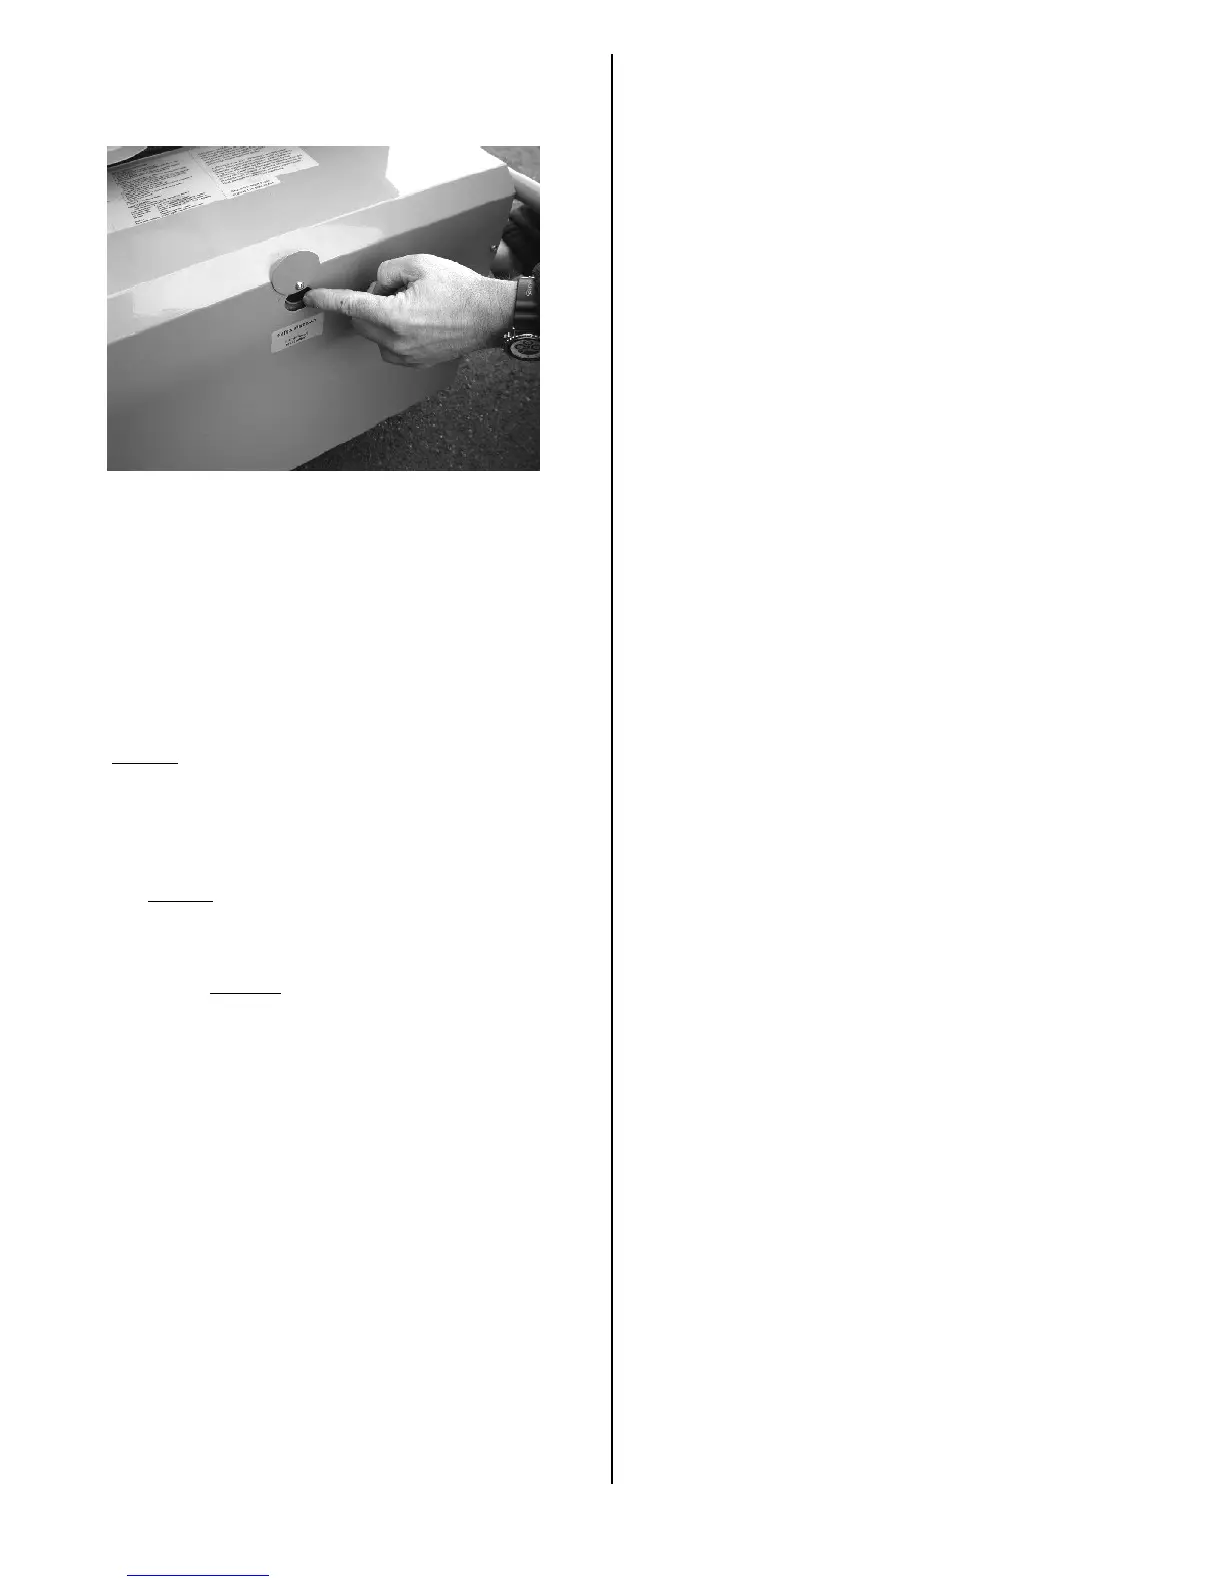
5. Press the Flame Control Reset Button once. To
access the button, swivel the metal cover on the fuel
pump/blower assembly housing.
Press the Flame Control Reset Button
6. The Dragon will restart after priming the fuel pump.
If the Dragon does not restart immediately, wait one
minute and press the Flame Control Reset Button
again. Repeat until the Dragon starts. If the unit will
not restart, contact Dri-Eaz Service at 888-867-
3235.
Using an external fuel tank
The internal fuel tank of the Dragon K85 Mobile Furnace
has a capacity of 9.3 gallons (35 L). Depending on the
specific conditions and thermostat settings, the Dragon
can operate anywhere from a minimum of 8 hours (firing
continuously at 0.69 gal/hr) up to more than 24 hours
(firing intermittently to maintain a constant temperature)
on a full internal
tank of fuel.
If you will be operating the unit unattended for more than
8 hours, we recommend that you purchase a larger
DOT-approved external
fuel tank to use with the external
fuel siphon on the Dragon. This will allow you to operate
the Dragon for longer periods between refueling. Even
though you may not need to refuel with an external tank,
you should continue to physically check the Dragon at
least once a day during operation.
WARNING! Diesel fuel is flammable and potentially
explosive. Place external tank on flat, stable surface to
prevent spills.
NOTICE: Always use a clean fuel tank and fuel source
to prevent fuel problems. Cover the opening to prevent
moisture or contaminants from getting into fuel.
Connecting an external fuel tank
WARNING! Diesel fuel is flammable and potentially
explosive. Always turn off and unplug the Dragon before
switching between internal and external tanks. Do not
smoke while connecting fuel tanks. Keep away from
open flame.
1. Disconnect the two fuel lines coming from the
internal fuel tank. To do this, slide the lock rings
back and pull the adapters apart.
2. To prevent fuel leakage or damage to the adapters,
connect the fuel lines together while not in use. Wipe
any excess fuel oil from the adapters.
3. Connect the fuel lines from the external fuel siphon
to the adapters on the Dragon housing. To do this,
push the male and female adapters together until
the lock rings snap into place. NOTICE: Be sure the
lock rings snap securely to avoid diesel fuel leakage.
4. Insert the siphon into the external fuel tank. Feed
the fuel lines through the plastic cover until the
siphon rests on the bottom of the tank.
5. Operate the Dragon as instructed elsewhere in this
manual.
Reconnecting the internal fuel tank
WARNING! Diesel fuel is flammable and potentially
explosive. NOTICE: Always turn off and unplug the
Dragon before switching between internal and external
tanks. Do not smoke while connecting fuel tanks. Keep
away from open flame.
1. Remove the external fuel siphon from the external
fuel tank. Wipe the siphon and fuel lines clean of
excess fuel oil.
2. Disconnect the fuel lines from the external tank. To
do this, slide the lock rings back on the female
adapters and pull the adapters apart.
3. To prevent fuel leakage or damage to the external
fuel line adapters, connect the lines together while
not in use. Wipe away any excess fuel oil.
4. Connect the fuel lines from the internal fuel tank to
the adapters on the Dragon housing. To do this,
push the male and female adapters together until
the lock rings snap into place. Note that the male
and female adapters are arranged so that you will
always connect the lines properly.
Draining the internal fuel tank
You may occasionally need to drain the internal fuel tank
for shipping or storage. The Dragon is equipped with a
fuel tank drain plug on the bottom of the unit near the
wheel axle.
 Loading...