8
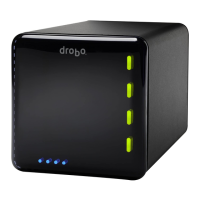
Once you’ve chosen the number of drives and which capacities to
install, all you have to do is remove your Drobo’s face plate by simply
pulling it off and then slide the drives into the Data Bays. It doesn’t
matter which drive goes into which Data Bay. You should note that any
pre-existing data on the drives will be erased. Be sure not to touch any
exposed hard drive circuit boards after unpacking.
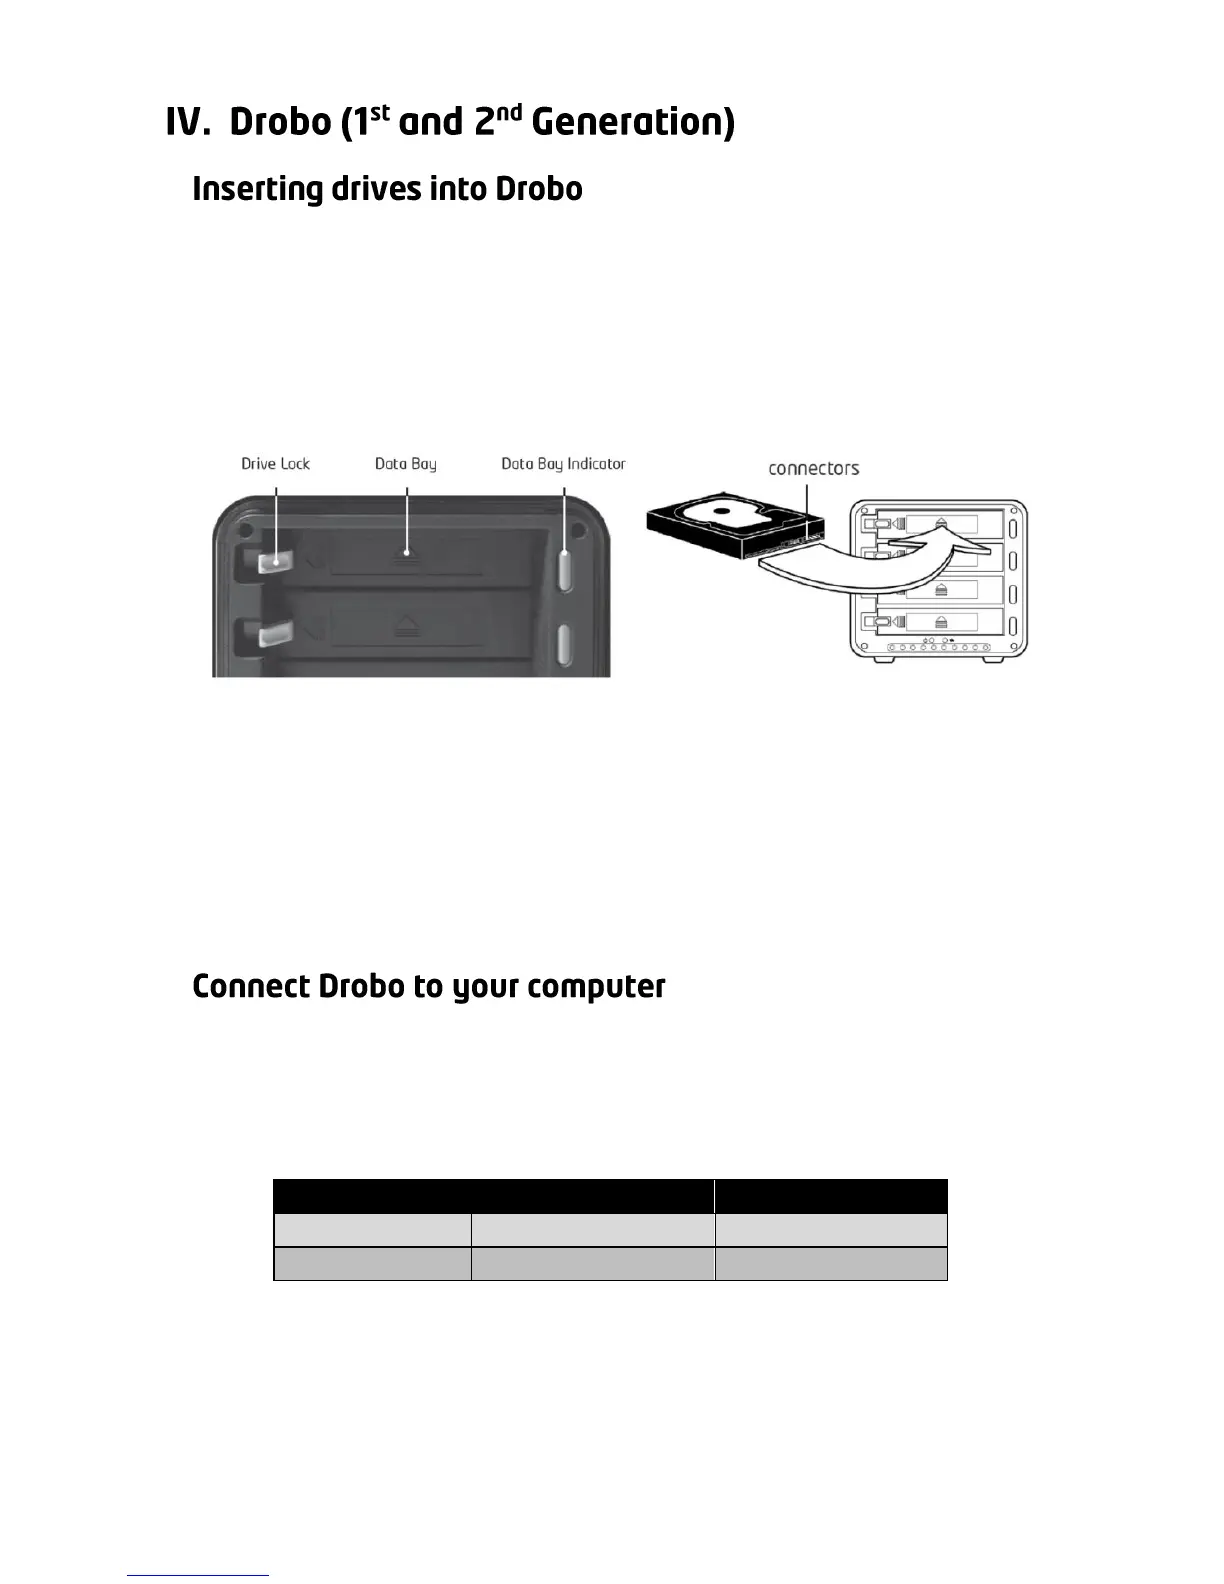
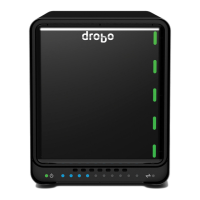
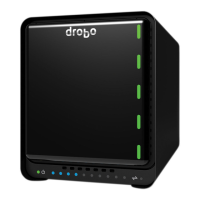
First orient the drive connectors so that they are pointed towards the
Drobo and are at the bottom of the drive (as shown). Open the Drive
Lock by pressing it towards the left and slide the drive into the Data Bay
until you feel the connector “mate” at the rear of Drobo. If the
connectors seat properly, the Drive Lock will snap behind the drive,
securing it into place.
Tip: Insert the drive with top silver plate facing up (circuit board down).
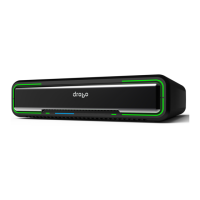
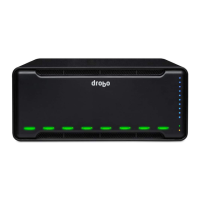
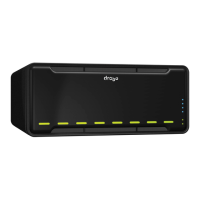
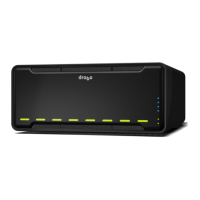
There are several ways to connect Drobo to your computer. You should
select the fastest connection you have available. Please note that only
one connection type can be used at any given time. The connections
are: