10
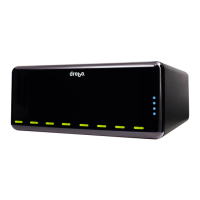
If you are going use your Drobo on a network, you will need to use the
companion product, DroboShare. Your Drobo connects to DroboShare,
which connects to the network. Please see page 18 for further detail on
setting up this connection. Return to this point to complete your Drobo
setup.
Just as with any hard drive, you must format Drobo for use with your
computer’s operating system. Use the formatting tools provided in
Drobo Dashboard, which is included on the Drobo Resource CD. You can
also download Drobo Dashboard by visiting www.drobo.com/support.
Insert the Drobo Resource CD that came with your Drobo into your
computer. From the on-screen menu, select Install. After Drobo
Dashboard is installed, it will start automatically.
Depending on your computer’s operating system, you have several
choices for the file system format and size of the file system on your
Drobo. You should pick the combination that works best for your
expected usage of Drobo. For most customers, we recommend choosing
the largest volume size available for the selected file system. The size of
the volume you select is independent of the amount of actual storage in
your Drobo because of Drobo’s advanced storage virtualization.
If the amount of available protected storage in Drobo ever exceeds the
size of the volume that you picked (this may occur when you add one or
more additional hard disks to Drobo), then Drobo will automatically
create a new volume (or volumes) of the same size as the original
volume. Drobo Dashboard will notify you when this occurs and ask you
to format and name the new volume(s).