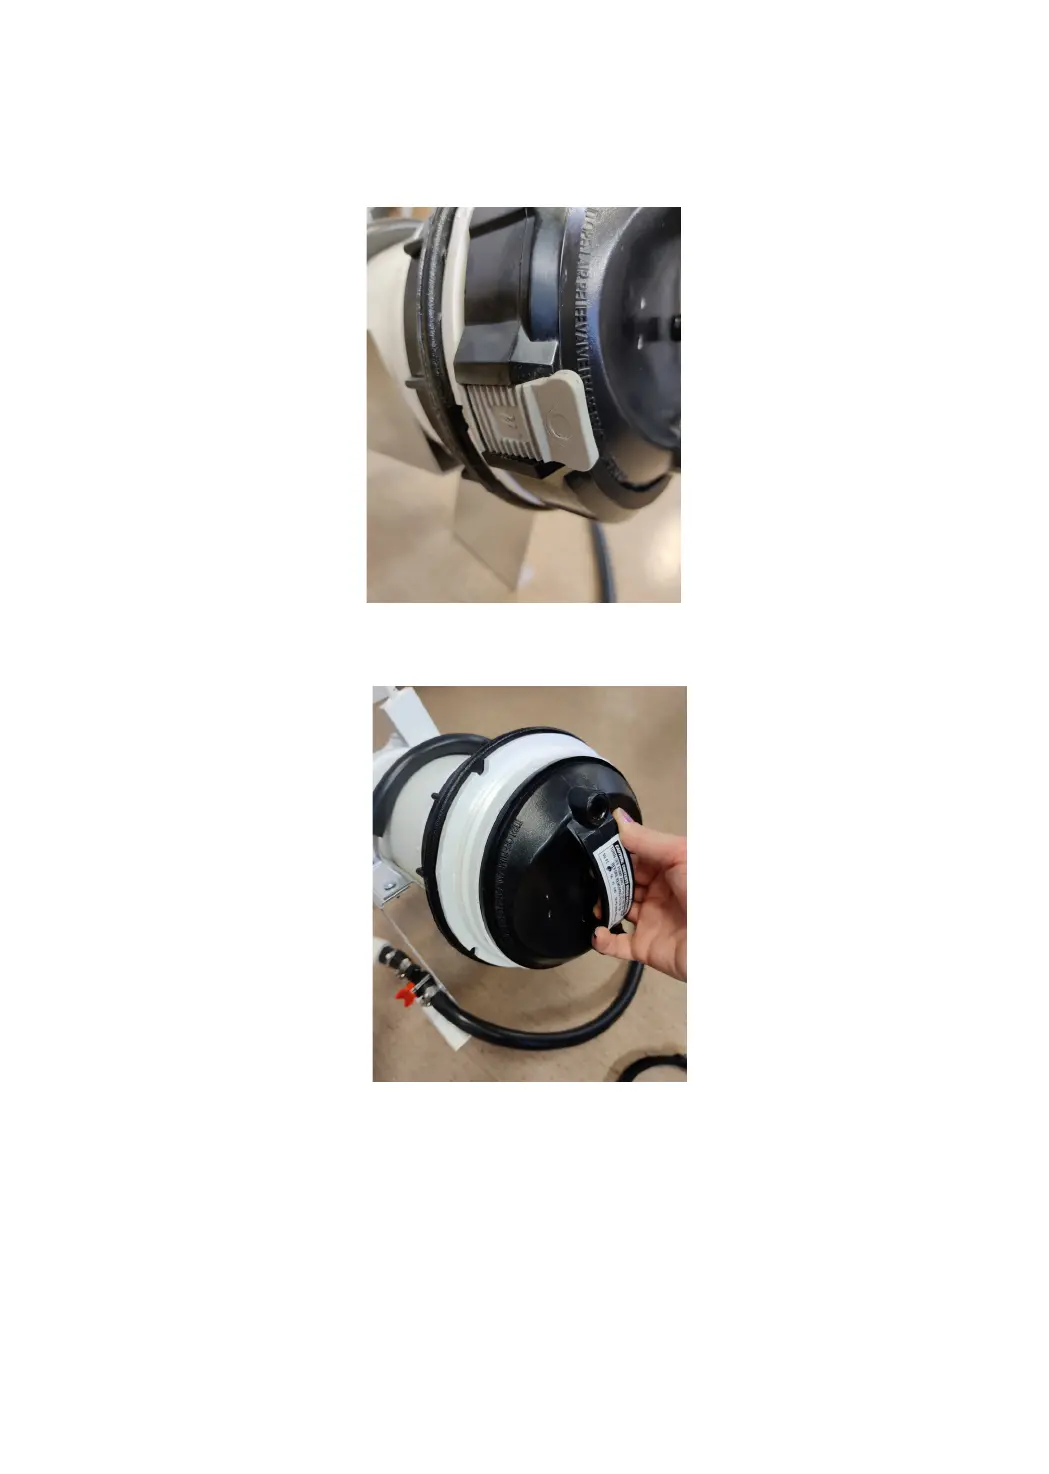
3. Pull the grey locking clip upwards and screw the large nut on the cover open.
4.Openthetankcoverbypullingthehandle.
5.Removethelterforcleaning/replacement.
6.Putthecleanlterbackinitsplaceandclosethetankcover.Screwthenutback
in place.
7.Opentheseals(2pcs)andkeeptheventingscrewopenuntilthetankislledwith
water and there is no longer air in the tank.
8. Screw the venting screw back in place.
NB: The tank will release a little bit of water. It is recommended to place a
bucket or a towel beneath the tank.