189
In the event of a breakdown
08
Before installing other electrical equipment or
accessories on your vehicle, contact a dealer
or a qualified workshop.
The Manufacturer accepts no
responsibility for the cost incurred in
repairing your vehicle or for rectifying
malfunctions resulting from the installation of
accessories not supplied and not
recommended and not installed in accordance
with specifications, in particular when the
combined power consumption of all of the
additional equipment connected exceeds 10
milliamperes.
Fuses in the dashboard
The fusebox is located in the lower dashboard
(left-hand side).
To access the fuses, follow the same procedure
as that described for accessing the tool kit for
changing fuses.
For more information on Access to the tool kit,
refer to the corresponding section.
Fuse tables
Box 1
Fuse No. Rating (A) Functions
F3 5 A Rear USB socket.
F4 15 A Horn.
Fuse No. Rating (A) Functions
F6 20 A Screenwash
pump.
F14 5 A Emergency and
assistance calls,
alarm.
F27 5 A Additional
heating/
ventilation
remote control
receiver.
F29 20 A Touch screen
audio system.
F31 15 A Front 12V
socket.
F32 15 A 12V socket in
boot.
Box 2
Fuse No. Rating (A) Functions
F1 40 A Heated rear
screen.
F4 15 A Electric windows
and exterior
mirrors.
F6 25 A Reversing lamps.
Fuse No. Rating (A) Functions
F10 15 A Air conditioning
additional
blower.
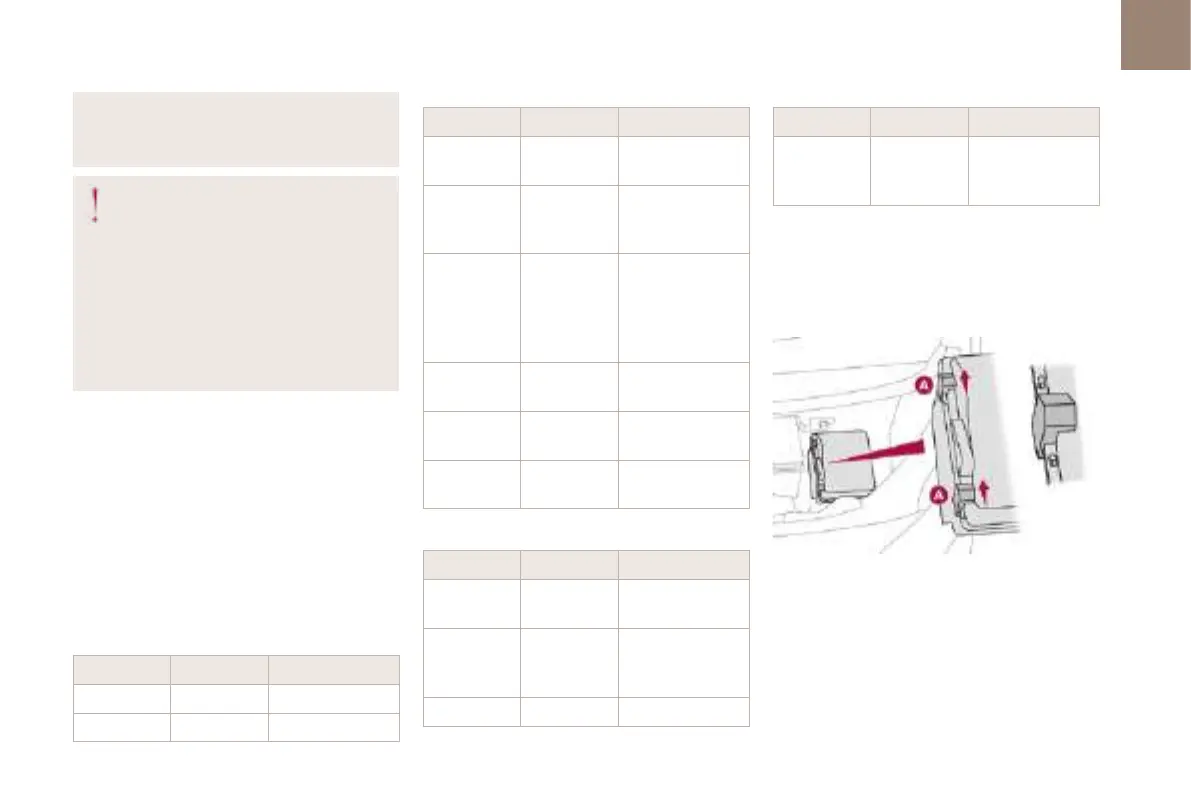
Engine compartment fuses
The fusebox is placed in the engine compartment
near the battery.
Accessing the fuses
► Release the two latches A.
► Remove the cover.
► Replace the fuse.
► When you have finished, close the cover
carefully, then engage the two latches Ato ensure
that the fusebox is properly sealed.

 Loading...