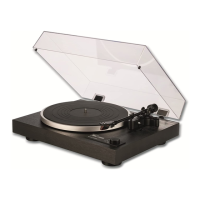
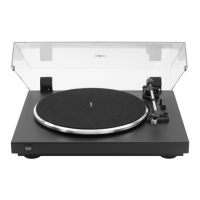
---------------------------------------------------------------------------------------------------------------------------------------------------------------------------------------------------------------------------------------------------------------------------------------------------------------------------------------------------------------
------------------------------------
7
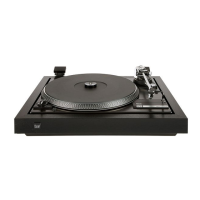
Connection to the amplifier
Connect the plug of the output cable 15 to the AUX or LINE-IN
jack on the back side of the amplifier.Take care to properly
connect the left and right channels (red or black = right
channel, white = left channel).
Note: This record player contains an integrated preamplifier.
Insert mains plug 16 into the socket. Insert the mains cable
into the mains socket.The device is suitable for a mains
voltage of 230 V/50 Hz.
Removing / fastening the protective needle cap
The protective needle cap must be removed from the cartridge
6 before playing a record. Pull forwards to remove the cap.
It is recommended that the protective needle cap be replaced
after playing to protect the needle.
Automatic start, speed selection
– Put on the record. Set the respective record diameter of 30
or 17 cm with the selector switch 7. Set the turntable rota-
tion speed of 33 or 45 rpm with the SPEED switch 13. Make
sure that the LIFT switch 8 is in the DOWN position.
– Push the START button 10. The turntable begins to turn to
the preset speed.The pick-up arm is automatically lowered
onto the record. Playback begins.
Manual start, cue control
– Put on the record. Set the respective record diameter of 30
or 17 cm with the selector switch 7. Set the turntable ro-
tation speed of 33 or 45 rpm with the SPEED switch 13.
Make sure that the LIFT switch 8 is in the UP position.
– Lift the pick-up arm from the pick-up arm rest 5 and move it
over the lead-in groove. The turntable begins to turn to the
preset speed. The pick-up arm is lowered by pushing the
LIFT button (DOWN) 8.
– The tonearm can be raised at any position, also for brief in-
terruptions when playing, by means of the cue control lever
8 (cueing lever in position UP). The platter continues to
rotate in this case.
Stop
– At the end of record, the tonearm is automatically reposi-
tioned back on the tonearm post and the unit is switched
off.
– You may turn the record player off by pushing the STOP
button 9, or by moving the lifting lever 8 to the UP position
and guiding the pick-up arm back to the pick-up arm rest.
Stylus DN 402 S
The stylus is subjected to natural wear and tear during playing.
We therefore recommend regular checks, which should be
carried out after at least 300 playing hours in the case of dia-
mond-tipped styli. Worn out or damaged (chipped) styli
damage records. Therefore, only use as replacement the
stylus type DN 402 S. Other styli often cause audible
reductions in quality and increased wear to records. Remove
the stylus by pulling it diagonally downwards. To fit a stylus in
follow the procedure in reverse order.
 Loading...