EasyManua.ls Logo

Dunster House Utopia 300 - User Manual

Dunster House Utopia 300
18 pages
Print Icon
To Next Page IconTo Next Page
Loading...
Installation Manual
For
Utopia 300 Gazebo 3m x 3m
H3-GS3X3MK2
Unique product reference number
.........................................................................
www.dunsterhouse.co.uk
V2
Question and Answer IconNeed help?

Do you have a question about the Dunster House Utopia 300 and is the answer not in the manual?

Summary

Step 1: Assembling the Main Frame

Wall Posts and Roof Support Boards Layout

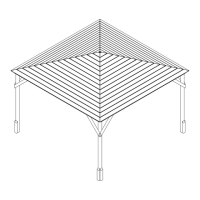
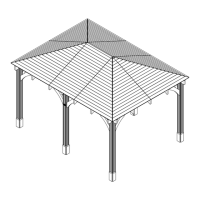
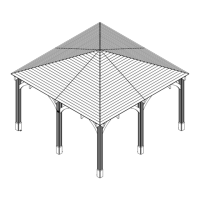
Diagram showing the layout of wall posts and roof support boards for frame assembly.

Step 2: Fixing the Post Braces

Fix Post Braces to Frame

Attach post braces to the frame using specified screws for stability.

Step 3: Attaching Post Beams and Roof Connectors

Connect Post Beams and Roof Connectors

Attach post beams to main frame and roof connectors using specified screws.

Step 6: Installing Remaining Roof Supports

Attach Roof Beams and Braces

Fix the remaining roof beams and braces to the central frame structure.

Step 7: Fixing Shiplap to Roof

Attach Shiplap Roof Boards

Secure shiplap boards to the roof assembly, ensuring correct overhang and gaps.
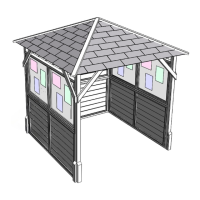
Step 9: Fixing Shingles to Roof

Step 10: Completing Shingle Roof Covering

Step 11: Fixing Roof Cover Boards

Roof Felt Application

Dunster House Utopia 300 Specifications

General IconGeneral
CategoryOutdoor Furnishing
NameUtopia 300
MaterialWood
Floor IncludedYes
WindowsYes
Doors1
Dimensions300cm x 300cm
Roof TypePent

Related product manuals