8 9
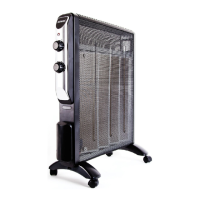
Operation Setting up the heater
Connecting the Power
The main power ON/OFF (0/I) switch is located on the back of the heater.
To connect the power supply to the heater, push this switch to the ON (I) position.
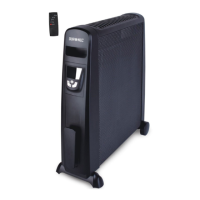
There is a “D” sound and the screen will display in full for 3 seconds,
then heater enters into standby mode.
If you wish to disconnect the power supply,
push ON/OFF (0/I) button again and switch to OFF (0).
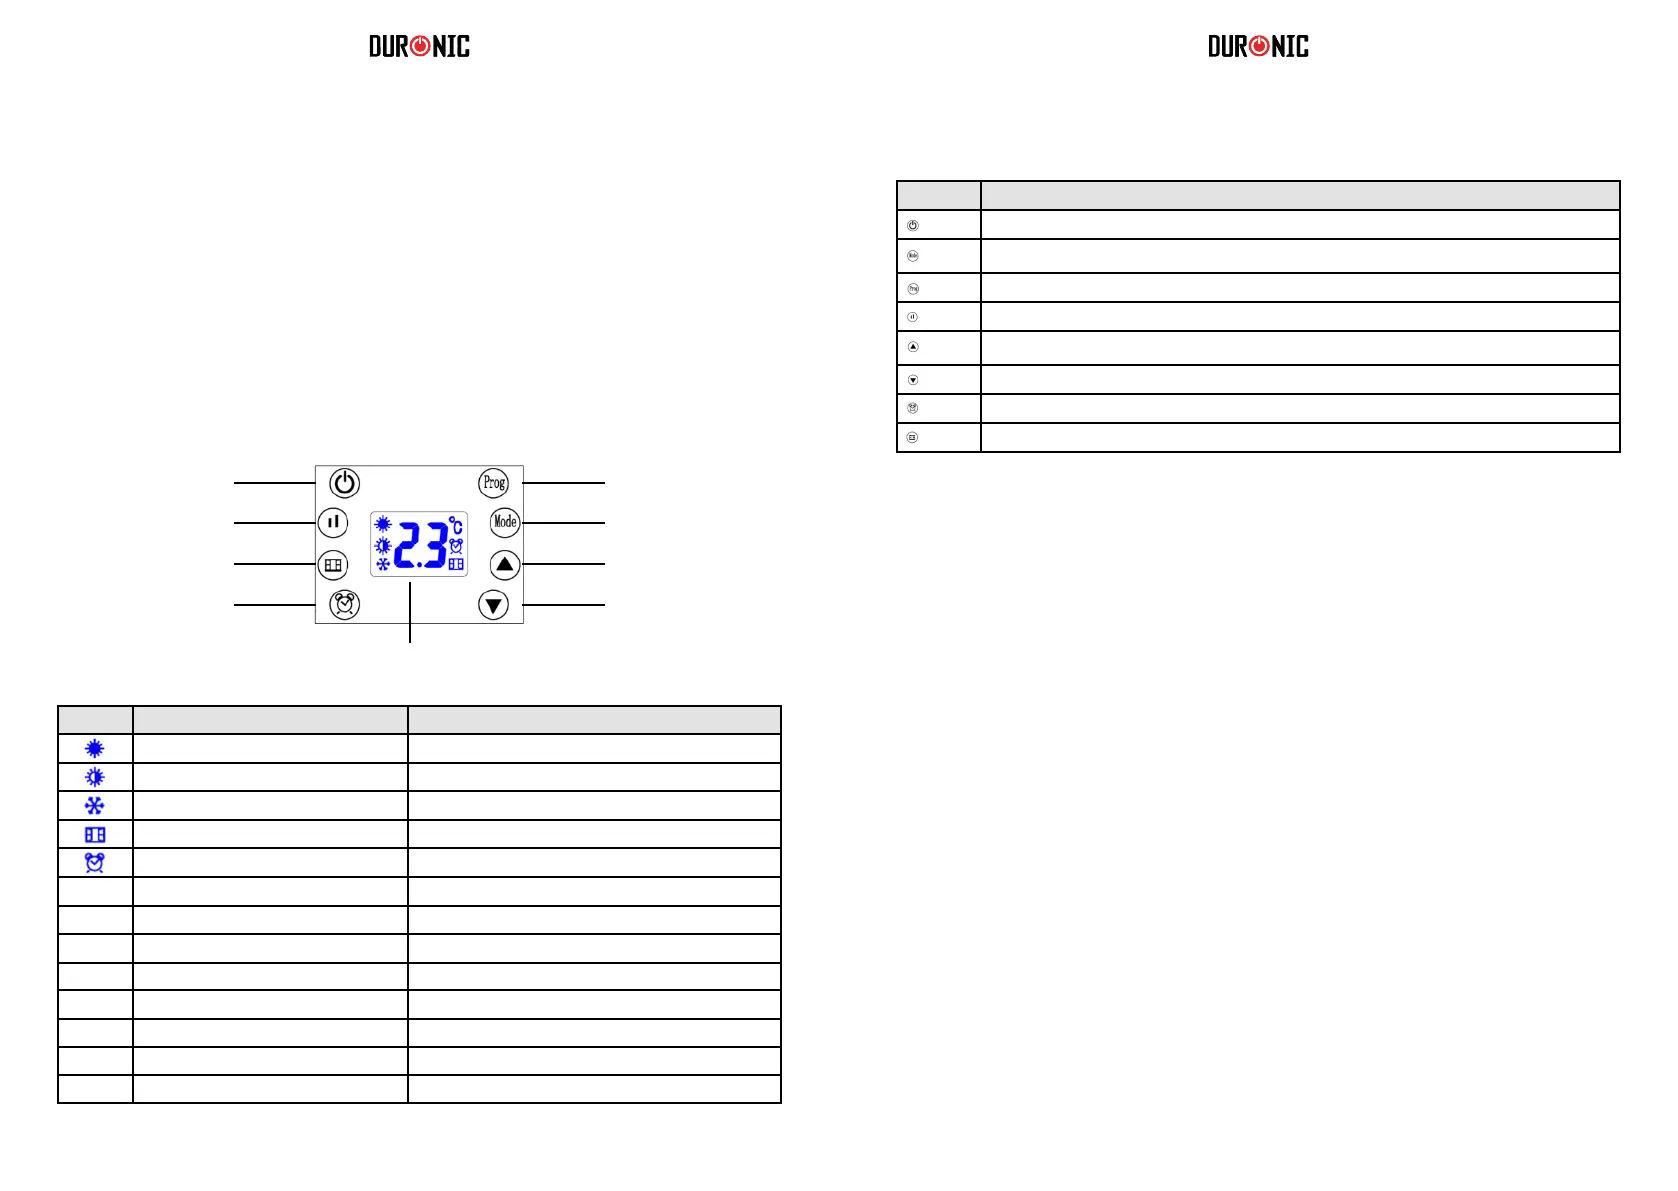
Reading the Digital Display
ProgramOn/ Standby
Modes: P1/ P2/ P3/ P4/ P5/ UP
Power setting
Up arrow: timer/ temperatureWindow open detection
Down arrow: timer/ temperatureTimer
LED Display
Icon Referred to in manual as Meaning
Full Sun Icon Working at full power = 2000W
Half sun Icon Working at half power = 1000W
Snowake Icon Anti-Frost Function
Window Icon Window open detection function
Timer Icon Reverse timer function
[ ] Child Lock Icon Child lock function
d1 D1 Day 1/ Monday
d2 D2 Day 2/ Tuesday
d3 D3 Day 3/ Wednesday
d4 D4 Day 4/ Thursday
d5 D5 Day 5/ Friday
d6 D6 Day 6/ Saturday
d7 D7 Day 7/ Sunday
Buttons Reffered to in manual as
On/ standby button
Mode button
Program button
Power setting button
Up-arrow button
Down-arrow button
Timer button
Window open detection button
1. Turning the Heater On and Off
2. Set the current day and time
To switch on the fan heater, press the on/standby button once.
t will immediately power on and you will hear it running, and it will start to blow out warm air.
OFF: To switch the heater off again, press the same on/standby button to put it into standby mode.
Set the day of the week
a) Switch the heater on.
b) Long-press the timer button for 3 seconds.
c) The screen will rst display d1 and start to ash.
d) Press the up-arrow or down-arrow to set the day of the week
it currently is from d1, d2, d3, d4, d5, d6, d7.
e) After selecting the day, press the timer button once to conrm.
Set the clock
f) Next, the heater enters into the time/clock setting.
A numbered digit ashes on the screen.
g) Set the hour: Press the up-arrow button or down-arrow button to set the
current correct hour among 00-23 in the cycle.
h) When you have chosen the hour, press the timer button once to conrm.
i) Set the minutes: Press the up-arrow button or down-arrow button to set the
current correct minutes from 0-59.
j) Press the timer button once to conrm.
k) Finally, when both the hour and minutes have been set,
press the timer button once to conrm and save the settings.
After setting the time, allow the digital screen to return back to the standard screen.
To check if the current day and time is set currently, press the timer button once; the screen will
automatically show the information in this order: Day, Hour, Minutes in turns within 1 second of each
other, then, the screen will switch back to the ambient temperature display.
 Loading...