7
Assembly Instructions
1) Ensure your assembly area is clean and completely clear. You will need at
least 2ft of space around all four sides of the screen when it is spread out.
2) Unpack all of the parts from the box and lay them out in an orderly way. Do
not unroll the screen yet.
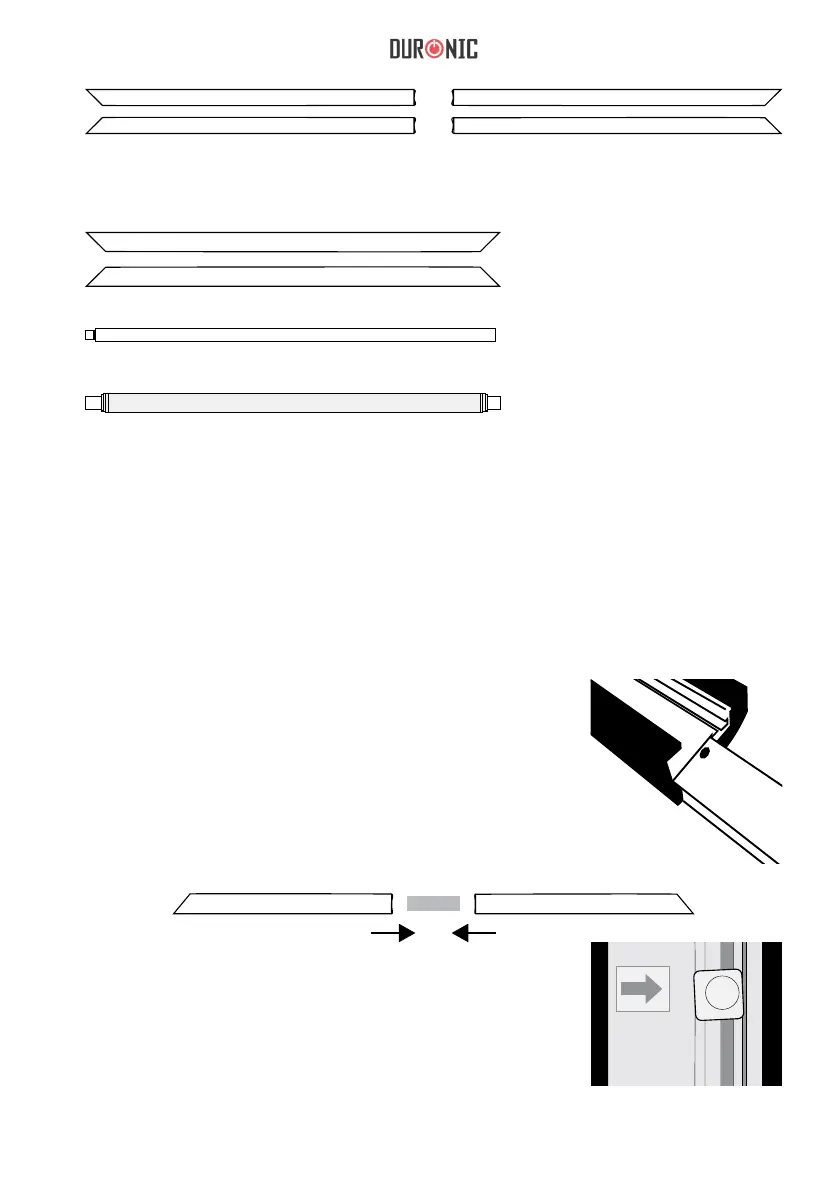
4) Slide the tension pegs into the designated areas of
all pieces of the top frame rail where it is indicated with
red arrow stickers.
Slide tension pegs onto the bottom frame rail, then also
do the same on both of the side frame rails.
2x Top frame rails 2x Bottom frame rails
2x Side frame rails
Support bar
Screen material
Assemble the Frame
3) Take the two top frame rails and attach them
together sliding a joint bar into the at ends of both
rails and pushing them together. Secure them with 4
joiner screws and tighten in place using the Allen key
provided.
Repeat the same for the bottom frame rails.