INSTALLATION (cont.)
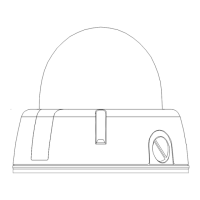
A. Use the supplied L-wrench to remove the four fixing screws from the dome
cover.
B. Align the camera unit with the surface of the ceiling, make marks on the
ceiling in the places where the screw holes are to be drilled, and then drill the
four holes.
C. Cut a hole in the ceiling for routing the cables.
D. Pass the power cable and video cable from the camera unit through the
cable hole in the ceiling.
E. Align the four screw holes in the camera unit with the screw holes in the
ceiling, and then secure the camera in place by tightening the four or more
screws through the washers.
F. Carry out the settings and adjustments for the camera.
G. Secure the dome cover by tightening the screws.
 Loading...