17
GAS ENGINE INSTALLATION
The following steps are for a gas engine
installation.
Skip these 10 steps if you are using a glow
engine.
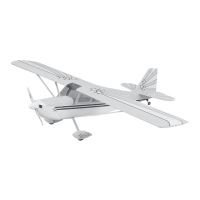
❏ 1. Select the three die-cut 1/8" ply firewall pieces
A, B and C. With the embossed labels toward the
desk top, laminate B onto A then C onto B, all with
6-minute epoxy. This assembly is now known as
the firewall.
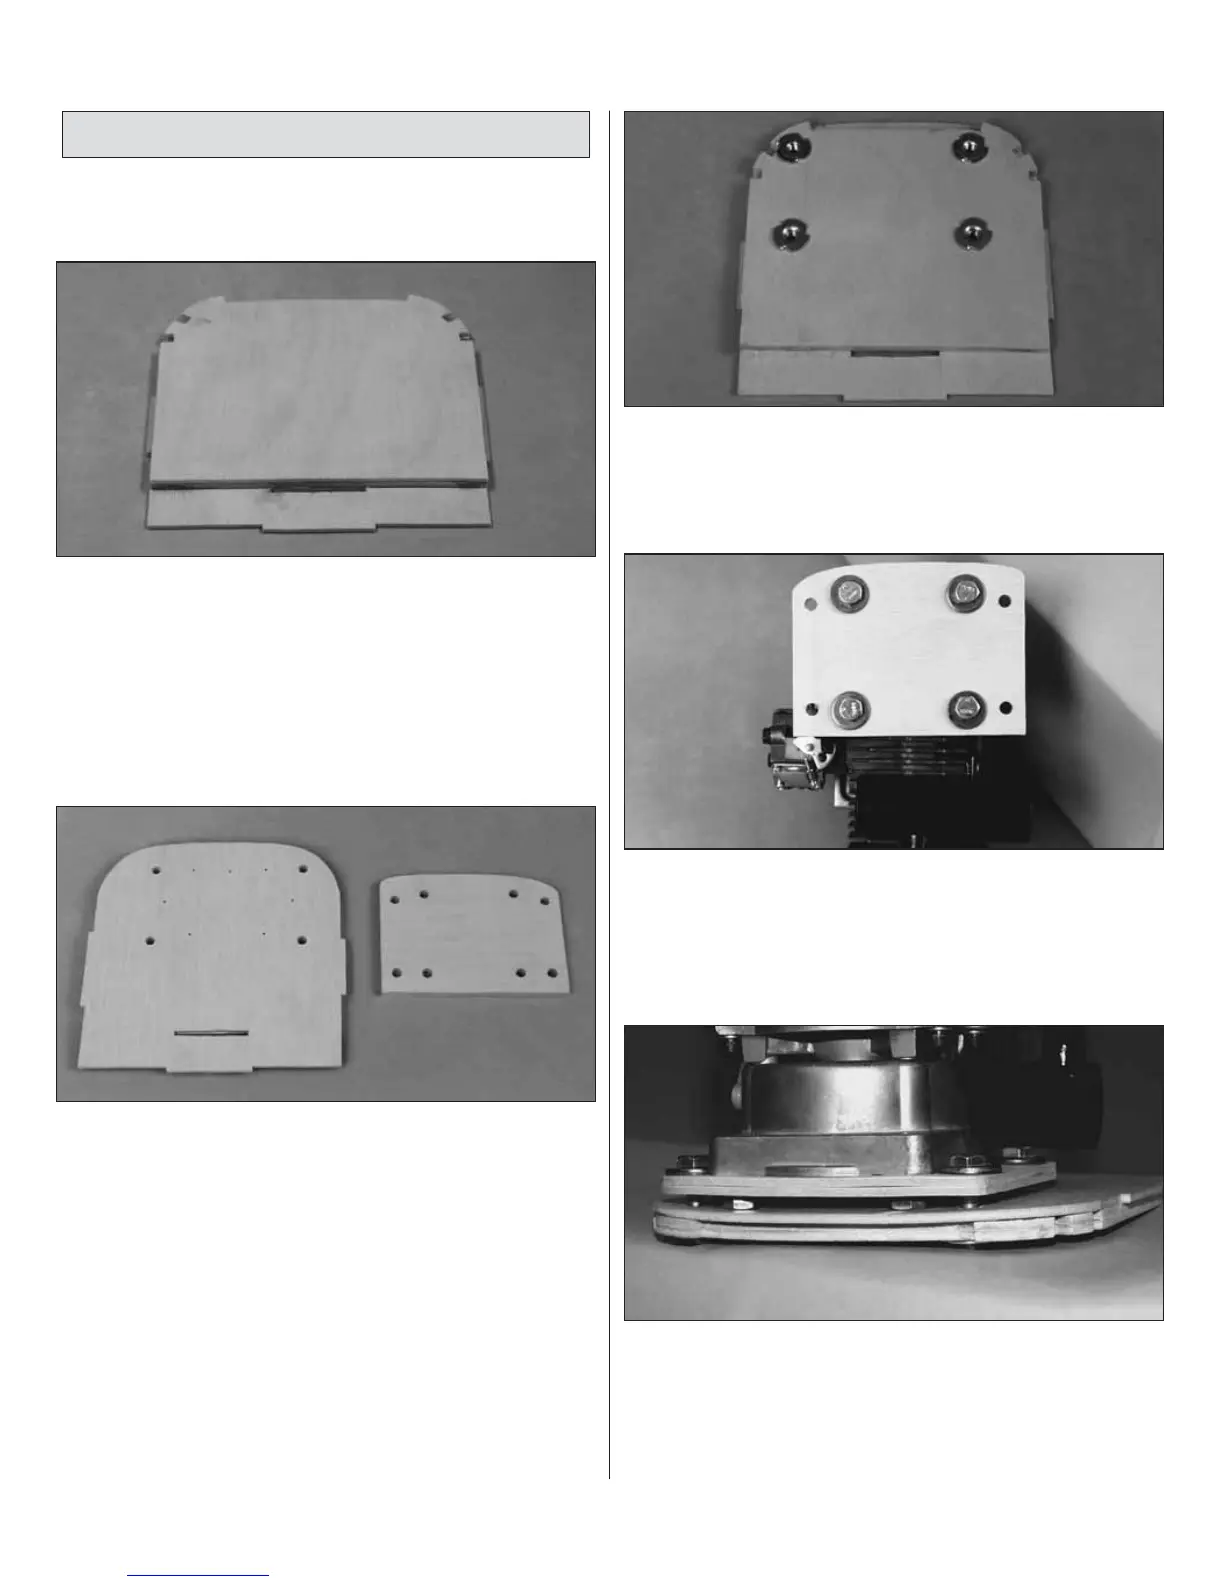
❏ 2. Laminate the two die-cut 1/8" ply engine
mounts.
❏ 3. Drill eight 1/4" holes in the laminated engine
mount at the punch marks. Drill four 9/32" holes in
the firewall at the outermost punch marks as
shown in the photo.
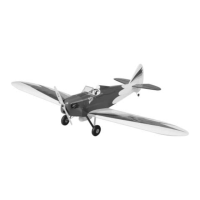
❏ 4. Using a hammer, gently tap four 1/4-20 blind
nuts into the back of the firewall. Glue in place with
thin CA.
❏ 5. Using four 1/4-20 x 3/4" bolts, attach the
engine mount to the engine. Note: Make sure the
embossed letters are facing the engine when the
engine is bolted to the engine mount.
❏ 6. Using four 1/4-20 x 1" bolts and washers,
attach the engine mount (with engine pre-
installed)
to the firewall. Note: Tighten the bolts just enough
so that the bolts going into the back of the engine
imprint the firewall.
17