EasyManua.ls Logo

Dynex DX-PNC2019 User Manual

Dynex DX-PNC2019
2 pages
To Next Page IconTo Next Page
Page #1 background imageLoading...
Page #1 background image
QUICK SETUP GUIDE
DX-PNC2019
Wireless Keyboard/Mouse Combo
MOUSE FEATURES
INSTALLING THE MOUSE BATTERIES AND REMOVING
THE NANO RECEIVER
1 Take the battery cover o.
2 Remove the nano receiver.
3 Insert the included AAA batteries into the battery compartment. Make
sure that the + and - signs match the symbols in the compartment.
4 Replace the battery cover.
Tip: Store the nano receiver in the mouse when it is not in use.
KEYBOARD FEATURES
PACKAGE CONTENTS
• Wireless keyboard
• Wireless mouse
• Nano receiver
SYSTEM REQUIREMENTS
Windows® 10, Windows® 8.1, Windows® 8, Mac OS 10.X or higher,
or Chrome OS
One available USB port
Before using your new product, please read these instructions to prevent any damage.
AA battery (1)
• AAA batteries (2)
Quick Setup Guide
FUNCTION
Power ON
Low battery warning
DESCRIPTION
Red LED is on for 10 seconds, then turns o.
Red LED blinks for 10 seconds.
OFF/ON switch
Battery cover
USB transceiver
Pull
DPI switch
Left button
Scrolling wheel
Right button
AAA batteries
INSTALLING THE KEYBOARD BATTERY
1 Take the battery cover o.
2 Insert one AA battery (included) into the battery compartment.
Make sure that the + and - signs match the symbols in the
compartment.
3 Replace the cover.
LED INDICATORS
LED indicator
Question and Answer IconNeed help?

Do you have a question about the Dynex DX-PNC2019 and is the answer not in the manual?

Dynex DX-PNC2019 Specifications

General IconGeneral
BrandDynex
ModelDX-PNC2019
CategoryComputer Accessories
LanguageEnglish

Summary

Mouse Features and Installation

Mouse Features

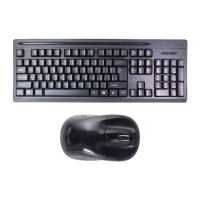
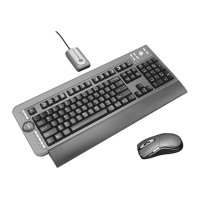
Diagram illustrating the left button, right button, scrolling wheel, DPI switch, and ON/OFF switch of the wireless mouse.

Install Mouse Batteries

Steps to remove the battery cover, remove the nano receiver, and insert AAA batteries into the mouse.

Keyboard Battery Installation and Indicators

Install Keyboard Battery

Instructions to remove the battery cover and insert an AA battery into the keyboard.

LED Indicators

Description of LED functions for Power ON and Low battery warning on the device.

Connecting and Using the Peripherals

Connect to Computer

Steps to plug in the nano receiver and turn on the mouse and keyboard for automatic detection.

DPI Switch

Information on the three available DPI settings: 800, 1200 (default), and 1600.

Cleaning

Guidance on cleaning the mouse and keyboard using a damp, lint-free cloth.

Specifications and Troubleshooting

Specifications

Detailed specifications for the keyboard, mouse, and nano receiver, including dimensions, weight, and battery life.

Troubleshooting

Solutions for common issues like the mouse or keyboard not working or pointer sensitivity.

Warranty and Contact Information

Legal Notices

FCC and Industry Canada compliance statements regarding device operation and interference.

Limited Warranty

Information about the three-month limited warranty and where to find complete details.

Contact Dynex

Customer service contact number and website for Dynex products.

Related product manuals