service manual
Issued 10/06
20
Release the inner bucket from the base of
the duct assembly.
78
Carefully detach the internal cable from the
retaining clips down the length of the duct
assembly.
76
Release the end of the internal cable from
the base of the duct assembly.
77
Remove the entry and exhaust seals from
the side of the duct assembly.
79
Undo the four screws in the lower duct
cover. Remove the lower duct cover and lower
duct cover seal.
75
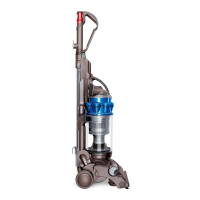
Duct replacement - dismantle
BBeeffoorree ccoonnttiinnuuiinngg tthhee ffoolllloowwiinngg ppaarrttss
sshhoouulldd bbee rreemmoovveedd aass pprreevviioouussllyy sshhoowwnn::
Motor assembly (pages 6 - 9)
Yoke assembly (pages 11 to 12)
Undercarriage assembly (pages 14 - 15)
Switch cover and powercord (page 17).
Push the cyclone release catch and spring
up and then twist out of the duct assembly.
80
Fitting notes
 Loading...