INSTRUCTIONS
PACKING LIST
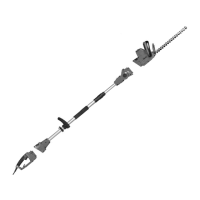
String
Trimmer-
Guard
Charger and Battery Instruction Manual
! WARNING: Do not connect to power supply until assembly
_.- is complete. Failure to comply could result
in
accidental
starting and possible serious personal injury.
WARNING: Do not operate
Ihe
trimmer
INithOu!
the guard
attached.
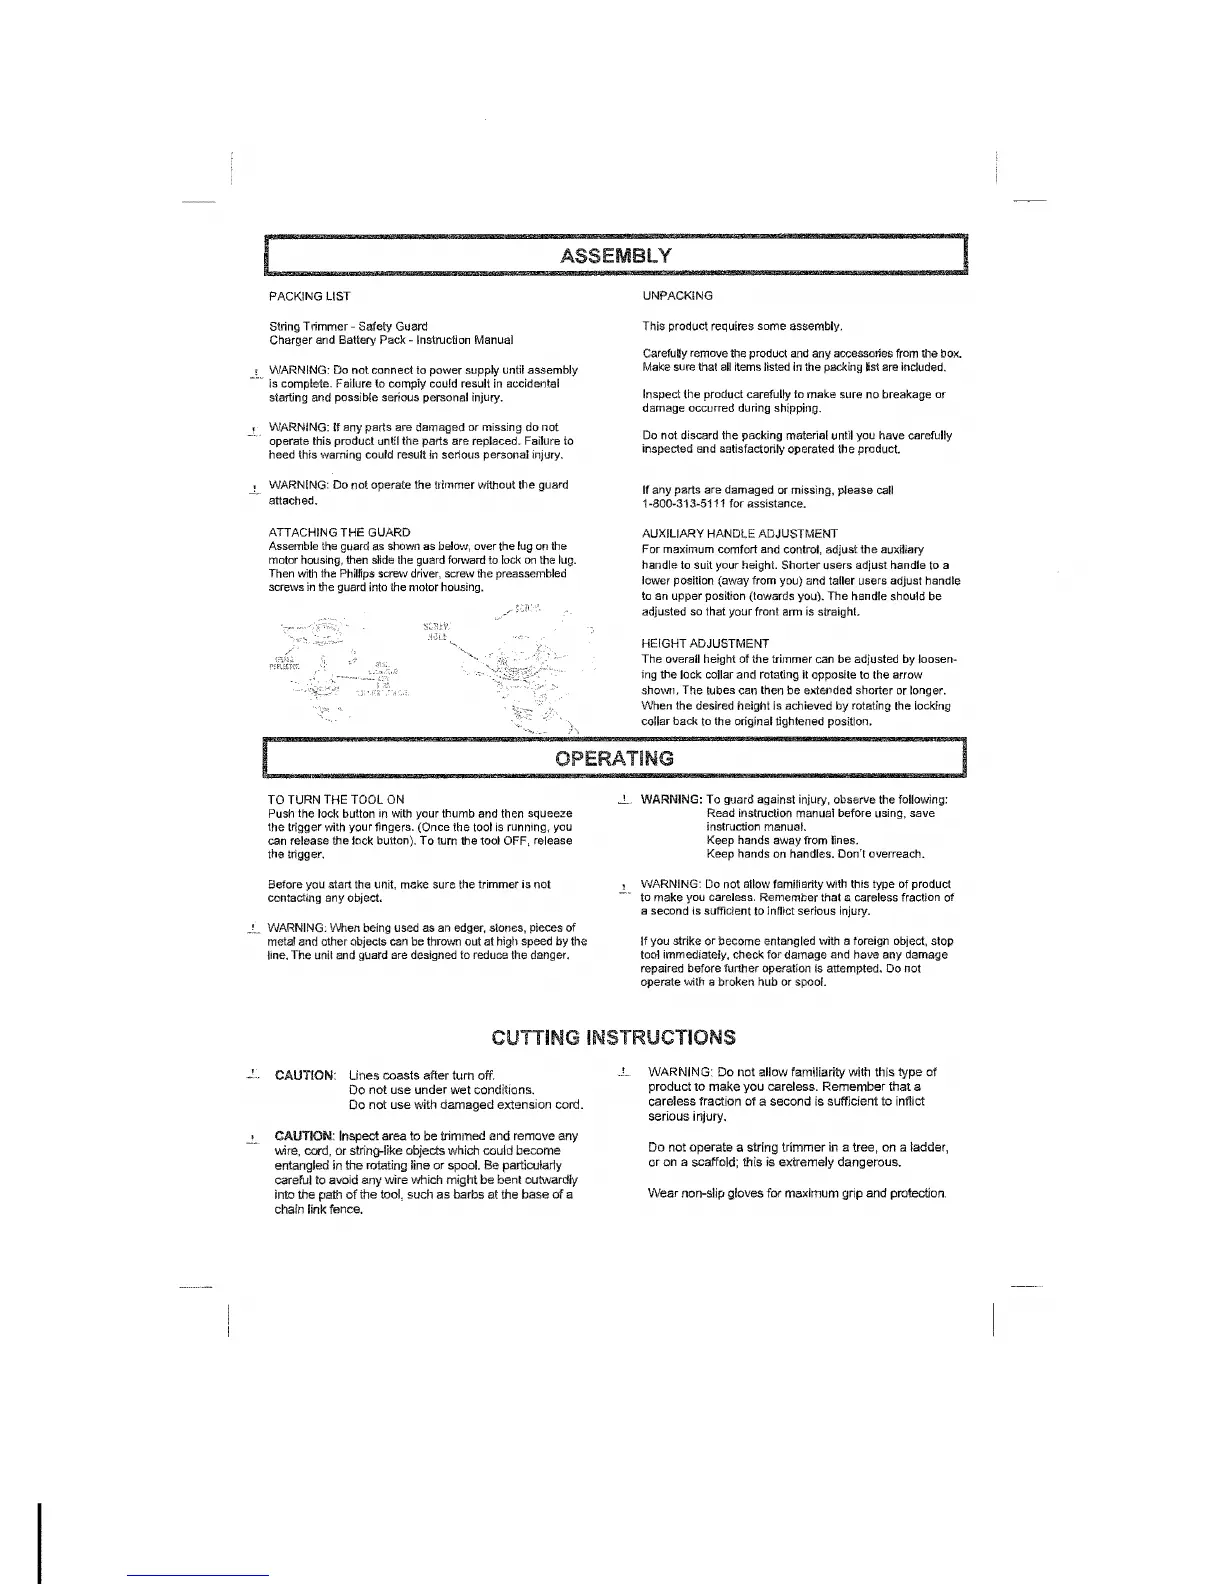
ATTACHING THE GUARD
Assemble the guard as shown as
belOW,
over the lug
on
the
motor housing, then slide the guard forward to lock
on
the lug.
Then with the Phillips screw driver, screw the preassembled
screws in the guard into the motor housing.
TO TURN THE TOOL ON
Push the lock button in with your Ihumb and then
the with your fingers. (Once the tool
is
can the lack button). To turn the tool OFF,
the trigger.
start the unil, meke sure Ihe trimmer is not
any object.
WARNING: When being used as an edger, stones, pieces
of
metal and other objects can be thrown out at high speed by the
line. The unil and guard are designed to reduce the danger.
CAUTION:
lines
coasts
after
turn off.
Do
not
use
under
wet
conditions.
Do
not
use
'A~th
damaged
extension
cord.
CAUTION:
Inspect
area
to
be
trimmed
and
remove
any
or
string-like objects whicih
could
become
the
rolating
line
or
spool.
Be
particularly
avoid
any
wire
'I'Ihicih
might
be
bent
outwardly
into
the
path
of
the
tool,
such
as
barbs
at
the
base
of
a
chain link fence.
UNPACKING
This product requires some assembly.
CareluUy
remove the product
and
any accessones from the box.
Make sure that
all
items listed
in
the packing
Hs!
are included.
Inspect the product carefully to make sure no breakage
or
damage occurred during shipping.
Do
not discard the packing material until you have carefully
inspected and satisfactorily operated
Ihe
product
If
any parts are damaged
or
missing. please call
1-800-313-5111
for
assistance.
AUXILIARY HANDLE ADJUSTMENT
For maximum comfort and control, adjust the auxiliary
handle to suit your height. Shorter users adjust handle to a
lower position (away from you) and taller users adjust handle
to
an
upper position (towards you). The handle should be
adjusted
so
that your front
amn
is
straight.
HEIGHT ADJUSTMENT
The overall height
of
the trimmer can be adjusted by loosen-
ing the lock coliar and rotating
it
opposite to the arrow
shown. The tubes can then be e"iended shorter or longer.
When the desired height is achieved
by
rotating the locking
collar back to the original tightened position.
_L
WARNING: To g'Jard against injury, observe the following:
Read instruction manual before using. save
instruction
manuaL
Keep hands away from lines.
Keep hands on handles. Don't overreach.
WARNING:
Do
not
aUow
familiarity with this type of product
to
make you careless. Remember that a careless fraction
of
a second is sufficient to innict serious injury.
If
you strike
or
become entangled with a foreign object, stop
tool immediately, cneck for damage and have any damage
repaired before further operation is attempted. Do not
operate with a broken hub or spool.
WARNING:
Do
nat
allow
familiarity
with
this
type
of
product
to
make
you
careless.
Remember
that
a
careless
fraction
of
a
second
is
sufficient
to
inflict
serious
injury.
Do
not
operate
a string
trimmer
in a
tree,
on
a
ladder,
or
on
a scaffold; this is
extremely
dangerous.
Wear
non-slip
gloves
for
maximum
grip
and
protection.

 Loading...