EasyManua.ls Logo

Eastey ET2008 - User Manual

Eastey ET2008
57 pages
Print Icon
To Next Page IconTo Next Page
Loading...
ET
Professional Series
Shrink Tunnels
User Guide
ET2008, ET2012, ET2016, ET2020, ET2408, ET2412,
ET2416, ET2420, ET3608, ET3612, ET3616, ET3620,
ET4808, ET4812, ET4816, ET4820, ET5608, ET5612,
ET5616, ET5620, ET7008, ET7012, ET7016, and ET7020

Questions and Answers

  • S
    steventaylorAug 6, 2025
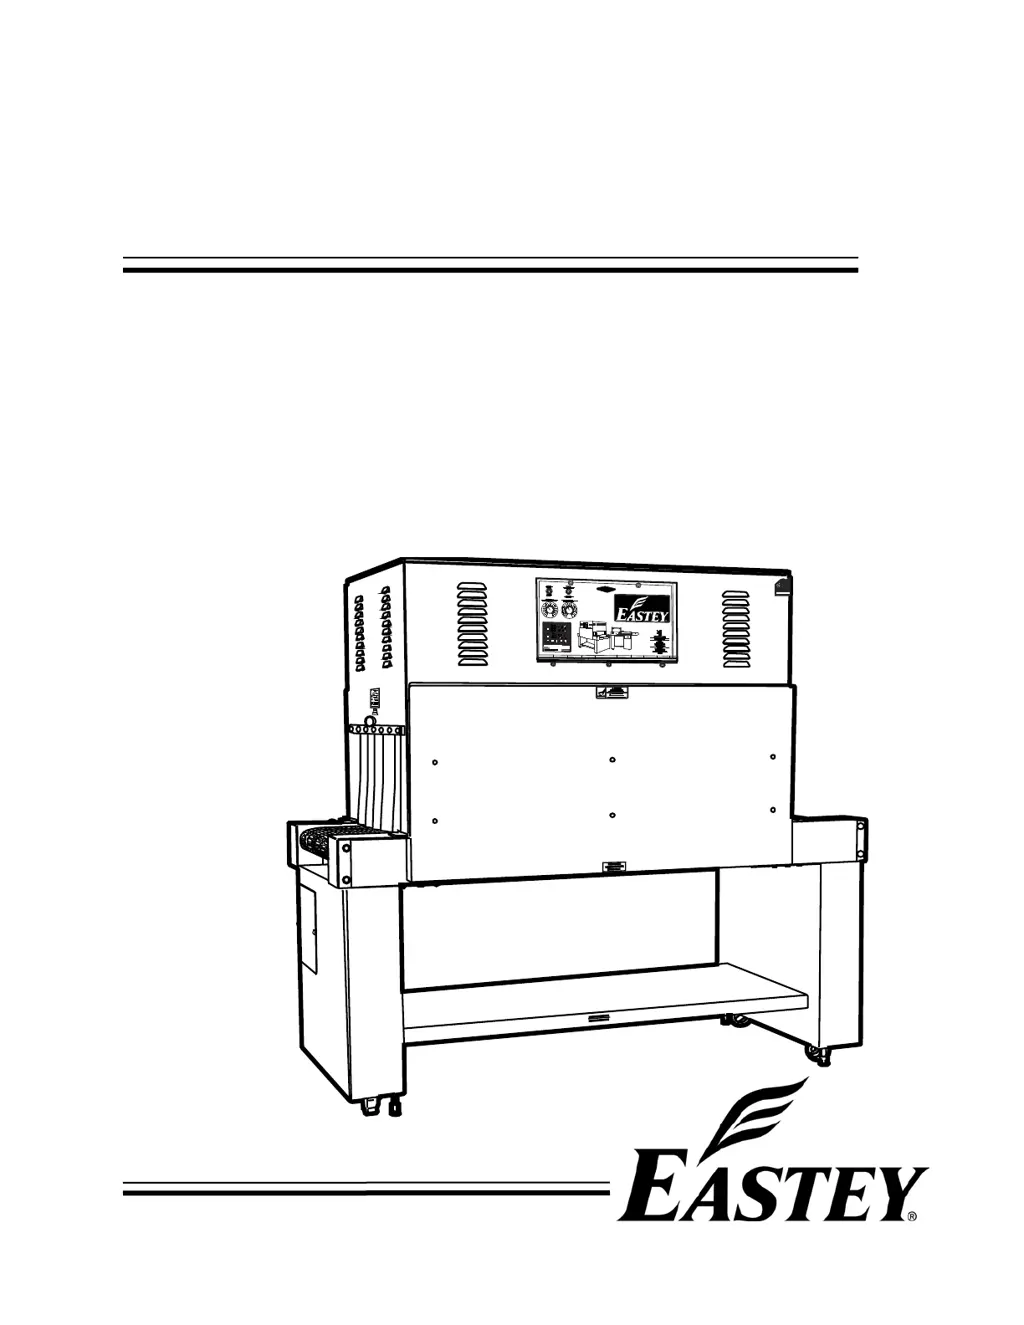
    Why is my Eastey Packaging equipment conveyor not moving?
    • J
      Joe DeanAug 6, 2025
      The conveyor motor is controlled by a D.C. control board, with an input of 220 VAC and a variable output of 0 to 90 VDC. Here are some things you can check: * See if the green light is on. If not, check the input fuse. If the fuse is good but the green light is still off, check for 220 VAC on L1 and L2. * Check the output fuse. * The KBMM-225 may have a current overload. Check for a red light on the board. If it's on, several conditions could be the reason.
  • M
    Melissa OwensAug 15, 2025
    What to do if my Eastey Packaging equipment has no air flow?
    • A
      Alexis NguyenAug 15, 2025
      If your Eastey packaging equipment has no air flow, begin by checking the AC Inverter adjustable speed pot settings. Also, inspect the intake screens inside the upper chamber to ensure they are not clogged. The blower motors are controlled by 220 volt single-phase input and three-phase output, so check lead to lead (not lead to ground).
  • L
    Laura TrujilloAug 26, 2025
    How to troubleshoot no heat in Eastey Packaging equipment?
    • R
      Robert JonesAug 26, 2025
      If your Eastey packaging equipment isn't heating, start by checking if the display on the temperature controller is on. If not, check for 220 Volts on terminals 9 and 10; if there is voltage, replace the temperature controller. If the display is on, and SV is set higher than PV, check for a red light. If there isn't a red light, replace the thermocouple.

Summary

Safety

General Safety Precautions

Essential safety rules for operating and servicing the shrink tunnel.

Introduction

General System Description

Overview of the shrink tunnel's main components and functions.

Specifications

Model Information and Features

Explanation of model numbers, standard features, and capabilities.

Dimensions

Physical dimensions and measurements of the shrink tunnel.

Unpacking

Installation

Location Requirements

Guidelines for selecting an optimal installation site for the shrink tunnel.

Operation

Control Panel Overview

Identification and layout of the shrink tunnel's control panel.

Controls and Settings

Detailed explanation of each control and setting on the panel.

Sequence of Operation

Step-by-step guide for operating the shrink tunnel.

Adjustments

Temperature Controller Settings

How to configure and adjust temperature controller parameters.

Set Value and Cool-Down Adjustments

Procedures for changing set values and adjusting the delay cool-down.

Maintenance

Preventative Maintenance

Routine checks, lubrication, and cleaning for optimal machine reliability.

Belt Maintenance and Tension

Recommendations for plastic belts and conveyor belt tension adjustment.

Component Replacement and Repair

Procedures for replacing conveyor components and performing belt repair.

Tunnel Component Replacement

Steps for replacing tunnel components like fuses, heaters, and controllers.

Belt Assembly, Disassembly, and Splicing

Guides for plastic belt handling and wire belt repair splicing.

Troubleshooting

Controller Board Diagram and Connections

Diagram of the DC control board and its connections for troubleshooting.

Motor and Conveyor Issues

Solutions for problems with the conveyor motor and movement.

Air Flow and Blower Issues

Troubleshooting steps for lack of air flow and blower motor problems.

Heat and Cool-Down Issues

Solutions for problems related to heat generation and delay cool-down.

Parts List

Electrical Parts

List of electrical parts for the shrink tunnel.

Mechanical Parts

List of mechanical parts for the shrink tunnel.

Appendix A: Electrical Schematics

Panel Layout

Diagram showing the layout of components on the electrical panels.

Controller Board Schematics

Detailed diagrams of motor controller boards and their connections.

Voltage-Specific Schematics

Electrical schematics for 480 Volt and 220 Volt models.

Warranty Statement

Customer Support

Eastey Technical Service

Contact information for technical assistance and support.

Eastey ET2008 Specifications

General IconGeneral
BrandEastey
ModelET2008
CategoryPackaging equipment
LanguageEnglish