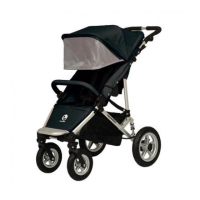
EN
EN - 12
Remove the seang from the frame (see the manual of easywalker MINI
stroller). Li the carrycot by the two handles on the sides and place it on
the four bolts at the inside of the frame (image 43). If you hear four clear
“clicks” the carrycot is aached correctly. Always check whether the four
connecons are xed. Put the handles back into the side pockets of the
carrycot.
Detaching the easywalker MINI stroller carrycot from the frame
Engage the parking brake of the easywalker MINI stroller (image 17). To
remove the carrycot from the frame, pull the grip under the head end of
the carrycot. Carefully li the carrycot by the handles. The carrycot will
come o (image 44).
TIP: The carrycot can be used as a cot without a supporng frame.
Maress
The maress of the easywalker MINI stroller carrycot has been specially
designed to let your child sleep hygienically and safely. It consists of a
foam layer and an air-ow layer. Always put the air-ow layer on top of
the maress and cover it with the ed sheet provided (image 45).
Mosquito net
The easywalker MINI stroller carrycot is supplied with a mosquito net.
Place the mosquito net over the carrycot so that it connects properly to
the carrycot (image 46).
Rain cover
IMPORTANT: The rain cover has venlaon holes. These ensure fresh air
to circulate, so do not block them.
IMPORTANT: Do not let your child sit under the rain cover unnecessarily.
Ensure that your child does not get too hot.
The easywalker MINI stroller carrycot is supplied with a rain cover.
Place the rain cover so that the venlaon window is by the opening of
the carrycot (image 47).
Make sure it connects properly to the carrycot.