Assembly
Unpack and make sure no parts are missing. All the screws are pre-fixed to the
machine.
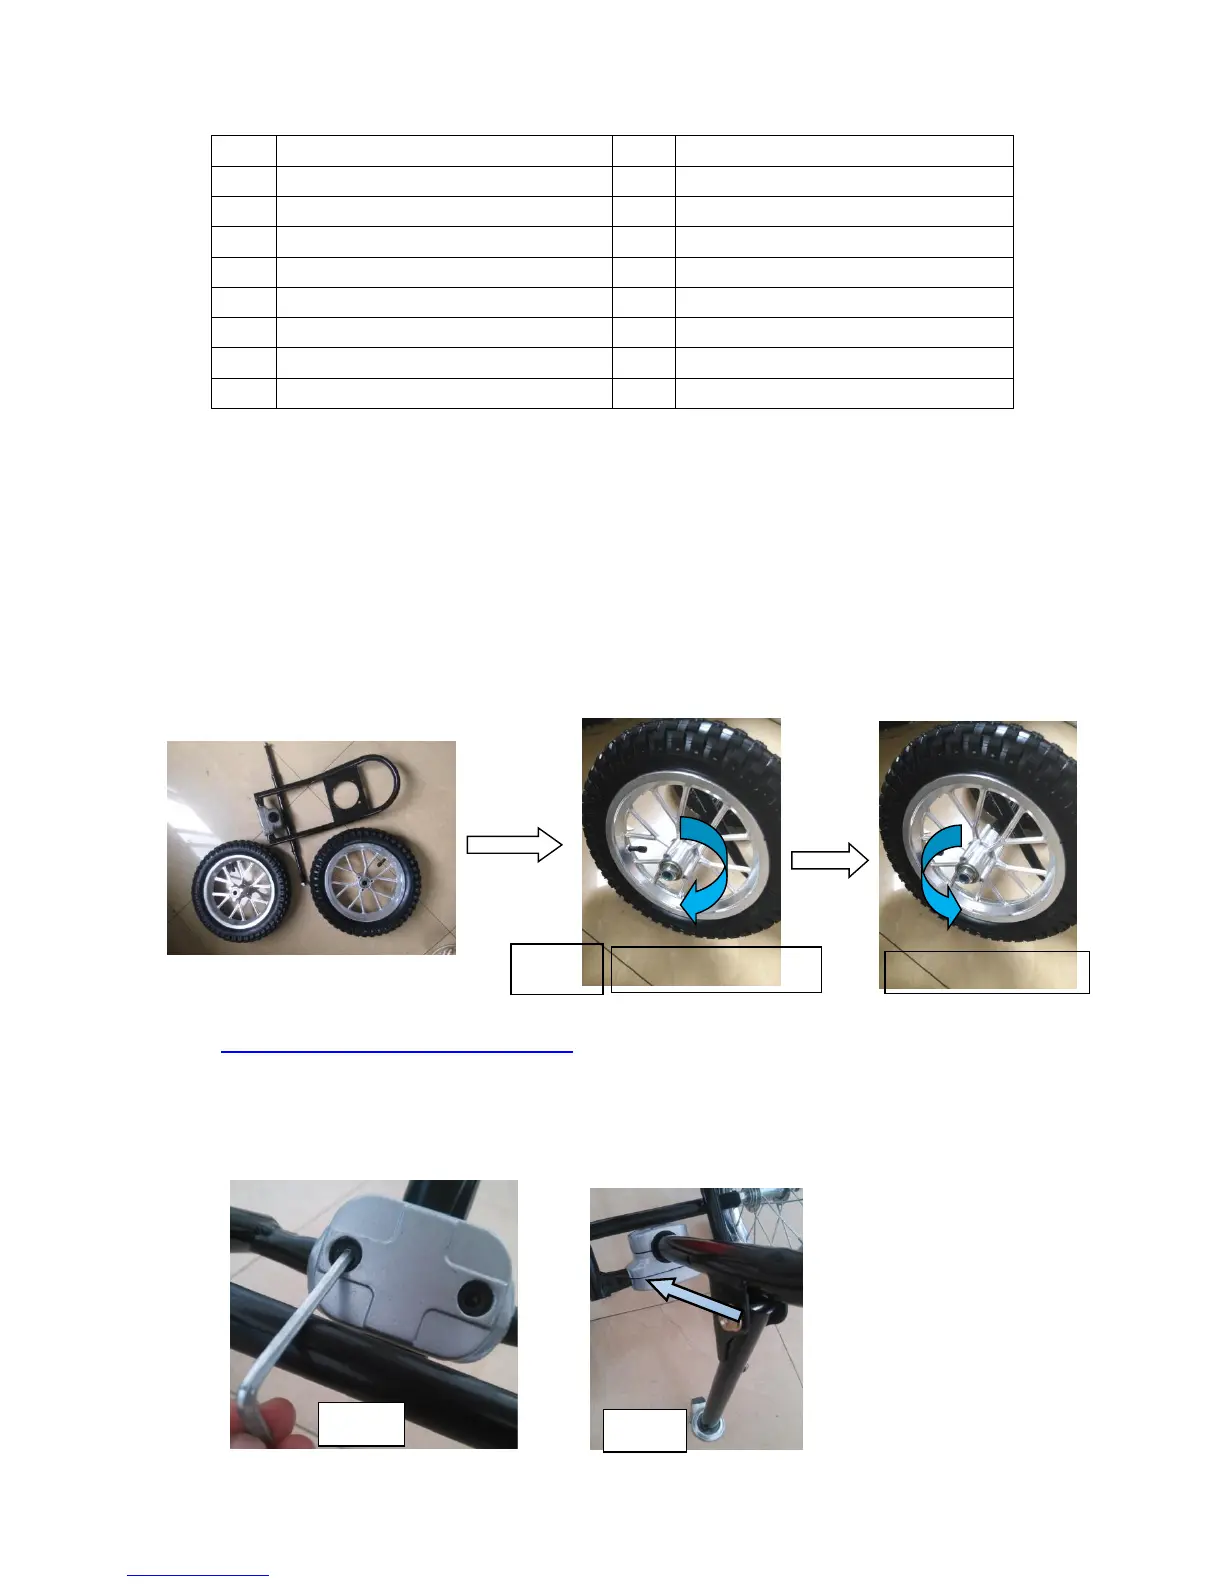
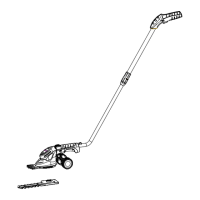
Fit one driving wheel to each side of the shaft. Push fully onto the shaft and
tighten the nut clockwise until the wheel can’t be turned by hand. Then release
the tension on the nut by untightening it anti-clockwise about half a turn so that
the wheel can be freely turned by hand.(see Fig.1)
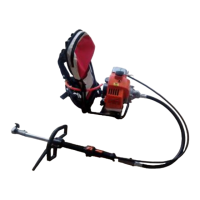
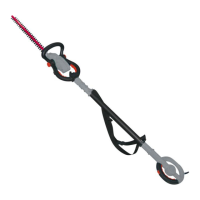
Fitting Lower Handle Top Handle
Unscrew the two bolts on the back of the fixing seat using the hex-key supplied,
then insert the lower handle into the hole of the fixing seat(The training wheel
has already been fitted to the lower handle).(see Fig.2 and 3)