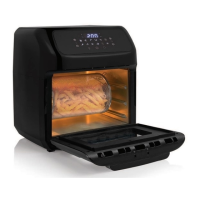
Instruction manual
7
• Then hang the right end of the shaft into the support on the right
side of the cooking space. ( image 2; number 2)
• Check if it is placed correctly.
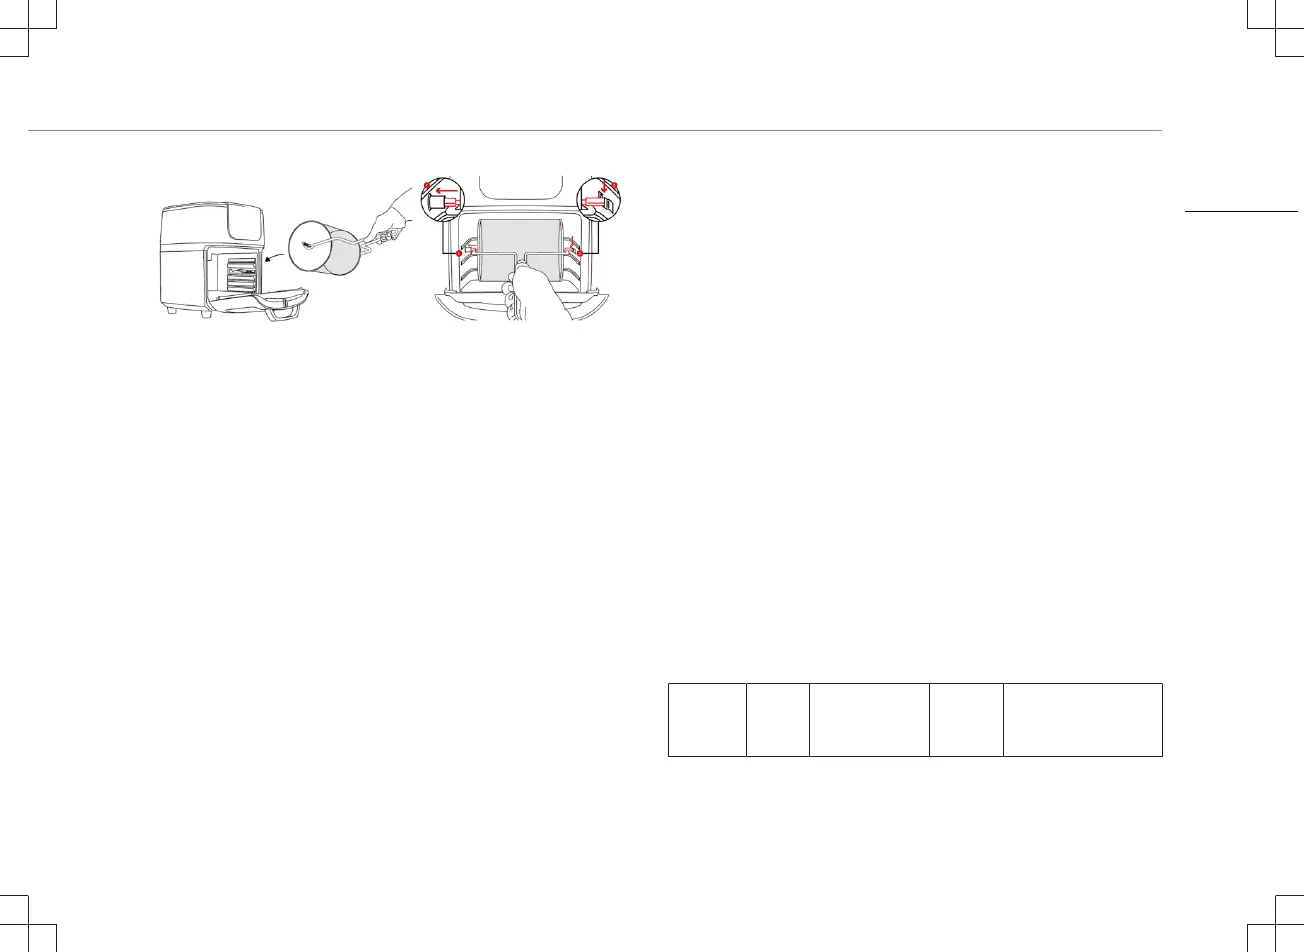
• Always use the removal handle to remove the rotating basket
from the cooking space (see removal tool chapter). The basket
will be very hot.
Baking racks
• The baking racks are slid onto the rails in the cooking space.
• The heating element is located at the top of the cooking space.
• The higher a rack is placed, the more intense the heat is from
above.
• In the upper part, the food is cooked faster and crispy.
• The middle position can be selected to achieve uniform heating
from all sides.
• The bottom rails are suitable for gentle cooking.
• Use gloves to remove the baking racks.
USE
• Put the mains plug in an earthed wall socket.
• Open the door.
• If the fat collecting tray is not to be used as a baking tray, slide it
into the lowest rails of the cooking space.
• Select a suitable accessory for the food to be prepared.
• Process the food and place it on or in the accessory and attach
this accessory in the device.
• Close the door.
• Press the on/off switch. The display will become active.
• Set the temperature and cooking time manually or choose
between one of the 10 programs.
Manual setting:
• Touch the up or down symbol at the temperature setting to set
the desired temperature (lowest 80°C, highest 200°C).
• Touch the up and down symbol at the time setting to set the
desired time(1 minute to 90 minutes).
• Note: To preheat the device touch the preheat symbol. (default is
set on 80°C and 5 minutes)
Program setting:
• Activate the desired program by touching the program symbol,
it’s activated when the symbol starts flashing. The appliance will
start automatically.
• The flame indicator will start flashing and the °C and remaining
time will be shown on display.
• See for pre-setting information the table below:
Program Icon Default
temperature/
time
Quantity Extra information
EN