36
Getting connected and installing drivers (Windows)
■ Windows Me/98 users
1
Make sure that the power is turned off for the SD-20, your computer, and all
peripheral devices.
2
Set the computer switch of the SD-20 to PC.
3
Use the computer cable to connect the serial connector of your computer to
the SD-20.
4
With the SD-20’s power switch turned off, connect it to the AC adaptor.
5
Plug the AC adaptor into an AC power outlet.
6
Turn on the power of the SD-20 and your computer, and start up Windows.
7
Exit all currently running software (applications).
Also close any open windows. If you are using virus checking or similar
software, be sure to exit it as well.
8
Prepare the CD-ROM.
Insert the CD-ROM into the CD-ROM drive of your computer.
9
Open the “Run...” dialog box.
Click the Windows Start button.
From the menu that appears, select “Run...”
fig.2-25_40
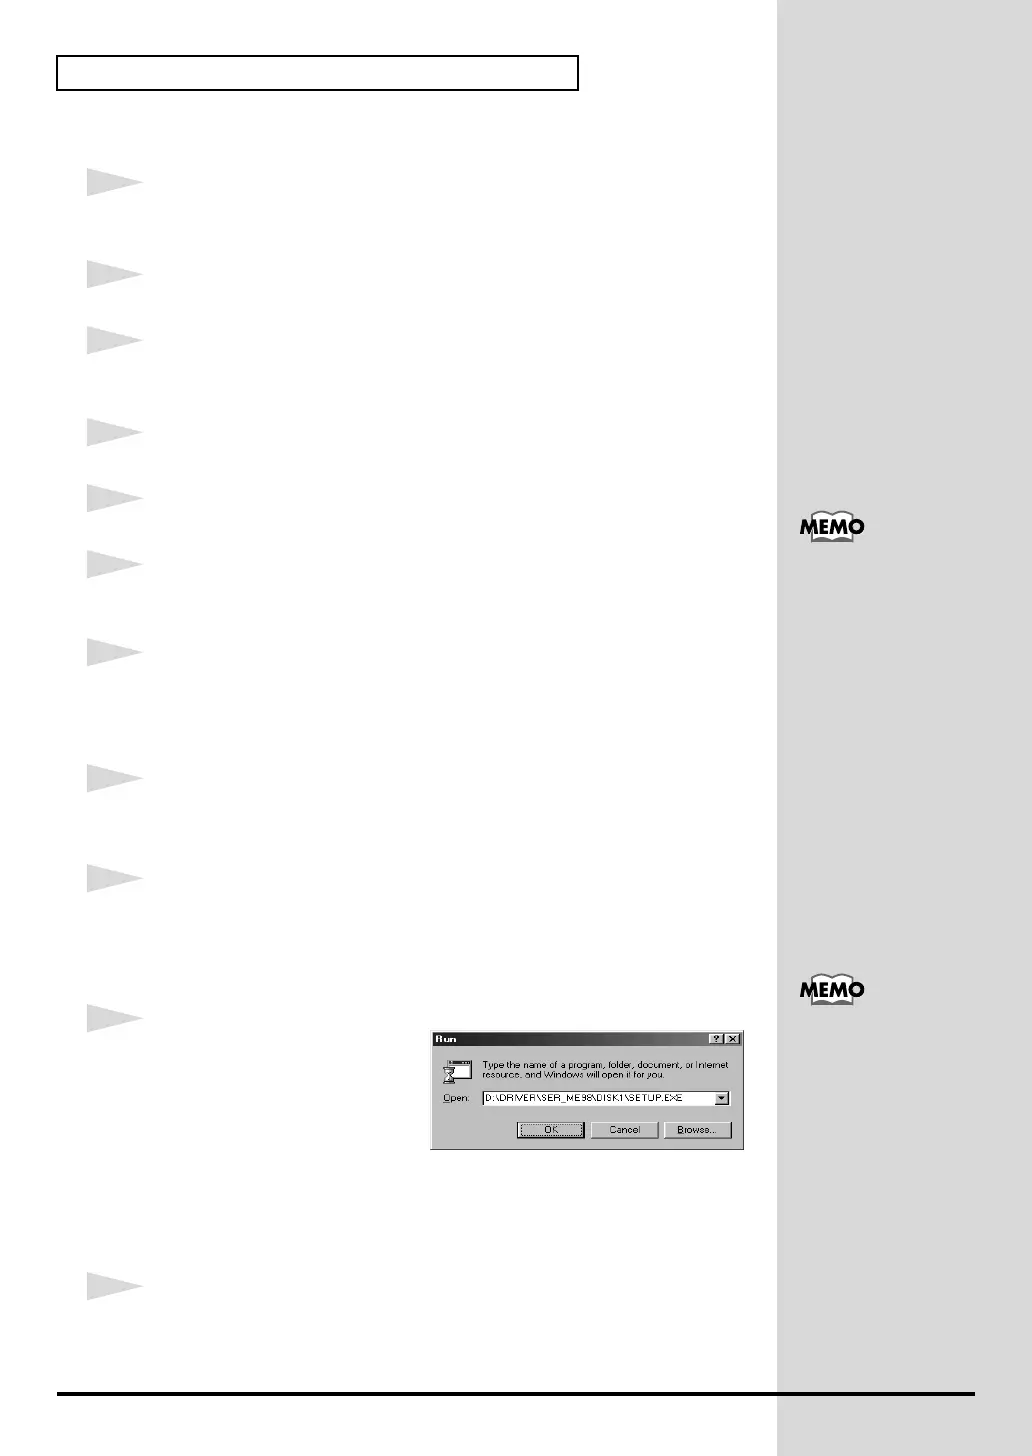
10
In the dialog box that appears,
input the following into the
“Open” field, and click [OK].
D:\DRIVER\SER_ME98\DISK1\SETUP.EXE
* The drive name “D:” may be different for your system. Specify the drive name of your
CD-ROM drive.
11
The Welcome dialog box will appear.
Click [Next].
For details on connections,
refer to “Basic
connections (p. 12).”
In this manual, the location
of folders and files is given
in terms of the file path,
using \ as the delimiter. For
example,
SER_ME98\SETUP.EXE
indicates the SETUP.EXE
file found in the
SER_ME98 folder.
 Loading...