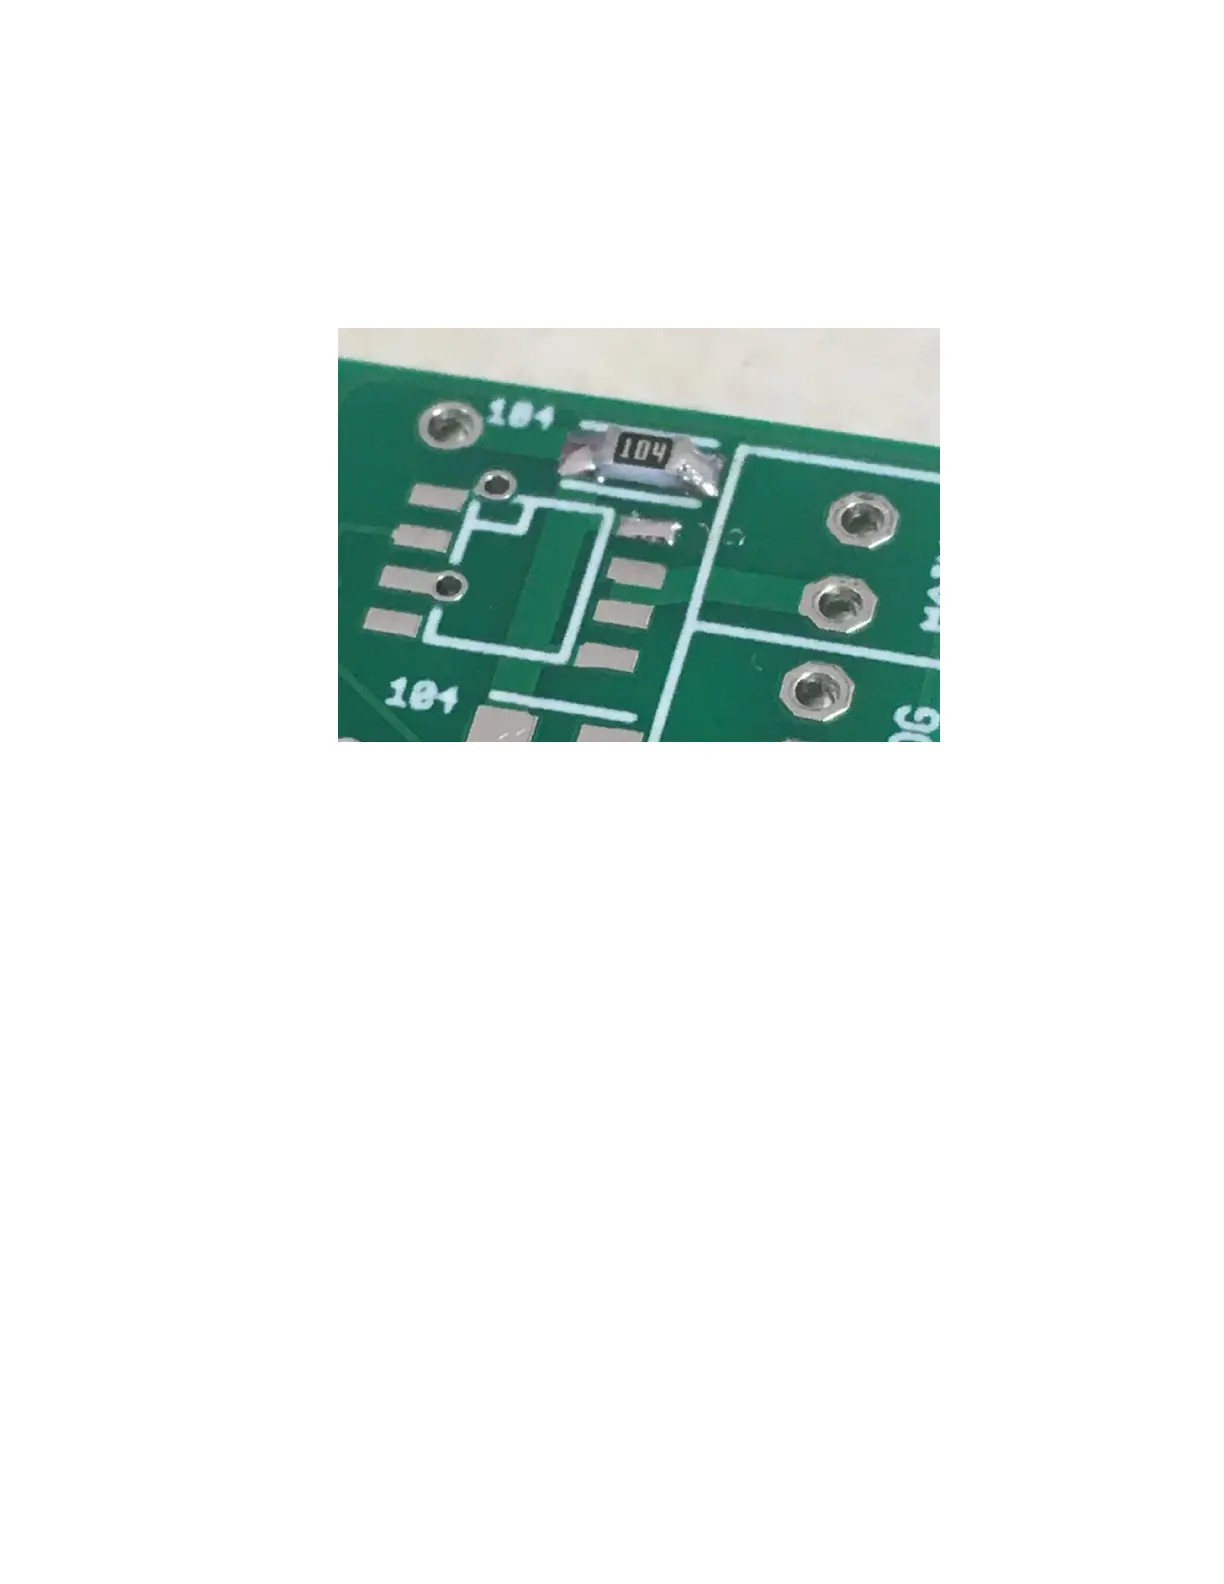
Mount the Top Driver Chip
___ Locate the top driver chip on the board, it’s just below the 104 resistor that you just
mounted. Lightly tin the upper-right pad on the board.
___ Remove one of the driver chips from its carrier. Look at the writing with a
magnifier… you will notice that there is a “ST” logo on the top-left corner of the chip. That is
the Pin 1 mark, which must align with the little box in the top-left corner of the driver chip
marking on the PC board.
___ Place the driver chip on the board, and hold it in place while heating up the previously
tinned upper-right pad. Make sure that the chip is centered on all eight pads, then carefully
remove the soldering iron and wait 5 seconds for the solder to cool.