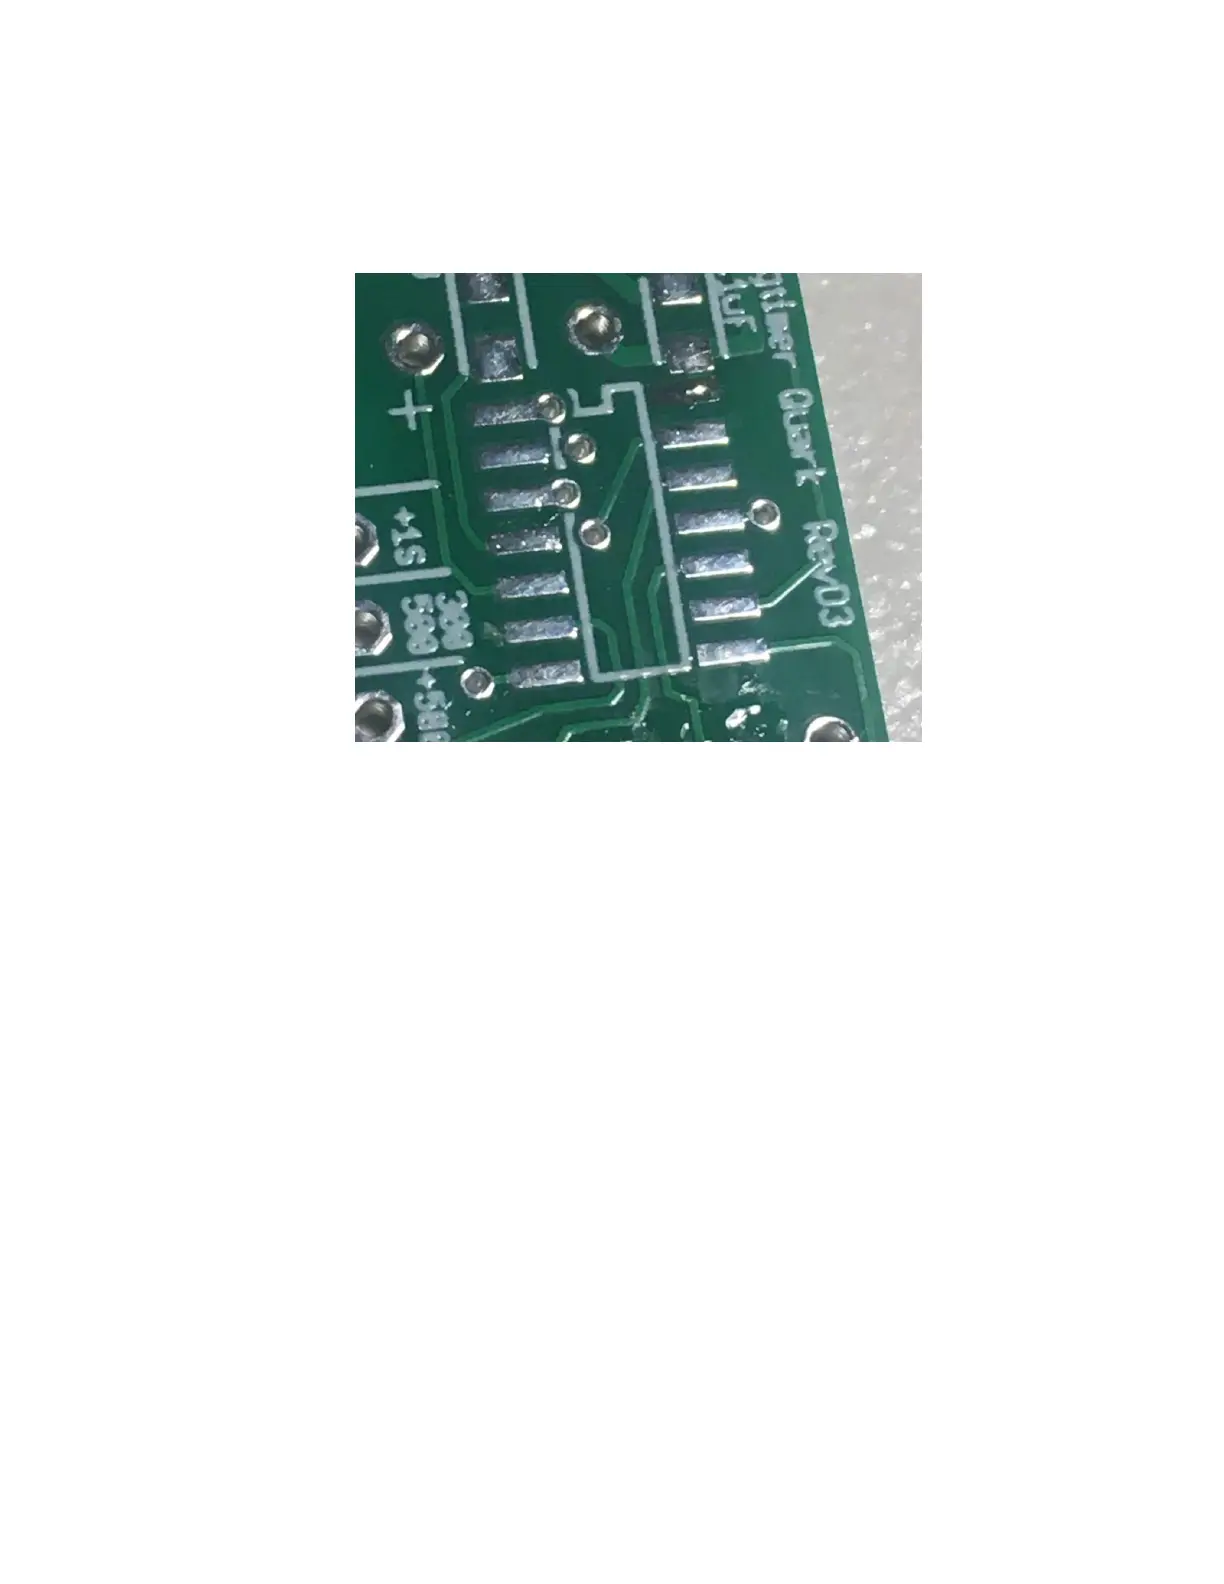
___ Locate the space for the processor, it’s a 14-pin chip on the right side of the board.
Note that there is a notch on the “top” side of the processor; this will help you orient the chip
properly.
___ Lightly tin the upper-left lead of the processor pads on the PC board.
___ Remove the processor from it’s package, and inspect it with a 10x jeweler’s loupe.
You will see that there is an indented “dot” on one corner of the package. That is the “Pin 1”
mark, it must go on the upper-left corner of the pads on the board.
___ Place the processor chip on the board, and hold it in place while heating up the
previously tinned upper-right pad. Make sure that the chip is centered on all 14 pads, then
carefully remove the soldering iron and wait 5 seconds for the solder to cool.
___ Carefully solder the lower-right pad. Check the pad with a 10x jeweler’s loupe to
make sure that the solder joint covers both the lead of the chip and the pad on the PC board.
It’s very easy to get solder on the chip’s lead but miss the PC board pad; a good solder joint
should actually flow underneath the chip lead and bond the “elbow” of the lead to the pad.
___ Now, solder the remaining leads in the same manner. You may have to go back and
resolder the first lead (the one that you tinned earlier).
 Loading...