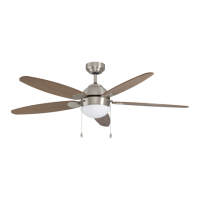
26
Position auswählen
1. Der Deckenventilator muss so installiert werden, dass die Flügel einen Mindestabstand von 300mm von der Flügelspitze zu den
nächstgelegenen Objekten oder Wänden aufweisen.
2. Der Deckenventilator muss so installiert werden, dass sich die Flügel mindestens 2,3m über dem Boden befinden.
3. Der Befestigungspunkt für Ihren Ventilator muss eine Tragkraft von mindestens 45kg aufweisen. Wenn der Standort keinen stabilen
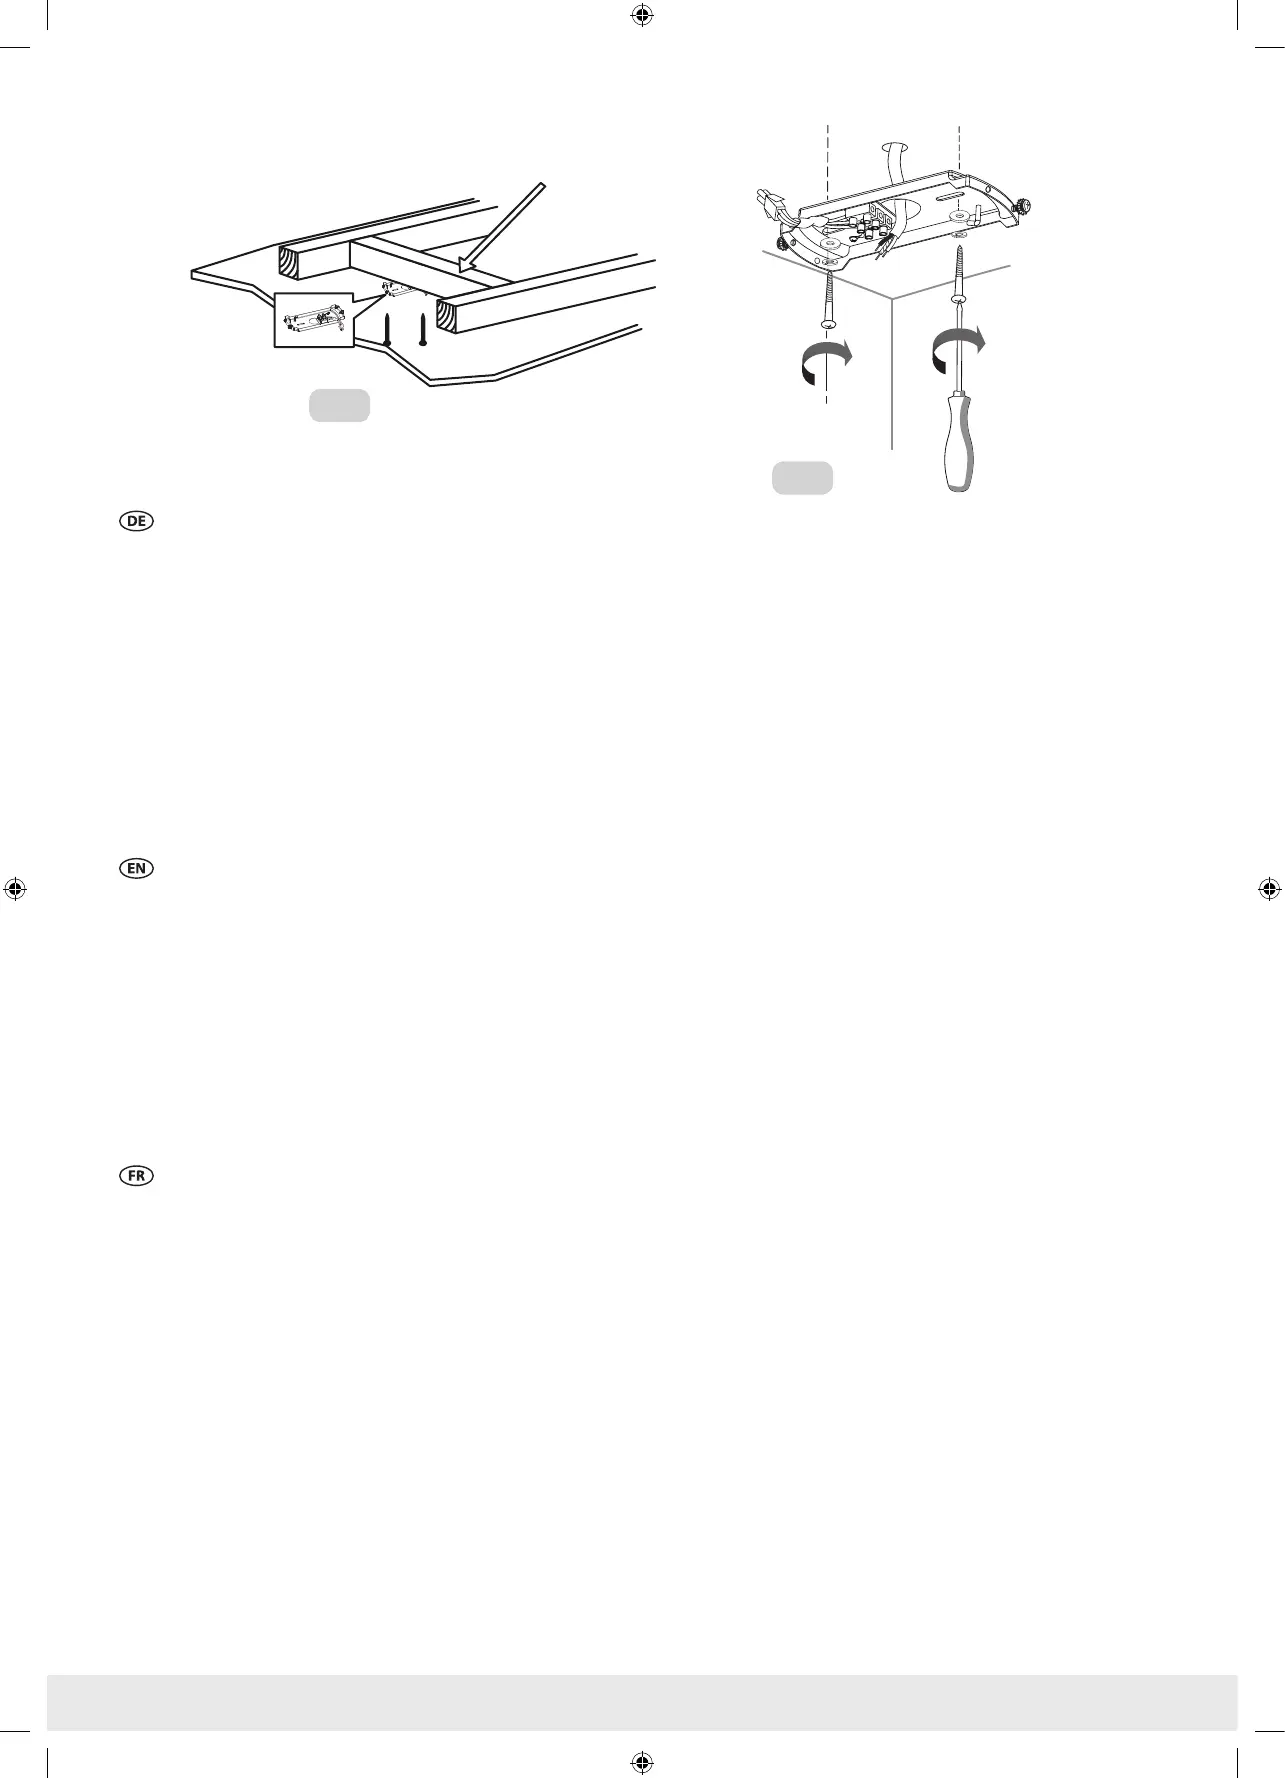
Montagepunkt hat, müssen Sie eine Holzstütze zwischen zwei Deckenbalken installieren. Siehe Abb. 2.
4. MONTAGE DER AUFHÄNGEHALTERUNG: Die Versorgungsdrähte durch das Loch in der Halterung führen und die Halterung mit den
Unterlegscheiben, Federscheiben und Holzschrauben am Deckenbalken befestigen. Siehe Abb. 3
5. Achten Sie darauf, dass mindestens 30mm der Schraube in den Deckenbalken oder die Holzstütze eingeschraubt sind.
Hinweis: Der Befestigungspunkt MUSS eine Tragkraft von 45 kg aufweisen. Das Bild dient nur zur Darstellung und stellt nicht die
tatsächliche Halterung dar.
Hinweis: Die mitgelieferten Befestigungsschrauben sind für die Verwendung mit Holzdeckenbalken vorgesehen, für alle anderen
Materialien müssen die entsprechenden Befestigungsschrauben gekauft werden.
Hinweis: Die Aufhängehalterung Ihres Ventilators ermöglicht die Montage an abgewinkelten/abgeschrägten Decken bis zu einer Neigung
von 14 Grad.
Selecting a location
1. The ceiling fan must be installed in a location so that the blades are a minimum 300 mm spacing from the tip of the blade, to the
nearest objects or walls.
2. The ceiling fan must be installed in a location so that the blades are a minimum 2.3 m above the floor.
3. The fixing point for your ceiling fan must be capable of supporting a 45 kg load. If the location does not have a solid mounting point,
you will need to install a timber support between two ceiling joists. Refer to Figure 2.
4. INSTALLING THE HANGING BRACKET: Locate and mark the center of the joist.Pass the supply wires throught the hole in the bracket.
Secure the bracket to the ceiling joist by using the flat washers.sping washers and wood screws. Refer to Fig. 3
5. Ensure that at least 30 mm of the screw is threaded into the ceiling joist or timber support.
Note: Fixing point MUST be able to support a 45 kg load. Image is for representation only, and does not represent the actual bracket.
Note: The xing screws included are designed for use with timber ceiling joists, for all other materials, the appropriate xing screws will
need to be purchased.
Note: Your fans hanging bracket allows for mounting on angled/sloped ceilings up to a 14-degree pitch.
Choix du lieu d‘installation
1. Le ventilateur de plafond doit être installé dans un endroit permettant un écart de 300mm entre l’extrémité des pales et l’objet ou le
mur le plus proche.
2. Le ventilateur de plafond doit être installé dans un endroit permettant une distance d’au moins 2,3m par rapport au sol.
3. Le point de fixation de votre ventilateur de plafond doit être capable de supporter une charge de 45kg. Si le lieu d’installation ne
dispose pas d’un point de montage solide, vous devrez installer un support en bois entre les deux solives du plafond. Voir Figure 2.
4. INSTALLATION DU SUPPORT DE SUSPENSION : Repérez et marquez le centre de la solive. Passez les câbles d’alimentation à travers le
trou du support. Fixez le support à la solive de plafond à l’aide des rondelles plates, des rondelles élastiques et des vis en bois. Voir
Figure 3.
5. Assurez-vous qu’au moins 30mm de vis est inséré dans la solive du plafond ou le support en bois.
Remarque : Le point de xation DOIT être capable de supporter une charge de 45kg. Les images sont fournies uniquement à titre indicatif
et ne représentent pas le support réel.
Remarque : Les vis de xation incluses sont conçues pour être utilisées avec solives de plafond en bois. Pour tous les autres matériaux, vous
devrez acheter les vis de xation adaptées.
Remarque : Le support de suspension de votre ventilateur permet de monter ce dernier sur un plafond incliné d’une pente de 14degrés
maximum.
Fig. 2
Fig. 3