19
english
2 Outlet bend and nozzle tube are connected with a short section of hose and likewise fastened
to the inside wall of the tank with suction pads. The plug for the open end of the nozzle
tube is not tted until the lter is running.
Tip: The nozzle tube can be installed either below or at water level, depending on the degree
of surface movement desired. Cut each hose to the required length and push up at least 1 cm
on to the suction pipe and outlet bend. Make sure that the hoses are laid as short as possible
and that they do not sag or kink. Sagging hoses can worsen the suction process considerably.
Tip: Any kinks that form can be pressed out if the hoses are rendered supple in hot water.
3 Connect the suction pipe hoses to the left and right hose connectors on the adapter (marked )
and join the outlet bend to the adapter with the middle hose connector (marked ).
Push up all three hose ends until they lock into place (if necessary, render supple with hot
water beforehand).
4 Then, lay the two-part hose guard right round the assembled ends close to the adapter, hook
in laterally and clip together.
Note: Be sure to use original EHEIM hoses. Check all hose connections at regular intervals to
make sure they t properly.
Installing the lter
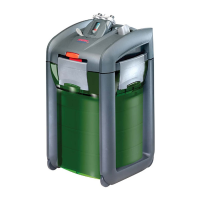
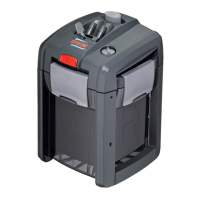
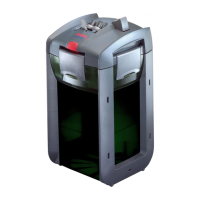
5 When choosing a location for the lter, pay attention to the prescribed vertical clearance. To
achieve optimal operational safety, the distance between the water surface and the lter
bottom may not exceed 180 cm. However, the upper edge of the pump head should be at
least 10 cm below the surface of the water. It is better to place it underneath the aquarium.
Tip: The EHEIM professionel 3 external lter has 4 castors. By tilting slightly, the lter can
easily be placed in the cabinet. In the standing position, the load is removed from the castors.
Note: Since a wide variety of varnishes and polishes are used when processing timber, the feet
of the appliance can leave visible traces on furniture or parquet oors as a result of chemical
reactions. Therefore the device should not be placed on unprotected wooden surfaces.
Attention: Always operate the lter in a standing position.
Filling with lter materials
Remove adapter
6 Turn shut-off lever on the adapter to the OFF position. Press the red safety catch (can only
be pressed when the shut-off lever is in the OFF position). The safety adapter springs out of
its holder and can be removed.
Open lter
7 Tip out all four closing clips on the lter container, push up and fold out. Remove pump head.
8 Take prelter, covering grid plate and lter pad (white) out of the container.
9 Pull out lter inserts by the handle. The recessed handle can be pulled up and out.