Do you have a question about the EINHELL BG-CT 18/1 Li and is the answer not in the manual?
Details warning symbols like caution, eye protection, dampness, reading manual, keeping distance, and after-run.
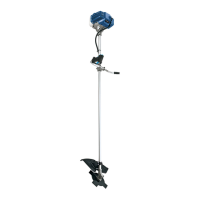
Instructions for attaching the guard hood to the motor head and securing it with screws.
How to mount the knife head on the motor shaft, ensuring it clicks into place.
Steps to attach the additional handle, involving loosening a knob, positioning, and securing with a screw.
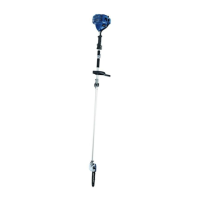
Method to adjust the trimmer's working height by loosening and retightening the union nut.
Process for repositioning the additional handle by loosening, moving, and retightening the securing screw.
How to set the tilt angle of the long handle using a pedal mechanism for optimal user comfort.
Guide to charging the battery pack, including removal, connection to charger, and LED status.
Recommendations for keeping the equipment clean, including safety devices and using damp cloths.
Instructions for safely removing and fitting a new blade using the provided assembly tool.
Statement that no internal components require additional maintenance beyond cleaning.
Details required information for ordering spare parts, such as type and article numbers.
| Power Source | Battery |
|---|---|
| Battery Voltage | 18 V |
| Battery Type | Li-ion |
| Cutting Width | 30 cm |
| Weight | 2.1 kg |
| Line Diameter | 1.6 mm |
| Automatic Line Feed | Yes |
| Cutting System | Line |