• Thread the whip into the base, then fully extend it.
• Plug the AX1 into your transceiver’s BNC jack for HT-style
operation. For right-angle use with an AXB1, see page 5.
For use with a camera tripod and an AXT1, see page 6.
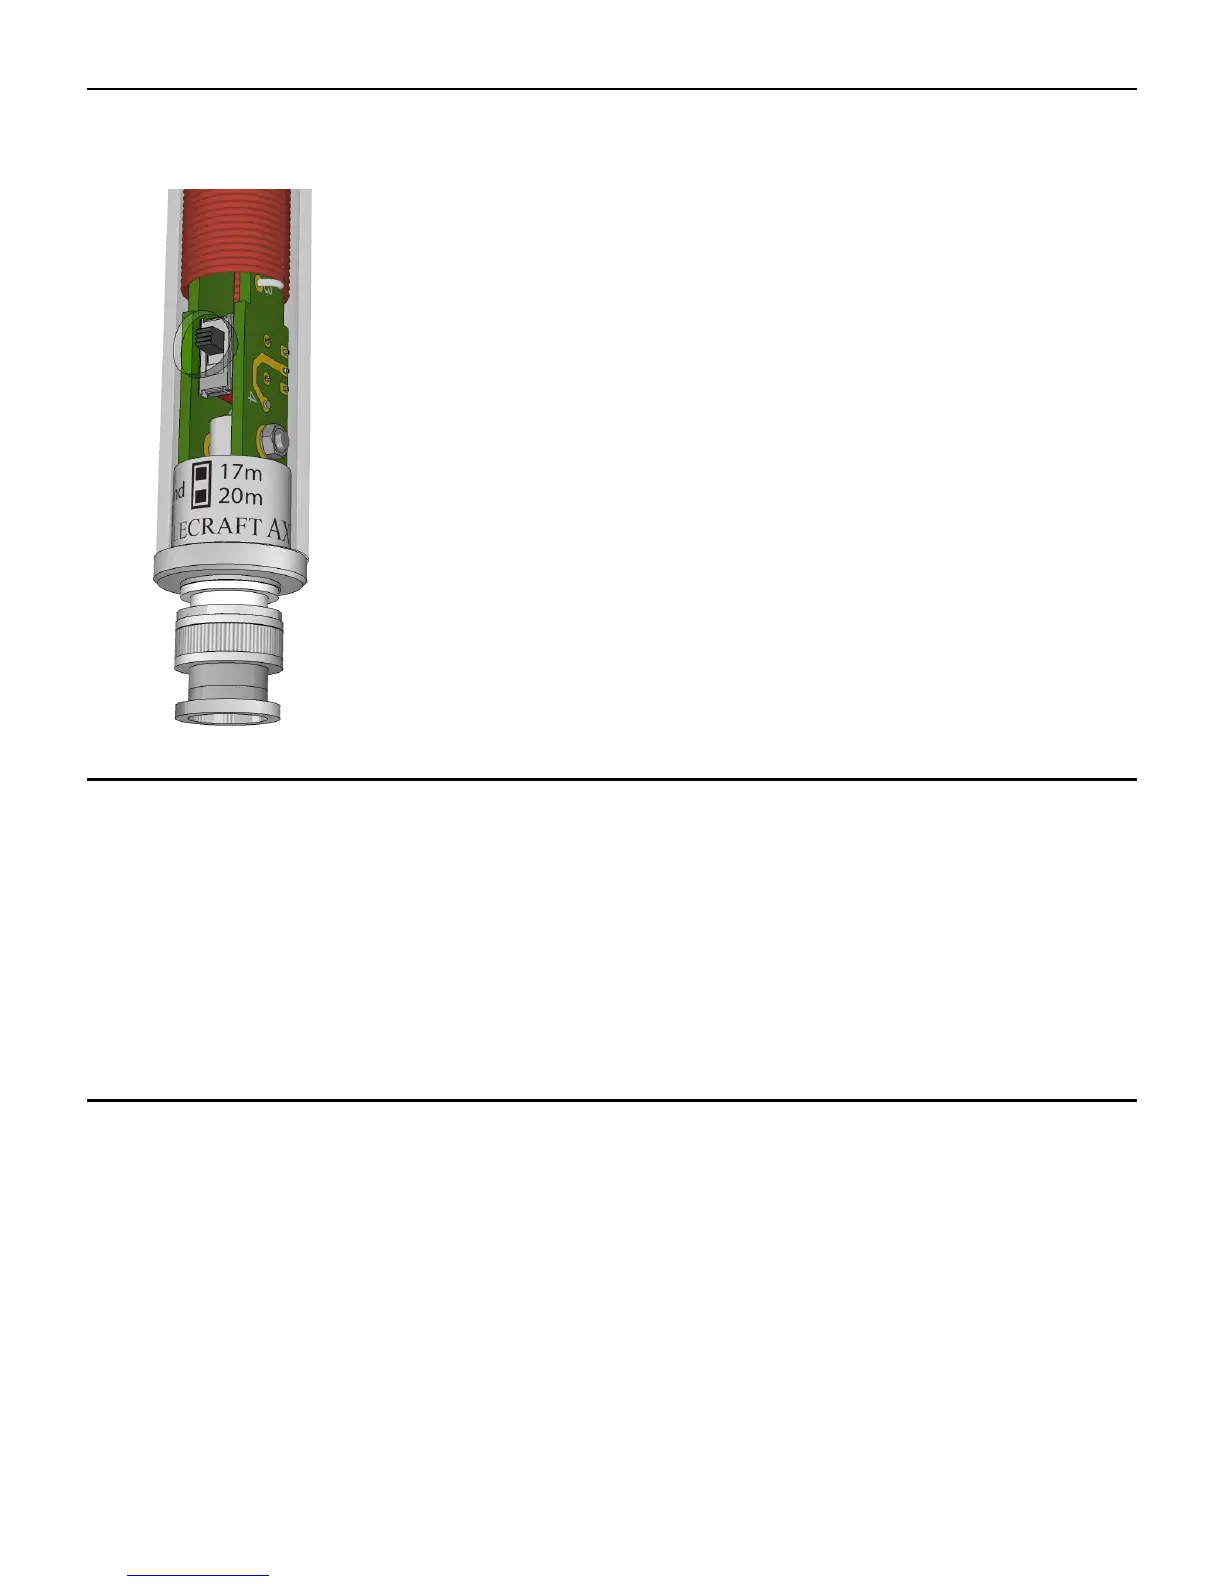
• Select the 20 or 17 m switch position on the AX1 as
shown at left. Use the 17 m position for 15 m. (An ATU
is always required for 17 and 15 m use.)
• ATTACH AT LEAST ONE COUNTERPOISE WIRE (or
radial) to your transceiver’s ground screw. Otherwise,
your transmit signal will be as much as 20 dB weaker (4 to
5 S-units). A 13’ (3.3 m) insulated wire with a solder lug
at one end is supplied with the AX1. When using a KX2
or KX3, secure the solder lug to the rig at the thumb screw
closest to the antenna jack. (An option for the KX2 is to
use a mini-banana plug, e.g. Elecraft KX2GNDPLUG,
with the quick-release ground jack on the left side panel.)
• Match the antenna to the transceiver using an ATU or with
manual length adjustments as described below.
The resonant frequency of any short whip can be affected by
many factors. Pedestrian mobile operation complicates the
issue because of changes in terrain and in the location of the
radio relative to the operator. An ATU can compensate,
eliminating tedious whip or radial length adjustments.
To match using an ATU: Tap the ATU tuning switch on the
radio or tuner. If you’re using a K3S / K3 / KX3 / KX2, tapping
the tune switch a second time may result in a better match.
Non-ATU operation is possible on 20 meters where the AX1
is near resonance.
To adjust antenna length manually: Check the SWR at
both the low and high end of the desired band. If SWR is
higher at the low end of the band, lengthen the radial. If SWR
is higher at the high end of the band, shorten the radial or
reduce the length of the telescoping whip.
NOTE: In cases where it is difficult to achieve a low SWR
(< 3:1), transmitting may still be possible at reduced power.
Elecraft transceivers can be safely used at high SWR.
 Loading...