7www.electrolux.com
GB
hot water escaping from the lter holder. Ensure to release the pressure into water
tank before removing the lter holder. DANGER! There is risk of scalding.
• Release pressure through hot water/steam nozzle before removing lter holder.
• Warning: Avoid steam burn.
• When the steam function is used there can be some hot water dripping from the
brewing head. DANGER! The water is hot, there is a risk for scalding.
• When opening the steam knob there is a shot of hot water coming out. Be careful
and open the steam valve slowly. DANGER! The water is hot, there is a risk for
scalding.
• Do not immerse the appliance in water or any other liquid.
• Do not exceed the maximum lling volume as indicated on the appliances.
• Fill the water tank only with cold water, never with milk or other liquids.
• Always use fresh water to brew espresso to promise the best taste.
• Do not use the appliance if the water tank has not been lled.
• Do not use the appliance without the drip tray or drip grid, unless a higher cup/mug is
in use.
• Do not use or place the appliance on a hot surface or near source of heat.
• Warning: Avoid spillage on the connector.
• This appliance is intended for domestic use only. The manufacturer cannot accept any
liability for possible damage caused by improper or incorrect use.
• This appliance is not intended to be operated by means of an external timer or
separate remote-control system.
This appliance is intended to be used in household and similar applications such
as:
- sta kitchen areas in shops, oces and others working environments;
- farm houses;
- by clients in hotels, motels and other residential type environments;
- bed and breakfast type environments.
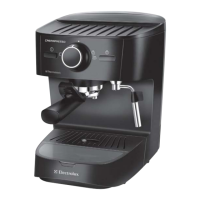
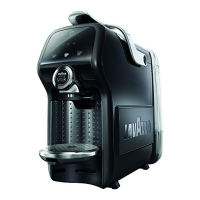
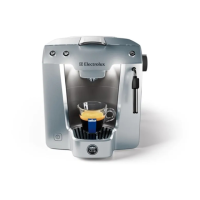
GETTING STARTED (picture page 3 and 4)
Start the machine for the rst time
1 Place the machine on a at surface. Plug in the machine to turn on its stand-by mode, while button
turns half on. Fill the tank with cold pure water. Put lter cup into lter holder, and then x it onto brew-
ing head anti-clockwise from “INSERT” to “LOCK” position without coee. Make sure the knob is at the
horizontal position (“OFF” position).
2 Start the machine with the button, whose light turns fully on and and buttons start blinking.
3 When buttons stop blinking, pre-heating is done. Press button to start brewing process. NOTE: There
may be noise when pumping the water for the rst time. It is normal. The machine is releasing the air
from inside. The noise will stop after about 20 seconds.
4 When brewing is nished, remove the lter holder clockwise, clean up the lter and clear up the drip tray.
Now the machine is ready to use. NOTE: The machine will turn o automatically after 20 mins of no
operation.
 Loading...