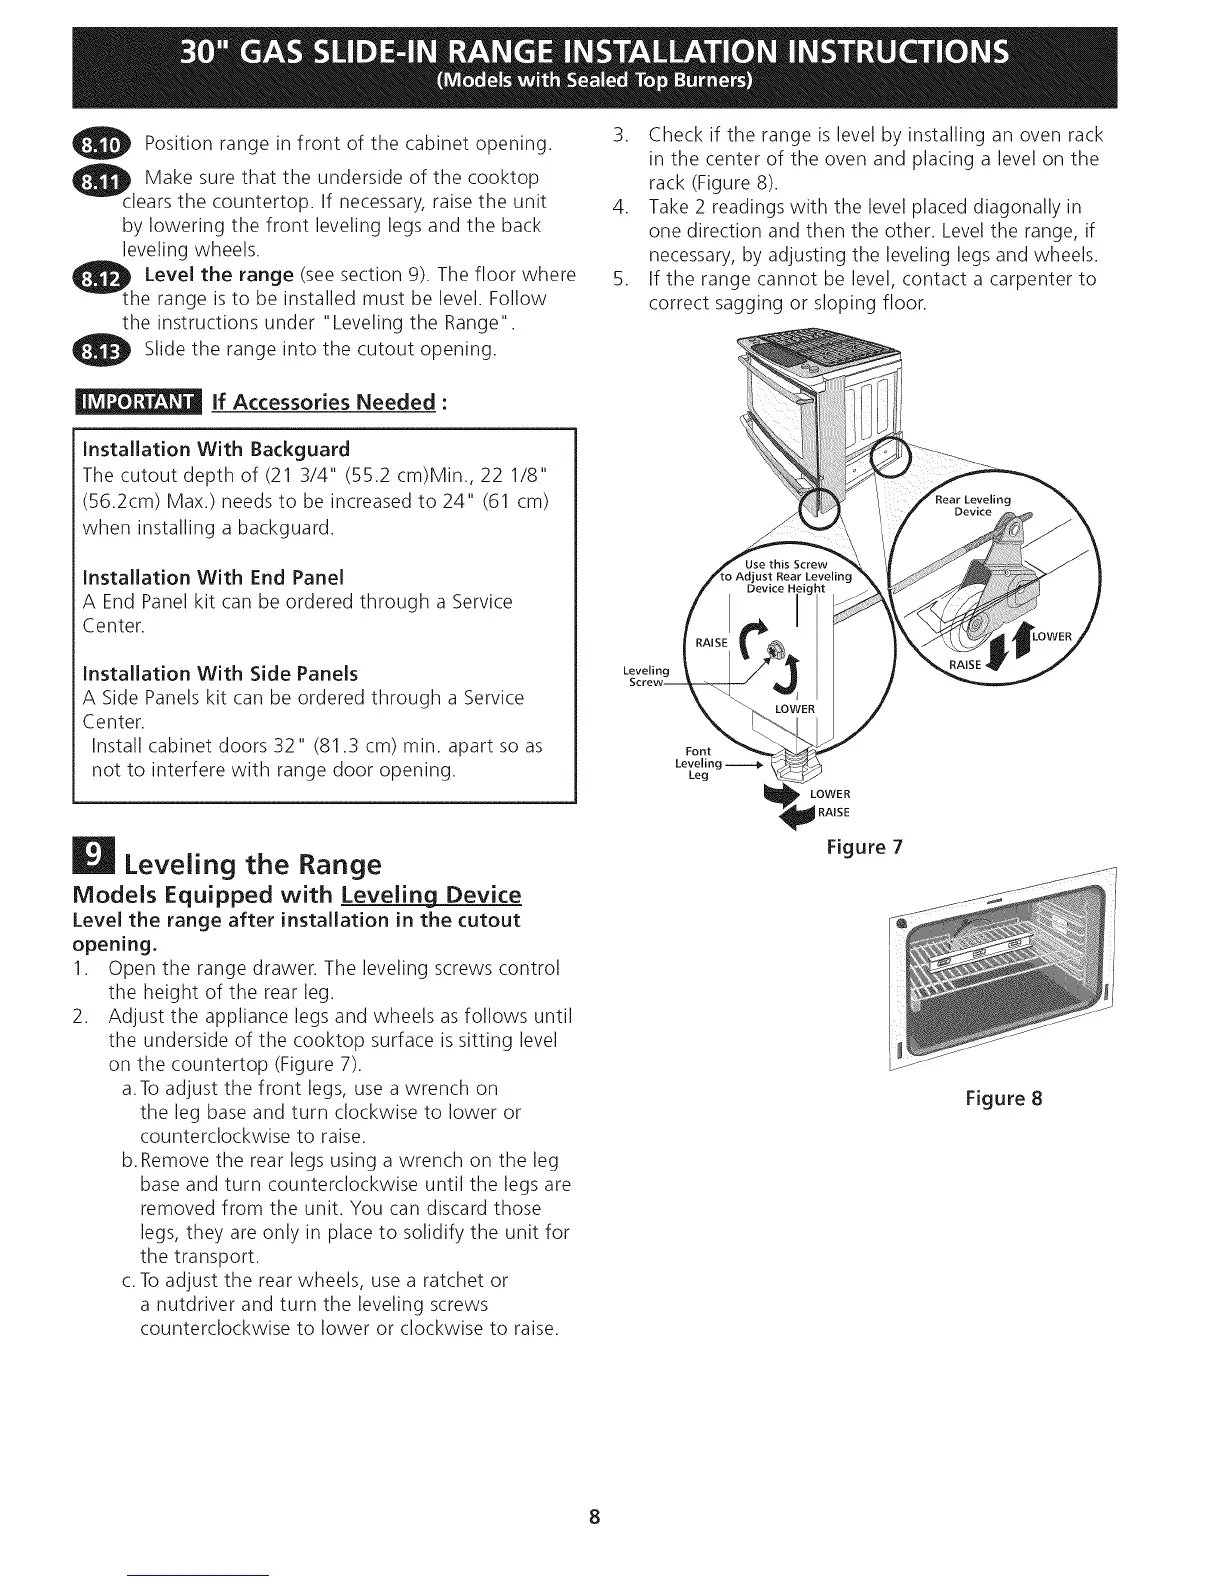
Position infrontofthecabinetrange
opening.
_c Make thattheundersideofthe
sure
cooktop
leafsthecountertop.Ifnecessary,raisetheunit
byloweringthefrontlevelinglegsandtheback
levelingwheels.
_t Levelthe (seesection9).Thefloorwhere
range
herangeisto beinstalledmustbelevel.Follow
theinstructionsunder"LevelingtheRange".
Slidethe intothecutout
range
opening.
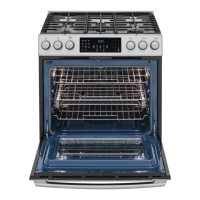
3. Checkif therangeislevelbyinstallinganovenrack
inthecenterof theovenandplacingalevelonthe
rack(Figure8).
4. Take2 readingswiththelevelplaceddiagonallyin
onedirectionandthentheother.Leveltherange,if
necessary,byadjustingthelevelinglegsandwheels.
5. Iftherangecannotbelevel,contactacarpenterto
correctsaggingor slopingfloor.
If Accessories Needed :
Installation With Backguard
The cutout depth of (21 3/4" (55.2 cm)Min., 22 1/8"
(56.2cm) Max.) needs to be increased to 24" (61 cm)
when installing a backguard.
Installation With End Panel
A End Panel kit can be ordered through a Service
Center.
Installation With Side Panels
A Side Panels kit can be ordered through a Service
Center.
Install cabinet doors 32" (81.3 cm) min. apart so as
not to interfere with range door opening.
Leveling the Range
Models Equipped with Leveling Device
Level the range after installation in the cutout
opening.
1. Open the range drawer. The leveling screws control
the height of the rear leg.
2. Adjust the appliance legs and wheels as follows until
the underside of the cooktop surface is sitting level
on the countertop (Figure 7).
a.To adjust the front legs, use a wrench on
the leg base and turn clockwise to lower or
counterclockwise to raise.
b.Remove the rear legs using a wrench on the leg
base and turn counterclockwise until the legs are
removed from the unit. You can discard those
legs, they are only in place to solidify the unit for
the transport.
c. Toadjust the rear wheels, use a ratchet or
a nutdriver and turn the leveling screws
counterclockwise to lower or clockwise to raise.
Font
Leveling
Leg
LOWER
RAISE
Figure 7
Figure 8