Do you have a question about the Electrolux EWFLW65H - 27'' Front-Load Washer and is the answer not in the manual?
Section for recording essential product details like purchase date and model number for future use.
Contact information and support channels for customer inquiries and assistance with the appliance.
Crucial safety guidelines and warnings to prevent injury, death, or property damage during appliance use.
Explanation of hazard symbols (Warning, Caution, Note) and their associated risks for user awareness.
List of necessary tools and materials required before starting the installation process.
Specifications for the required electrical circuit, power supply, and outlet for safe appliance operation.
Mandatory grounding procedures and warnings to prevent electrical shock hazards during installation.
Details on faucet type, water pressure, and hose connection for proper water supply to the washer.
Specifications for the drain standpipe, including capacity, diameter, and height for effective water drainage.
Minimum clearances needed around the washer for proper ventilation and operation in different installation types.
Specific ventilation requirements for installing the washer within a closet or enclosed space.
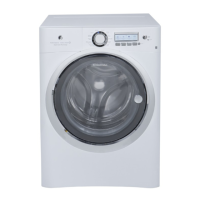
Diagrams and measurements showing the external dimensions of the washer for planning installation space.
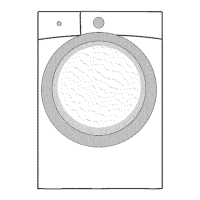
Step-by-step instructions for safely removing protective packaging materials from the washer.
Guide to removing internal shipping bolts, clamps, and spacers to prepare the washer for use.
Instructions for inserting provided hole plugs into the washer's back panel for a finished look.
Procedure for adjusting the washer's leveling legs to ensure stability and reduce noise and vibration.
Steps for flushing water lines and connecting hot and cold water supply hoses to the washer.
Instructions for connecting the drain hose and plugging the power cord into a grounded electrical outlet.
Guide to running the initial installation cycle to test water, drain, and spin functions for proper setup.
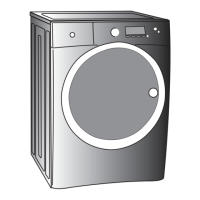
Pre-installation steps and safety precautions before reversing the washing machine door's opening direction.
Detailed steps for removing the washing machine door and its associated hardware from the front panel.
Instructions on how to detach the door hinge assembly from the washer's front panel.
Steps to detach the door lock mechanism and its electrical harness from the front panel.
Procedure for reattaching the door lock and its harness to the front panel in the new orientation.
Steps for reattaching the door hinge assembly to the front panel in the opposite opening position.
Instructions for removing the door striker plate from its original position on the washer.
Steps to remove the latch indicator component from the washer door assembly.
Procedure to remove a hole plug from the washer door for accessing components during reversal.
Guide to reinserting the latch indicator into the opposite hole on the washer door.
Instructions for reattaching the door striker plate to the opposite side of the door.
Procedure to reinsert the hole plug into the opposite hole on the washer door.
Steps for reattaching the washer door to the hinge pins and securing it with screws.
Instructions for orienting and reinserting the trim ring cover plate to its new position.
Guide to reinserting the trim ring into the slots and rotating it to the correct final position.
Steps for installing the trim plug back into the door opening with a screw.
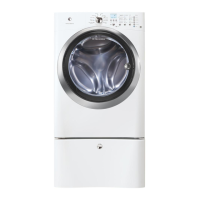
List of optional accessories available for purchase, such as pedestals and stacking kits.
Information on how to obtain replacement parts and contact customer service for assistance.
| Brand | Electrolux |
|---|---|
| Model | EWFLW65H |
| Type | Front-Load Washer |
| Width | 27 inches |
| Capacity | 4.4 cu. ft. |
| Energy Star Certified | Yes |
| Spin Speed | 1300 RPM |
| Number of Cycles | 9 |
| Steam Option | Yes |
| Color | White |
| Control Type | Electronic |
| Voltage | 120 V |
| Warranty | 1 year limited |