IInnssttaallllaattiioonn IInnffoorrmmaattiioonn
2-6
PPrree--IInnssttaallllaattiioonn CCoonnssiiddeerraattiioonnss
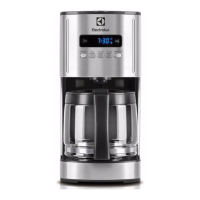
Remove the coffee maker from the packaging and
inspect it for damage. Do not install a damaged coffee
maker. To prevent damage to the control panel door,
do not set the appliance on the floor or counter prior to
installation.
PPaarrttss LLiisstt
Check to make sure all parts are included with coffee
maker.
1. Steam barrier with mounting screws
2. 2 guide assemblies with mounting screws
3. 6” metal shims, 1/16” (1mm)
4. Three foot 1/4” to 3/4” flexible water supply hose
(E24CM76GSS)
5. Use & care guide
6. Detergent tablets (sample)
7. Spare tank O-ring (model E24CM75GSS)
8. Spare piston assembly O-ring
9. Allen wrench (for grinder adjustment)
10. Anti-liming powder (sample)
11. Measuring cup for ground coffee
12. Cleaning brush
13. Keys (taped to the right side of the unit)
TToooollss NNeeeeddeedd ffoorr IInnssttaallllaattiioonn
1. Phillips screwdriver
2. Measuring tape
3. Level Drill with 1/16” drill bit
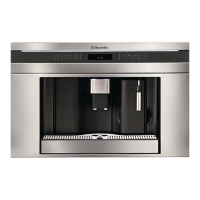
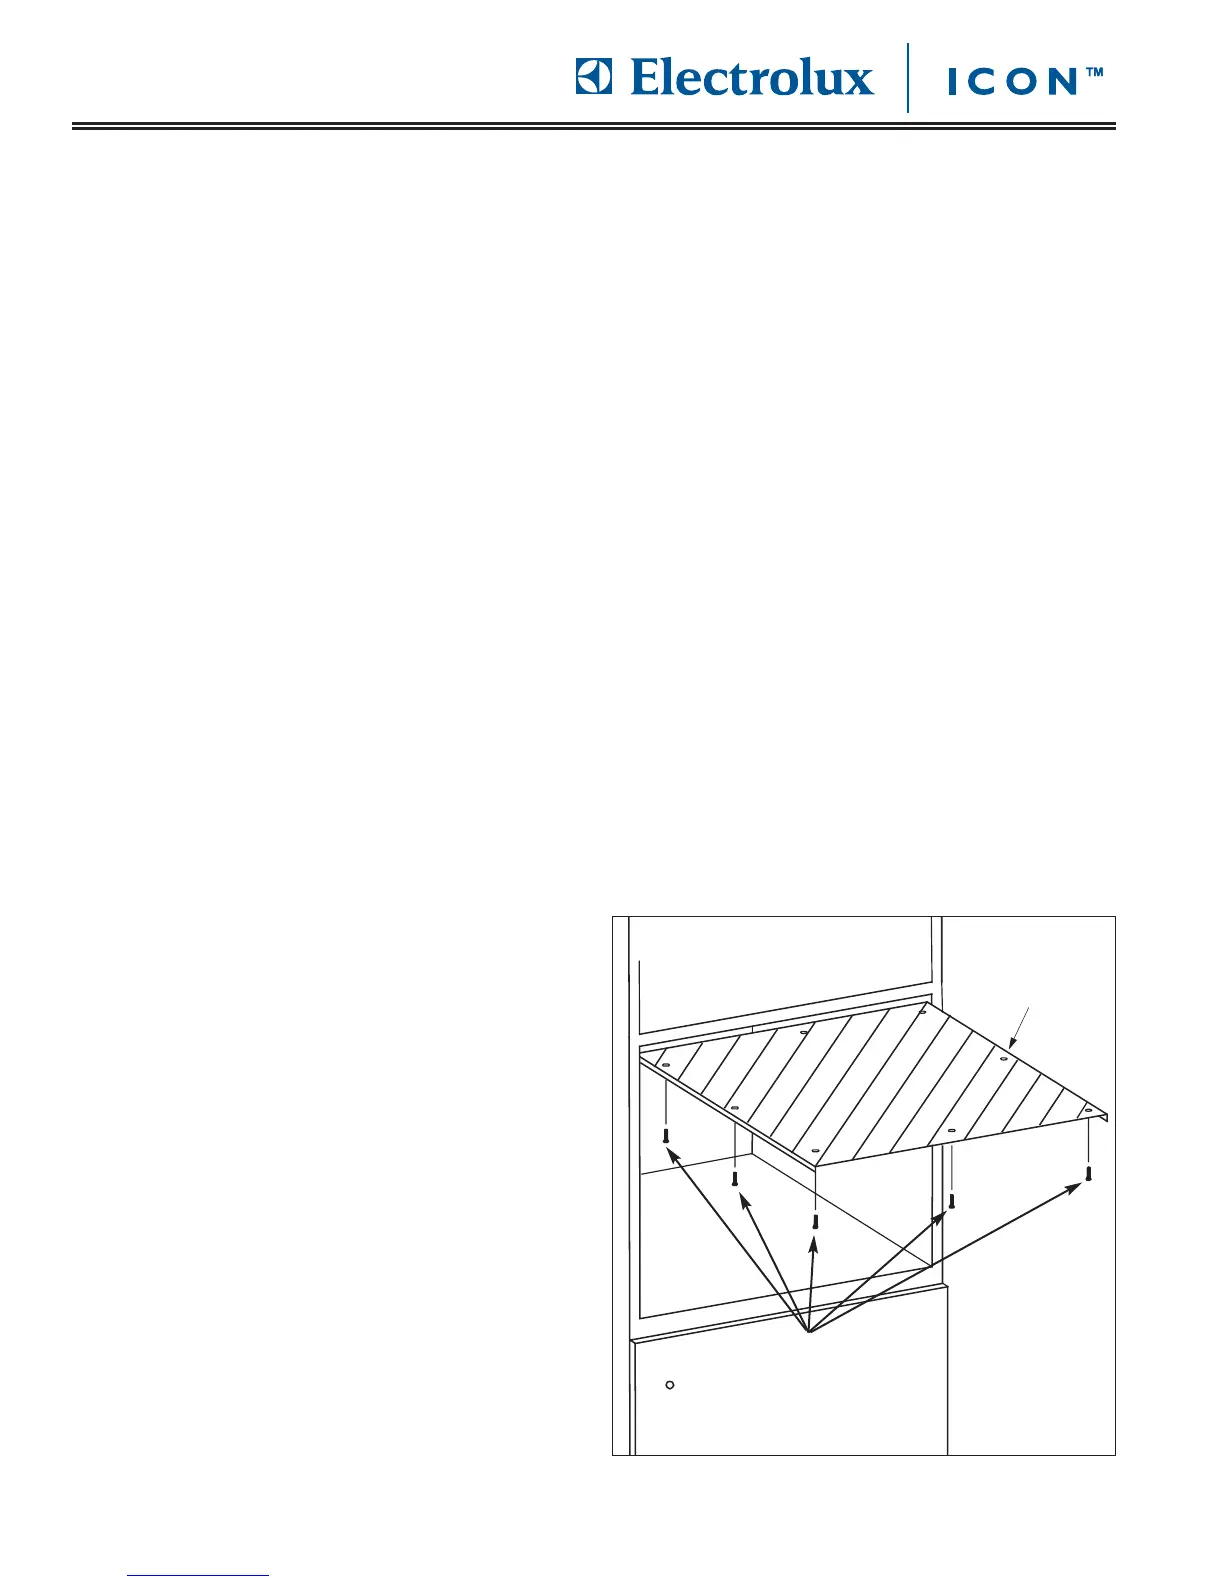
SStteeaamm BBaarrrriieerr IInnssttaallllaattiioonn
Position the steam barrier inside the top of the cut-out.
Push it towards the back wall until the back edge lines
up with the back of the cabinet.
Attach steam barrier with the eight (8) provided screws.
(See Figure 2-4)
FFiigguurree 22--44.. UUnniit
t DDiimmeennssiioonnss