69 70
© 2021, Elon Group AB. All rights reserved.
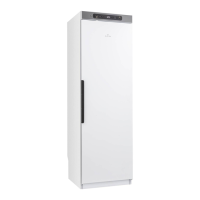
The drying cabinet is only intended for use indoors in a dry area, when secured to a
wall.
Do not place the drying cabinet in an area where high-pressure water is used for
cleaning.
The drying cabinet must be installed upright on a flat surface, and be
supported by all four feet.
If adjustment is necessary, tilt the cabinet and adjust the adjustable feet. Use a spirit
level to check that the cabinet is level.
Remember that the cabinet is top-heavy and could pose a risk of tipping over. This
adjustment should therefore be carried out by two people.
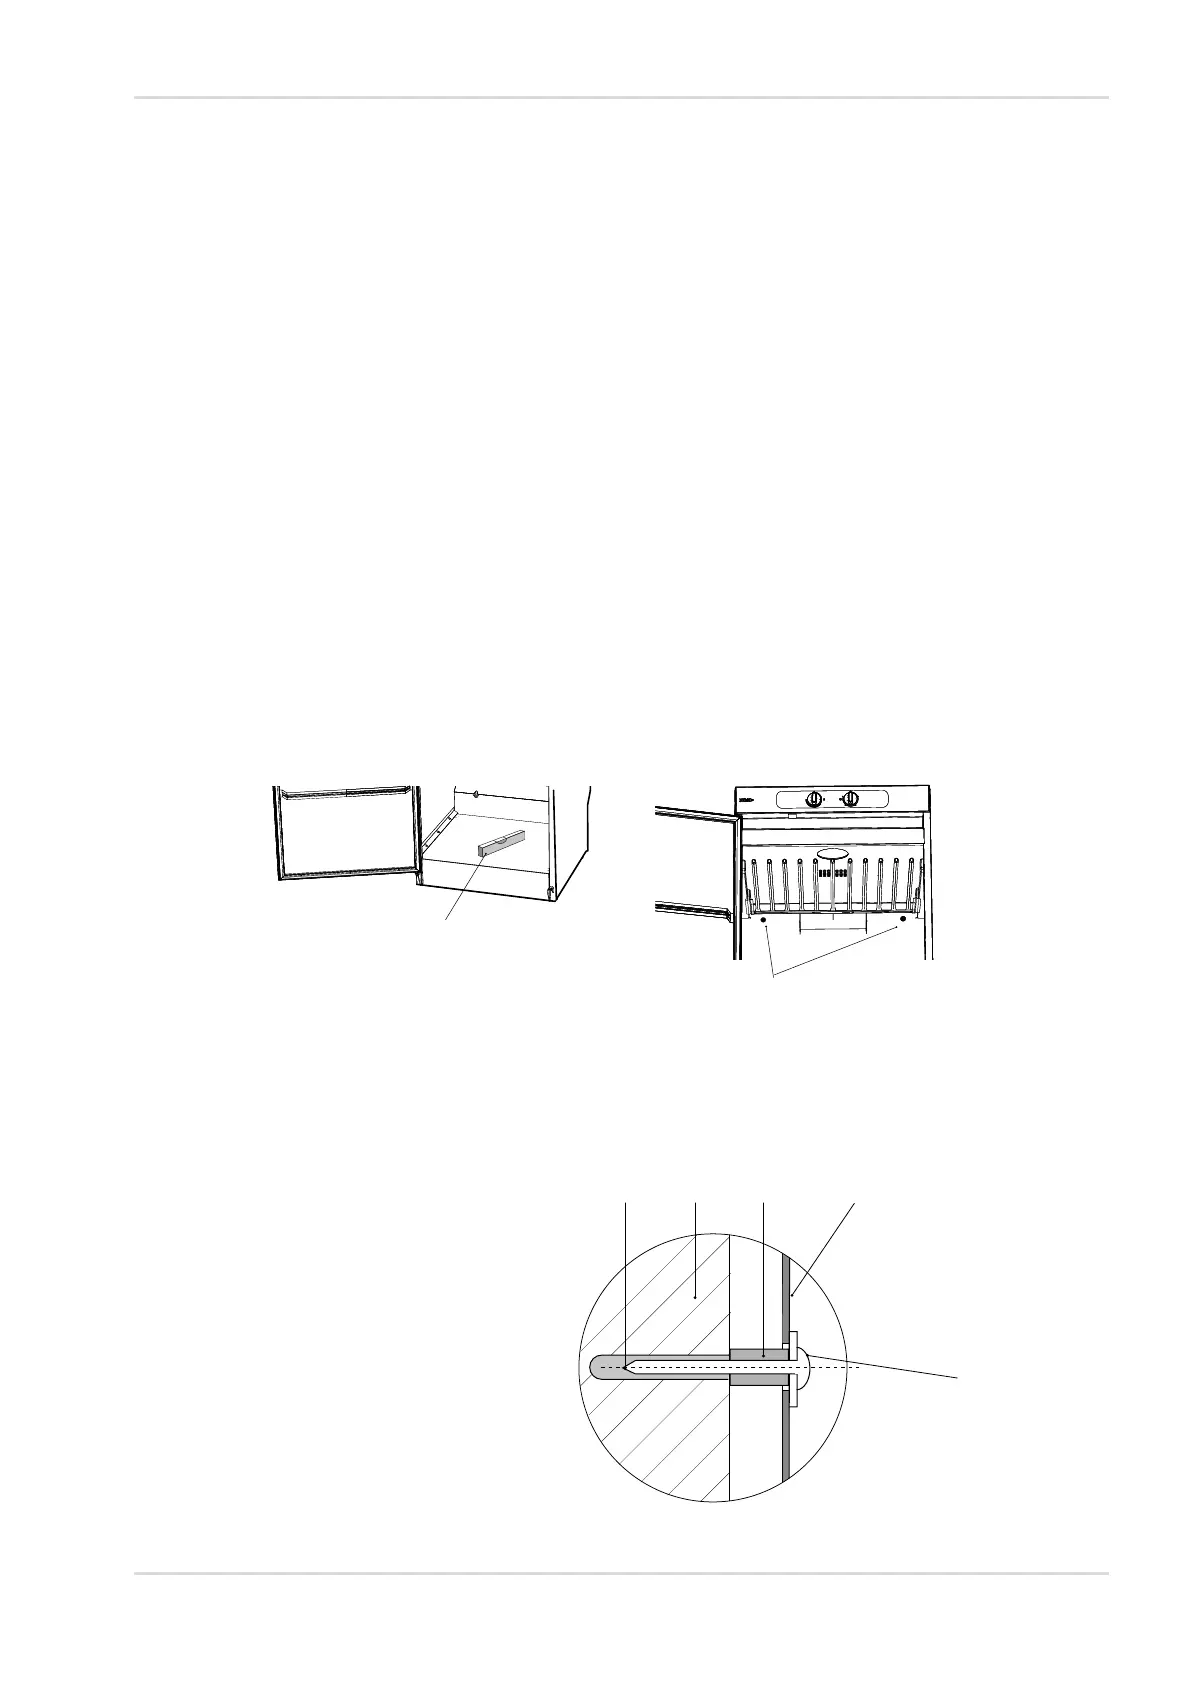
The cabinet must be secured to the wall to prevent it from tipping over.
1. Open the door and drill two 8 mm holes in the wall through the pre-drilled holes
in the rear of the cabinet.
2. Insert the wall plugs into the wall. Slide a spacer on to each screw and fit them
with the washers as shown. The screws are found in the installation kit.
Spirit level
Securing to the wall also ensures a more effective door seal.
WARNING! The drying cabinet must not be used unless it has been
secured to the wall, as it could tip forwards otherwise.
1. Wall plug
2. Wall behind cabinet
3. Spacer
4. Inside rear wall of cabinet
5. Fixing screw with washer
Pre-drilled holes
PLACEMENT/SECURING
2
1
4
3
5
 Loading...