7
6600
3
2
1
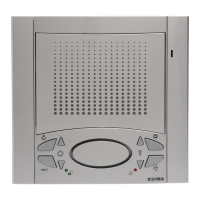
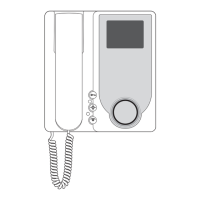
Table version
Surface wall-mounting
version
INSTALLATION OF TYPE 6621 WITH BRACKETS TYPE R660
- Make a 120x120mm (nearly) hole in the plasterboard wall at 1,40 from
the floor to the lower border.
- Fix the bracket to the monitor as indicated in figure, keeping the cursors
well aligned to the monitor sides (part. 1, Fig. 2A)
- Carry out the terminal block connections (see wiring diagram)
- Insert the monitor inside the wall in plasterboard.
- Tighten the screws so as the cursors can get closer to the plasterboard
wall.
- By screwing, the cursors should get aligned orthogonally to the monitor
(see part. 1, Fig. 2A)
- Insert the side grids, paying attention that the one with the slot for the
microphone must be inserted on the right.
Fig. 2A
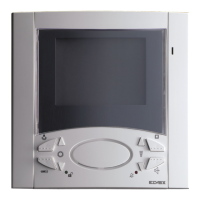
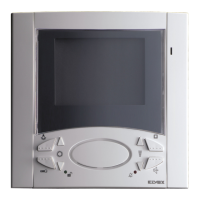
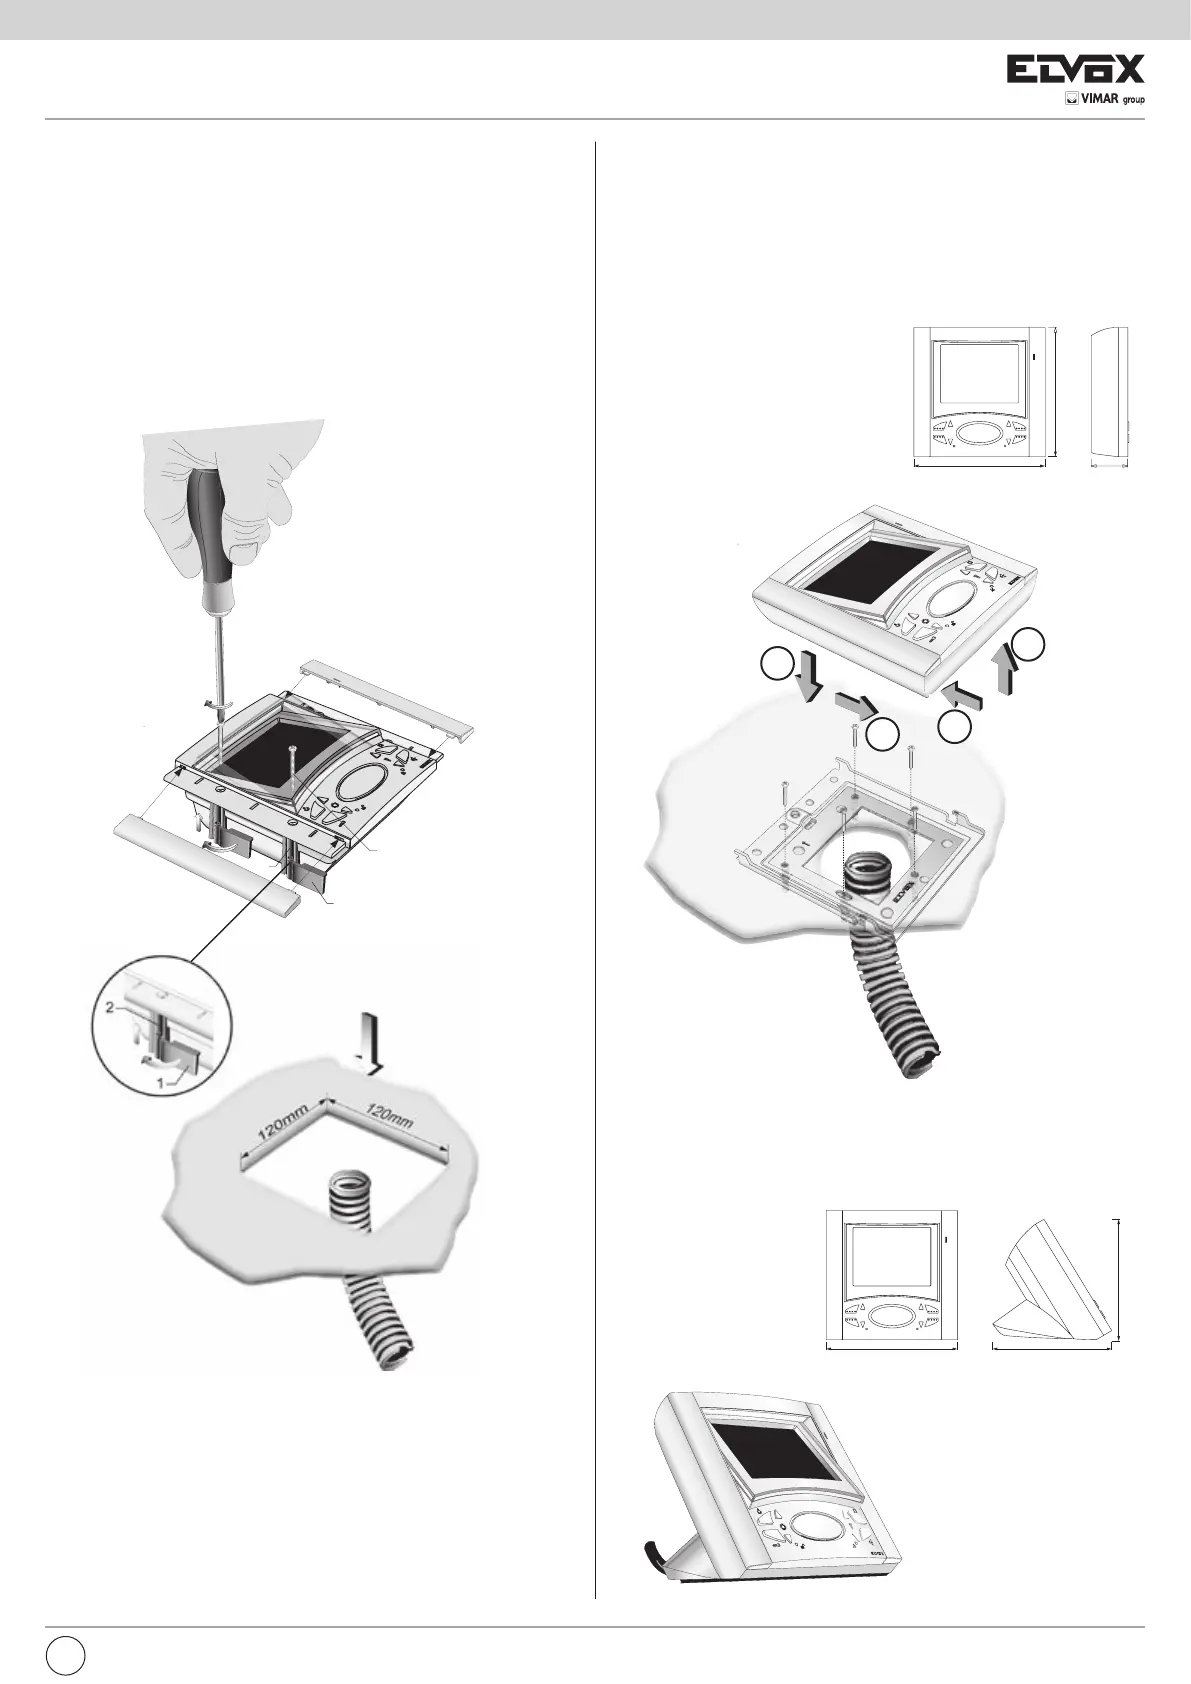
INSTALLATION OF TYPE 6721
- Install the video interphone away from sources of light and heat.
- Fix the monitor fixing plate at 1,40m. from the ground level to the lower
border.
- Connect the terminal block.
- Insert the monitor according to the 1 and 2 arrow direction
- To remove the monitor from the plate hook, operate with a screw driver
on the security lock (placed on the upper side and behind the monitor),
and remove it according to the 3 and 4 arrow direction.
Fig. 2B
Fig. 2C
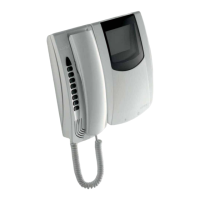
INSTALLATION OF TYPE 662C
- Fix the monitor support to the wall.
- Connect the terminal block (see wiring diagrams).
- Hook the stud to the support.
1
2
3
4
59mm
10mm
141mm
139
mm
136
mm
141mm 125mm
125
mm
40mm
141mm
139
mm
141mm 125mm
125
mm
EN
 Loading...