4
The clock receives the DCF radio signal automatically every hour from 01:00 to 03:00 and simultaneously updates the time. In
case the signal is not received successfully, the station will repeat the search at 04:00 and 05:00.
Note: During DCF signal reception, do not use any buttons! We recommend adjusting time during the night, when the DCF signal
propagates better.
Manual Setting of Time and Date
1. Press and hold the MODE button.
2. Use the UP/DOWN buttons to set: time shift (-1:00/00/+1:00) – 12/24 h time format – hour – minute – year – month – day
– data display format (day/month or month/day) and snooze time limit (5 to 60 min, 1 minute increments).
3. Press MODE to move between the menu items.
Note: holding the UP/DOWN buttons adjusts values faster.
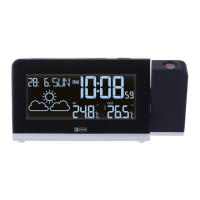
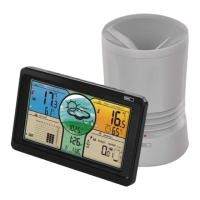
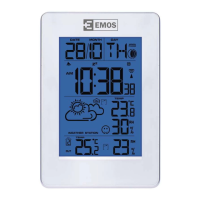
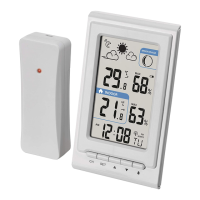
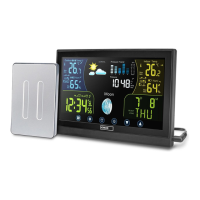
Indoor and Outdoor Temperature, Humidity, °C/°F Temperature Unit
Indoor temperature and humidity is displayed above the IN icon.
Outdoor temperature and humidity is displayed above the OUT icon.
Shortly press the DOWN button to select the °C/°F unit of temperature.
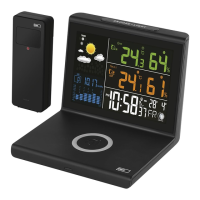
Displaying Data from Connected Sensors
Repeatedly press the UP button; a beep will sound and the corresponding sensor number ( ) will begin ashing. Data
from all connected sensors will be shown one after another. Pressing the UP button again will display data from only one sensor
and the sensor number will stop ashing.
Displaying Minimum and Maximum Outdoor and Indoor Temperature
1. To display minimum (MIN) and maximum (MAX) average temperature and humidity, repeatedly press the MEM button.
2. To erase the minimum and maximum average temperature and humidity memory, hold the MEM button for 3 seconds
when in the MIN/MAX display mode.
Setting an Alarm
2 alarms can be set on the weather station. Select alarm no.1 (A1 ) or 2 (A2 ) by pressing the MODE button. Press and
hold the MODE button and use the UP/DOWN buttons to set the desired alarm time. Move between values using the MODE
button. Press the AL button again to activate the alarm. The icon for alarm 1, 2 or both will be displayed. Press the AL button
again to deactivate the alarm; the icon will disappear.
Snooze and Display Backlight Functions
Use the SNZ button to delay the alarm ringing. The length of the delay depends on the SNOOZE settings, see
Manual Setting of Time and Date.
Press the button when the alarm starts ringing. The alarm icon will be ashing. To cancel the SNOOZE function, press any button
(aside from SNZ) on the back of the weather station – the icon will stop ashing and will remain on the screen. The alarm will
be re-activated the next day. The alarm will be active for 2 minutes, if no button is pressed.
Press the LIGHT button to activate blue display backlight for 8 seconds.
Atmospheric Pressure/Pressure Trend
Press and hold the HPA button to display the pressure value (date will change to pressure). Moving the weather station to an-
other place will aect the measured values. Measurement will stabilise within 12 hours of battery insertion or weather station
moving. Again press and hold the HPA button. The current date will again be shown instead of pressure.
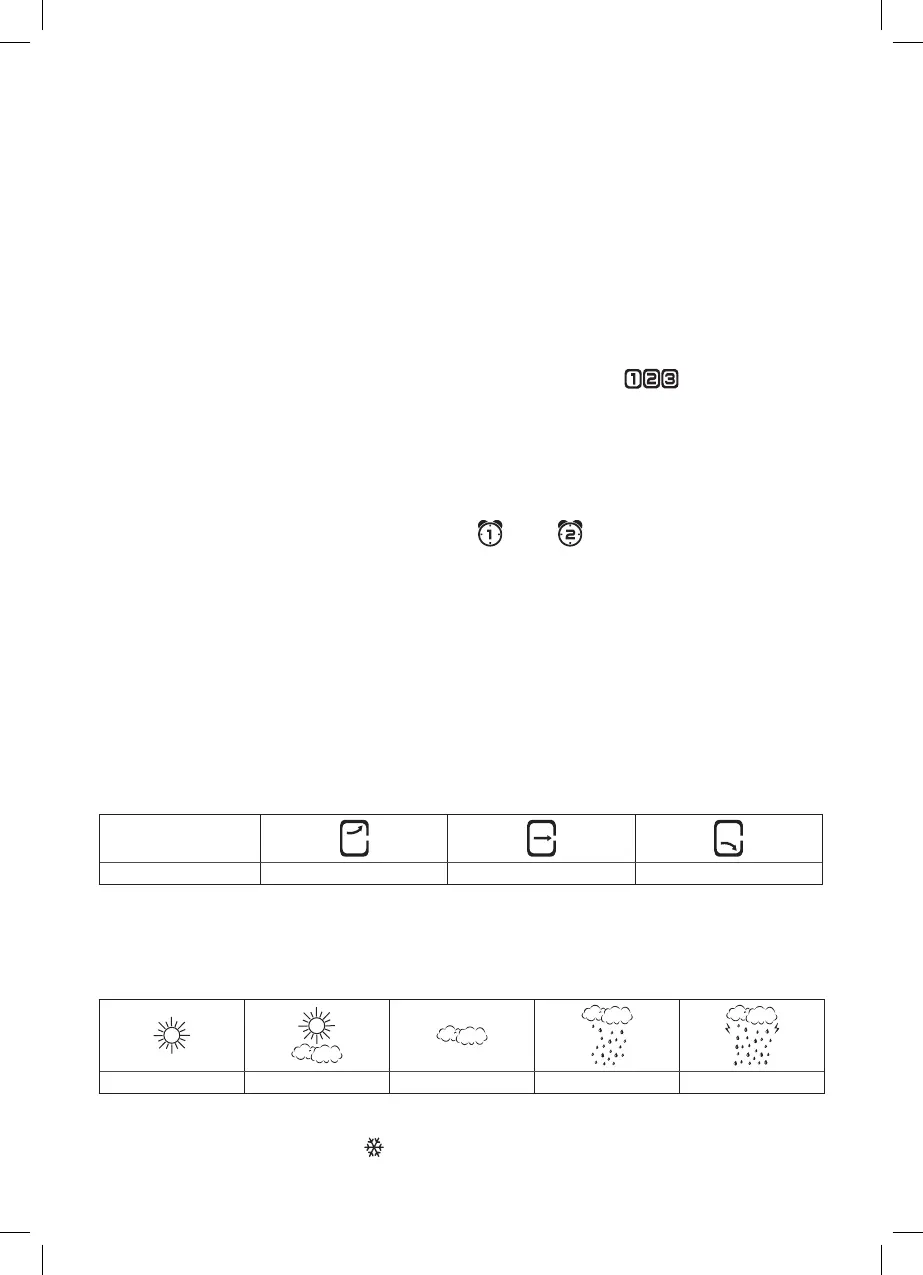
The weather station displays pressure trend using arrows.
Indicator on the display
Pressure trend rising constant falling
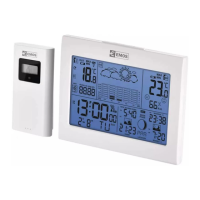
Weather Forecast
The station forecasts weather on the basis of changes in atmospheric pressure for the next 12–24 hours for an area within the
range of 15–20 km. Accuracy of weather forecast is 70–75 %. As the weather forecast may not be 100% accurate neither the
manufacturer nor the seller can be held responsible for any loss caused by an incorrect forecast. When you rst set or reset the
weather station, it takes about 12 hours before the weather station begins forecasting correctly. The weather station shows 5
weather forecast icons.
Sunny Slightly Sunny Cloudy Rainy Heavy Rain
Note: Currently displayed icon means a forecast for the next 12–24 hours. It may not reect the current state of the weather.
Glaze Ice Warning
If outdoor temperature is lower than 0 °C, the snowake icon will be displayed.
If no sensor is connected, the snowake icon is for indoor temperature.