7
GB | IP Door Camera Unit
Package contents:
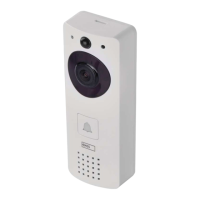
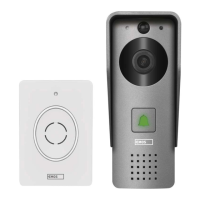
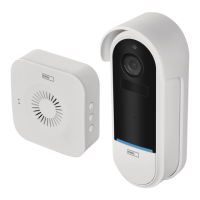
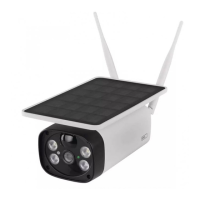
Wi-Fi doorbell
Cover (rain hood)
Wireless chime
Solar panel
Li-ion 18 650 batteries
Connecting cable
Mounting material – screws
Manual
Technical specications
Wi-Fi doorbell
Power supply: 2 200 mAh
Solar panel: 1.5 W
Resolution: 1 920 × 1 080
Lens: 2.69 mm JX-F37
Lens angle: 110°
PIR range: up to 4 m
Storage: SD card (max. 64 gb), Cloud storage
Enclosure rating: IP44
Maximum number of users: 10
APP: EMOS GoSmart for Android and iOS
Connection: 2.4 GHz WIFI (IEEE802.11b/g/n)
Wireless chime
Power supply: 3× AA (LR6) 4.5 V DC
Frequency: 433.92 MHz ±250 kHz
Range: ca. 80 m (open space)
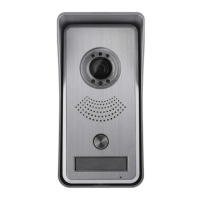
Description of the device: g. 1a
A – Microphone
B – PIR sensor
C – Photoresistor
D – Lens
E – Status LED
• LED ashing red and green: Battery charging.
• LED ashing red: Waiting for network cong-
uration.
• LED ashing green: Conguring network.
• LED glowing green: Working correctly.
• LED glowing yellow: Powered from an external
source, charging complete, no batteries detected
(note: If no batteries are inserted, the indicator
only glows yellow).
• LED not glowing red and green: Weak power
supply in standby mode.
F – Ring button
Description of the device: g. 1b
A – RESET button
B – SD card slot
C – USB port
D – Power supply
E – Input – door lock control
F – Alarm sensor
G – Battery slot
Description of the device: g. 1c
A – Status LED
• LED ashing red: Working correctly.
• LED glowing red: Voltage dropped below 3.3 V.
B – Speaker
C – Operating mode
D – Ringtone selection
E – Ringtone volume
• Low
• Medium
• High
Installation: g. 2
1. Mount the cover (rain hood) of the doorbell onto a
wall using the enclosed screws.
2. The mounting height of the doorbell from the ground
should be 1 400–1 600 mm.
3. Make sure the PIR sensor is protected from direct
sunlight.
4. Connect the power supply to the input of the doorbell
according to the diagram.
5. Mount the doorbell using the screw on the underside
according to the diagram.
Pairing the wireless chime with the Wi-Fi
doorbell: g. 3
• Press and hold the button for 3 seconds until
you hear a „ding-dong“ sound.
• Then, press the ring button on the Wi-Fi doorbell.
The unit will make a sound and glow blue, indicating
successful pairing.
Unpairing the wireless chime from the Wi-Fi
doorbell:
• Press and hold the button for 5 seconds until you
hear a double „ding-dong“ sound.
• The devices are now unpaired.