T
Thomas JacksonAug 6, 2025
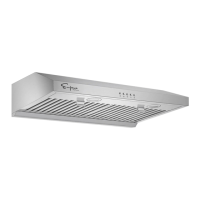
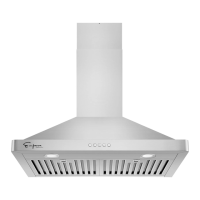
Why does my Empava EMPV-30RH05 Ventilation Hood have weak suction?
- JjimmydavisAug 6, 2025
If your Empava Ventilation Hood exhibits weak suction, it could be due to several factors. Ensure the distance between the hood's bottom and the cooking surface is between 24 and 27 inches. Also, external factors like open windows, doors, and drafts can impact performance. Other air conditions affecting the vent pipe may also be the cause, so verify that the lower vent pipe’s exit faces downward. If the motor's running rate slows down, consider replacing the motor or capacitor. If the range hood is near a window, shield its back from drafts.