Fastlane
®
Swim Unit Installation Fastlane
®
Swim Unit Installation
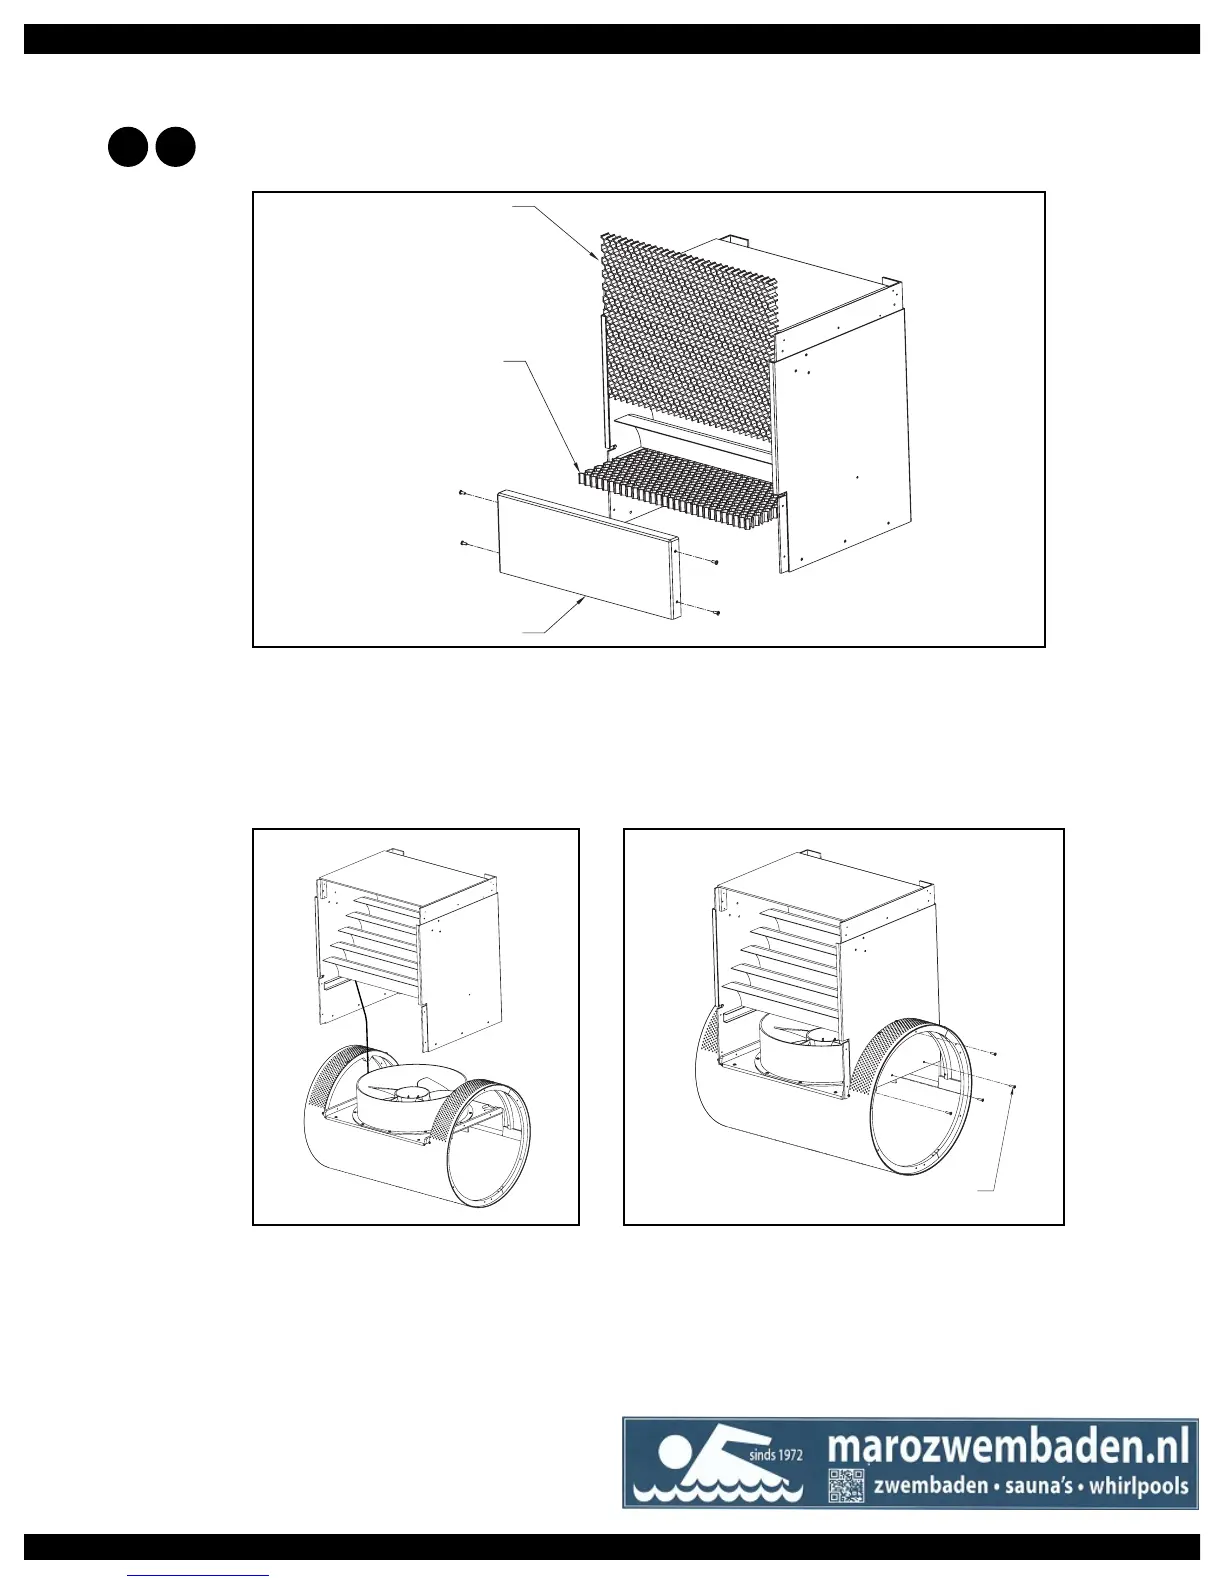
6.4 Remove the throat from the upper housing. There are two screws on each side of the throat. Pull the
throat off of the housing and set it aside. Pull the vertical water-conditioning grill up and out of the
housing. Pull the horizontal grill out of its track and remove from the housing. Make sure to remove and
discard the wood 2x4 spacer from the bottom of the housing before proceeding (Fig 6.3).
Throat
Horizontal Water
Conditioning Grill
Vertical Water
Conditioning Grill
Fig. 6.3
6.5 Carefully remove the protective lm encasing the upper housing. Place the upper housing into the open-
ing of the cylindrical base (Fig 6.4A). The hydraulic hoses connected to the base should be aligned with
the back of the upper housing. Make sure that the stainless steel bonding wire attached to the motor
mount is positioned inside of the upper housing.
Fig. 6.4A
6.6 Use the provided stainless steel screws to attach the upper housing to the base. There will be 4 screws
per side (total of 8). On each side of the housing, there will be 3 screws securing the upper housing to
PVC motor mount support and 1 screw attaching the stainless steel reinforcing support to the housing
just above the 3 previous screws (Fig 6.4B).
26
Repeat this process for the
other side of the Fastlane
1" Machine Screw
(4 per side)
Fig. 6.4B
W
D