Leveling the Fusion Pro 48 Table
2
Leveling the Fusion Pro
Table
Table level should be checked
periodically to ensure that the all areas of
the table are the same distance from the
focusing lens. If all areas of the table are
not the same distance from the focusing
lens, loss of laser power and inconsistent
engraving and cutting marks can occur.
Complete this procedure if any of the
following behaviors are observed.
• Laser power appears weak in certain
areas of the table.
• The engraver is unable to cut
through materials at or around the
recommended settings in certain
areas of the table.
• If the engraver has been moved to a
new location.
Leveling the Table Tub
1. Turn on the engraver, and let it
complete the startup process.
2. Ensure that the engraving tables
are installed in the engraver. This
procedure will not yield good results if
completed while the vector tables are
installed in the engraver.
3. Lower the manual focus gauge.
4. Use the Focus menu to raise the table
up enough to make contact with the
manual focus gauge.
5. Use the Jog menu and move the lens
carriage to each corner of the table to
determine which corner or corners are
lower than another. On a level table,
the manual focus gauge will touch the
table at each table corner.
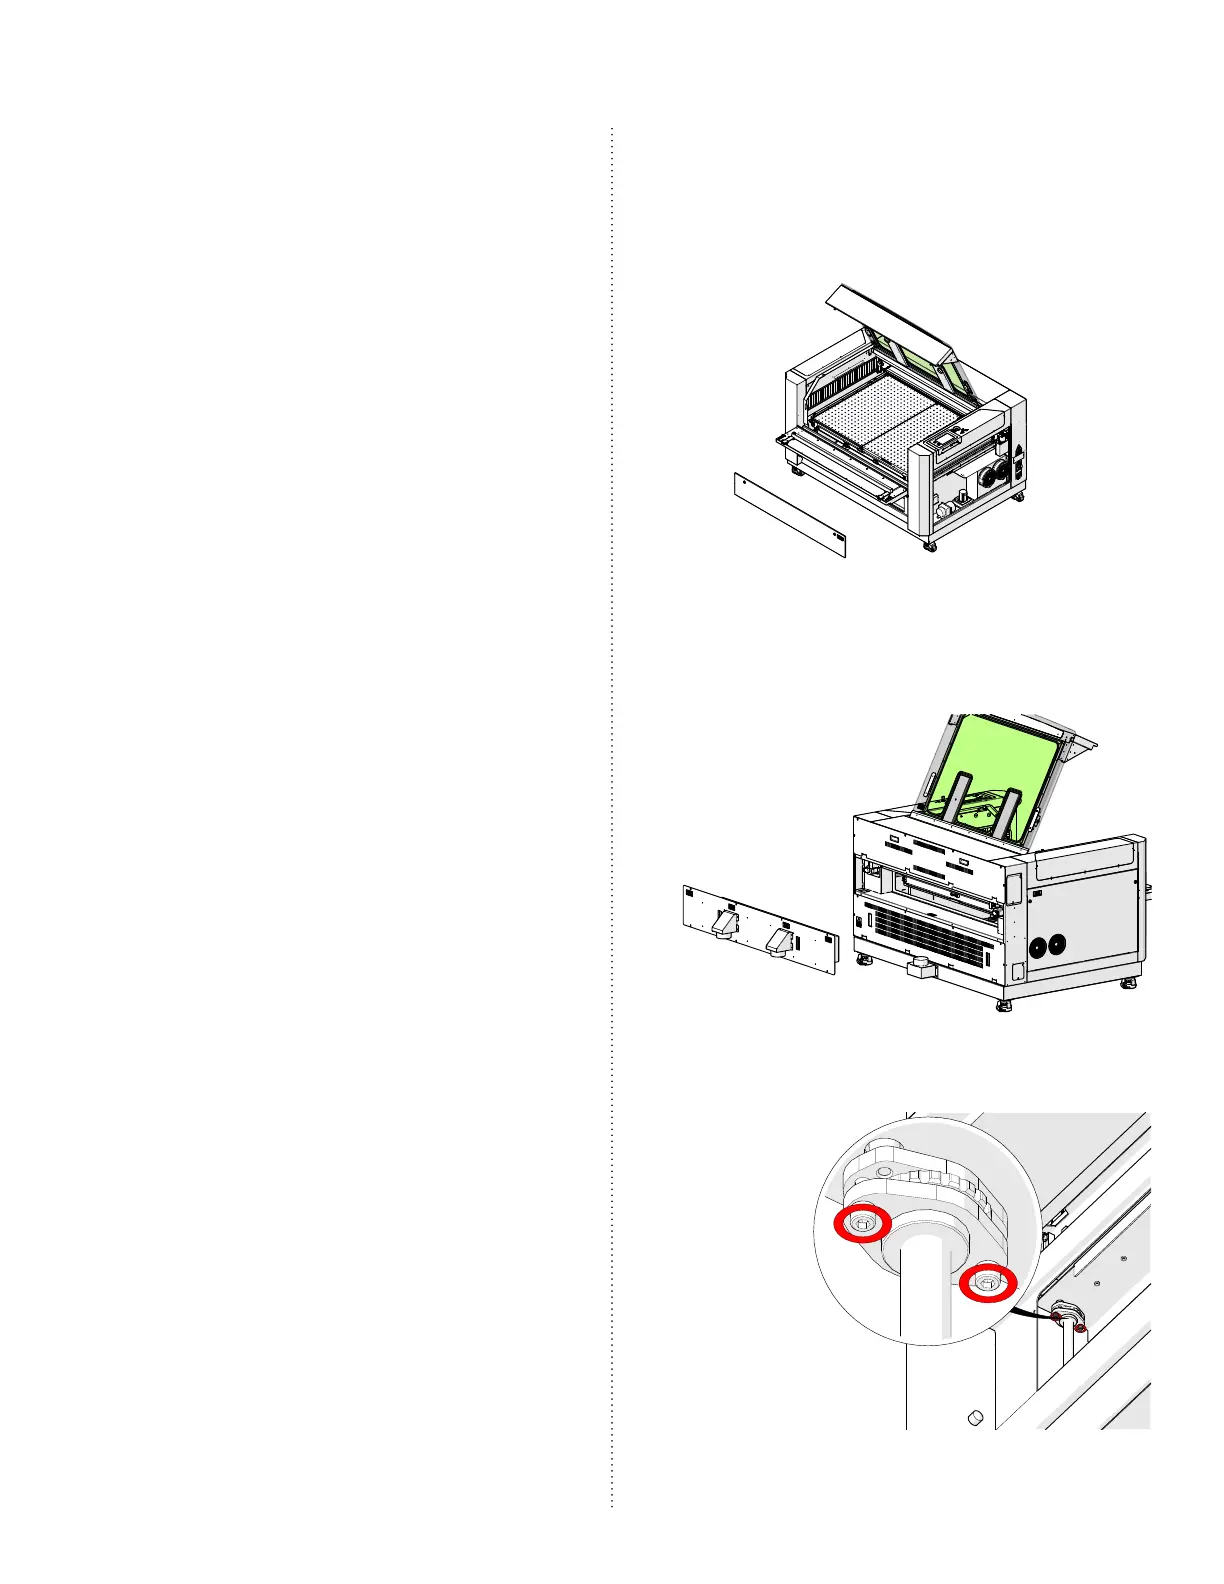
6. If a front corner appears to be lower
than the others, remove the front
access panel of the engraver:
7. If a rear corner appears to be lower
than the others, remove the exhaust
plenum:
At each corner of the table are the table
lead screws table levelers:
 Loading...