Leveling the Fusion Pro 48 Table
6
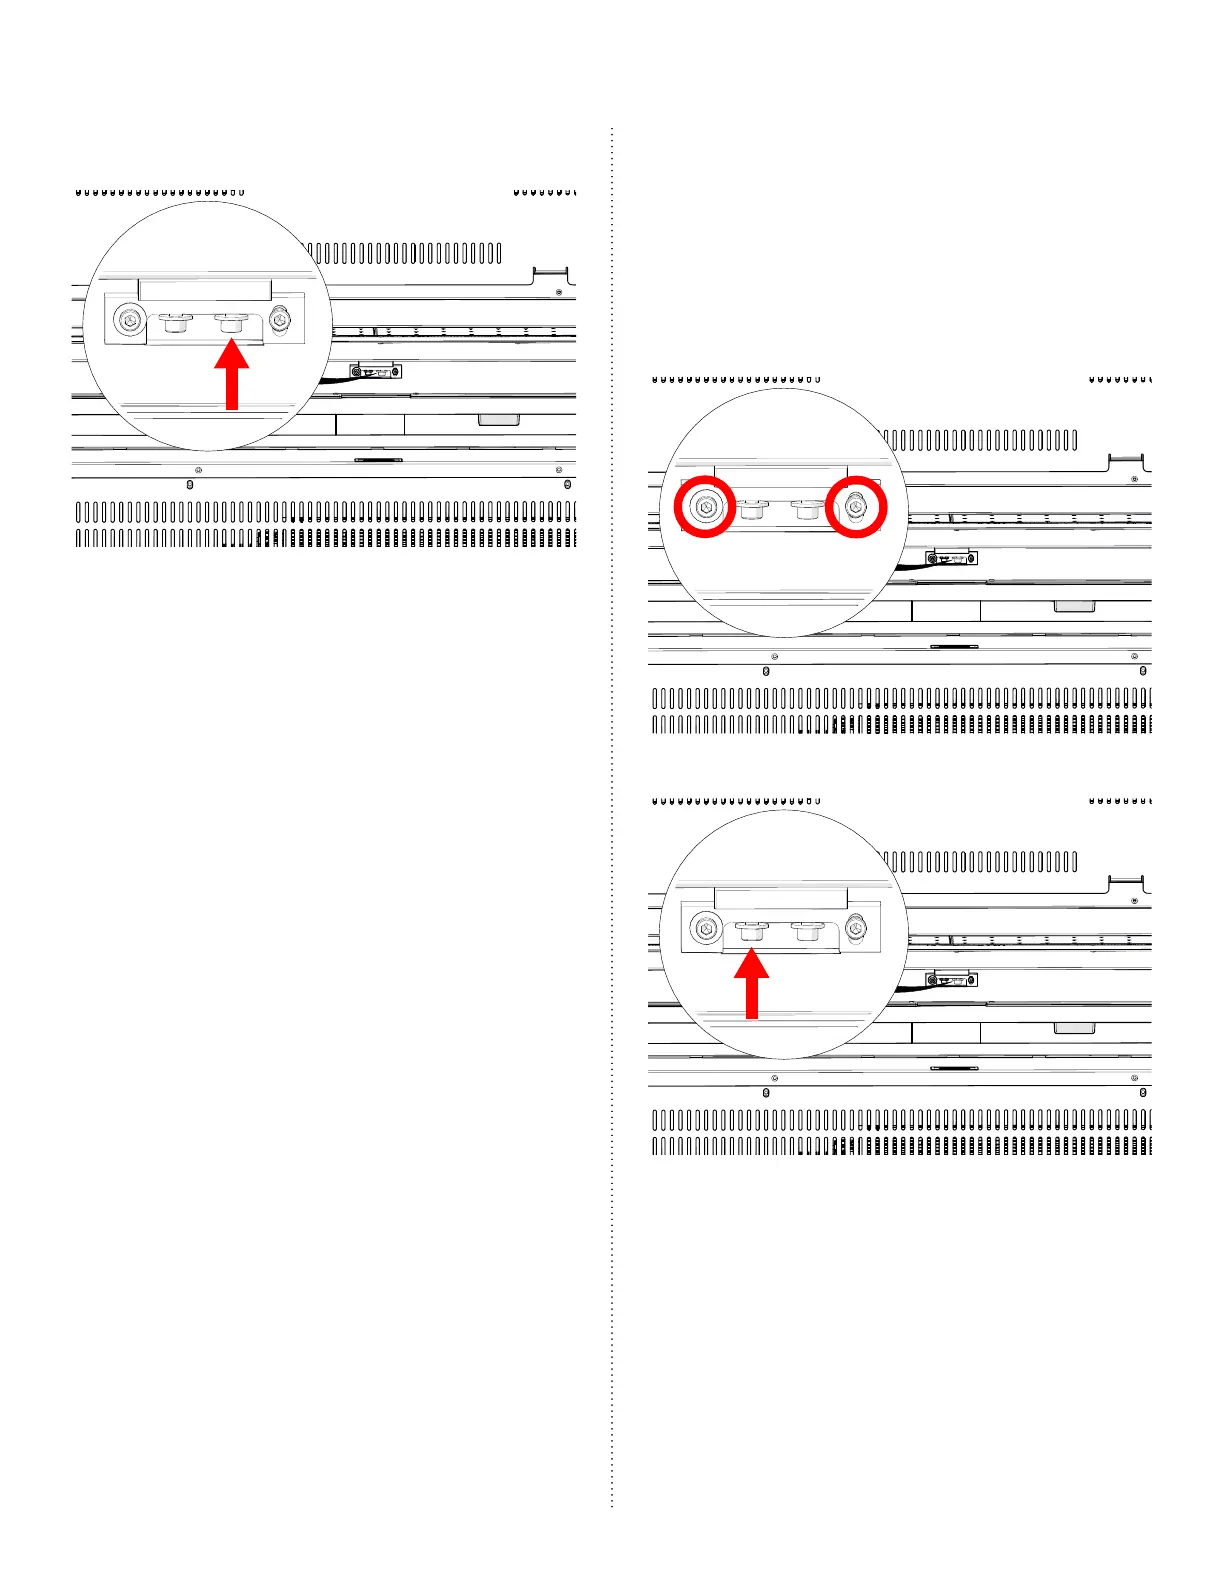
Table Leveling Screw Position 2
10. Adjust the table height until the tip of
the manual focus gauge is in contact
with the suace of the engraving
table when moving between positions.
11. Once the appropriate adjustments
have been made, tighten the table
clamp locking screws.
12. Move the lens carriage between
positions 3 and 4. Observe the focus
gauge to confirm that it remains in
contact with the engraving table.
14. If adjustments are needed to this area
of the table, repeat the table height
adjustment process outlined above to
level positions 3 and 4 using the table
clamp and leveling screws shown
below:
Table Clamp Locking Screws Position 3
Table Level Adjustment Screw Position 3
 Loading...